5-10 Function and Performance Checking Method
When the value is 0, the system exits auto
play mode.
Move the cursor onto the desired start point of the
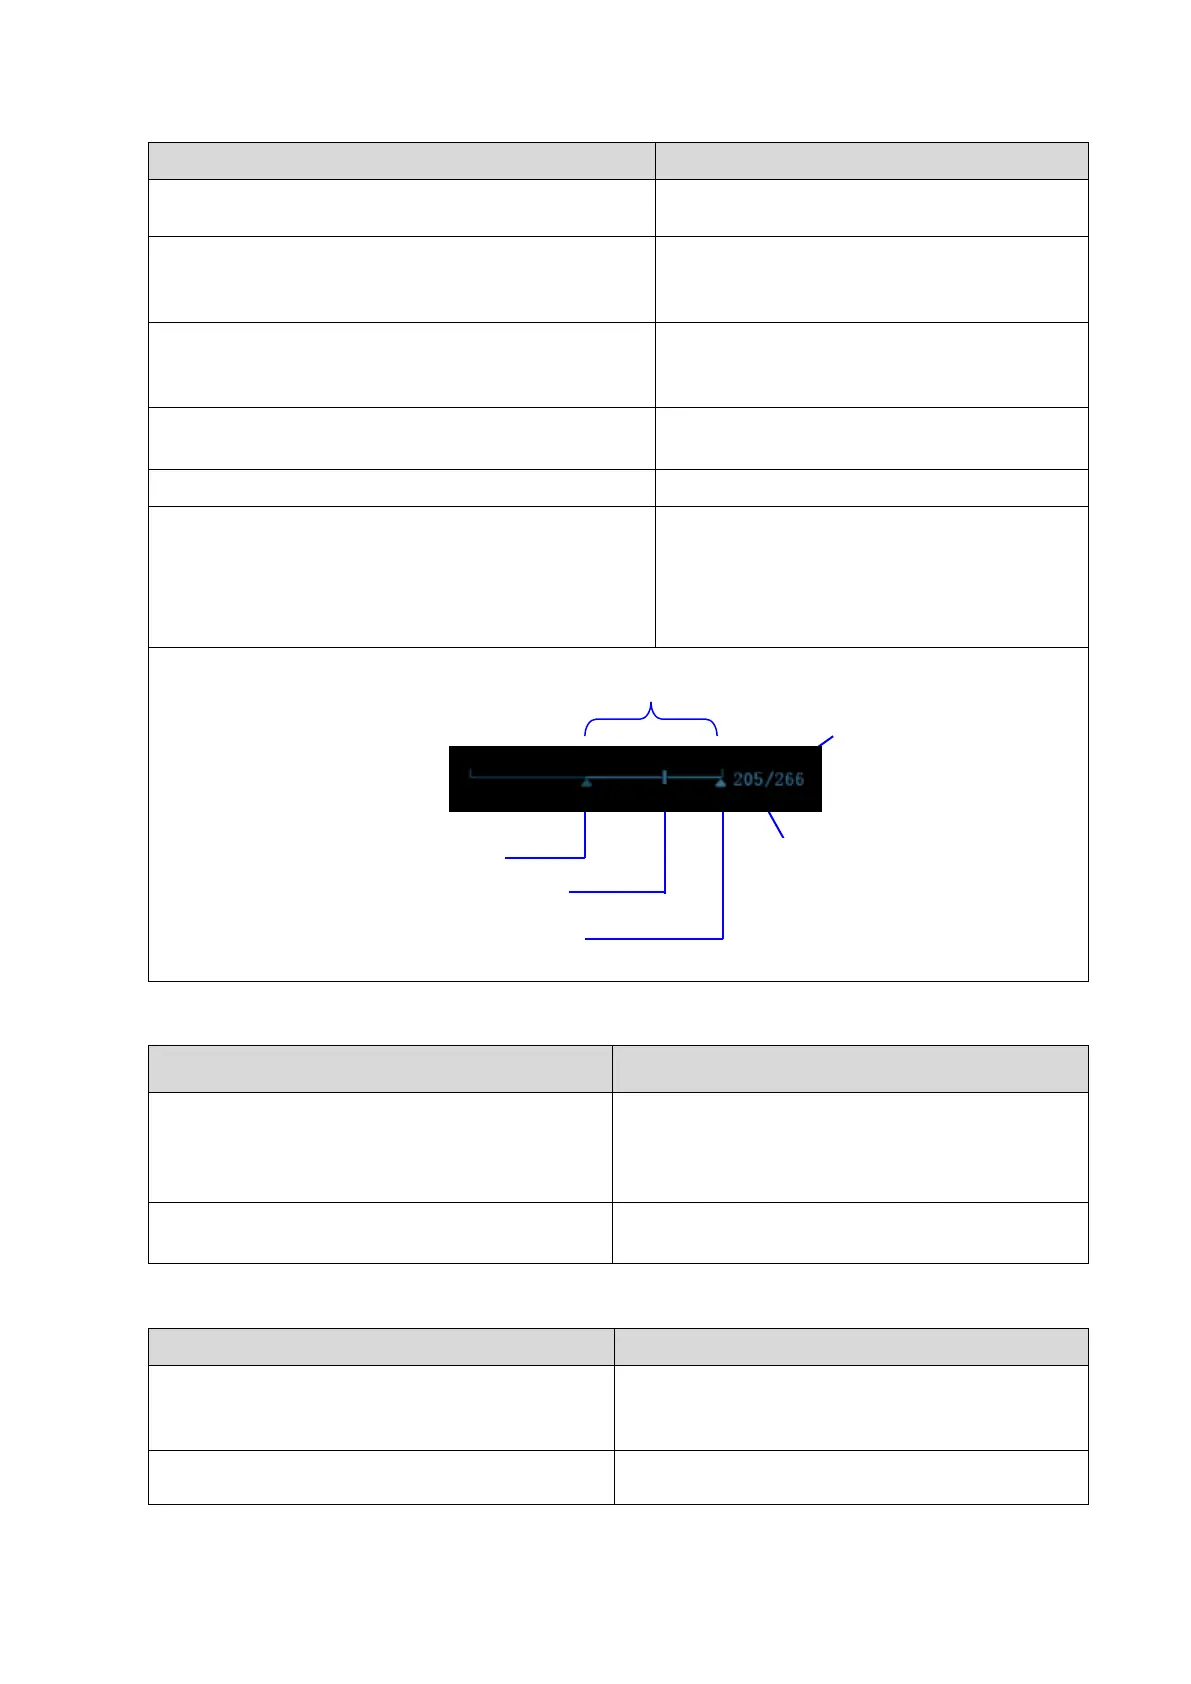
cine loop, click [Set First Frame] in the menu or soft
menu to set the start point.
Set the start point of cine loop.
Move the cursor onto the desired end point of the
cine loop, click [Set Last Frame] in the menu or soft
menu to set the start point.
Set the end point of cine loop.
Review region is confined to the set start
point and end point.
Then press the [Cine] key again.
Press the <Freeze> key to unfreeze the image.
Press <Cine> or <Esc> key.
Freeze indicator light is off; the system will
return to image scanning and exit cine
review.
The images are still frozen but the system
exits cine review.
Press <Freeze> key→ connect the probe to the
system→ press <Freeze> key→ press <Probe>
key to select the probe.
Connect a convex probe to probe socket A, and
then connect a linear probe to probe socket B,
the operator can select probe A or probe B as the
active probe.
Press <Freeze> key→ disconnect the probe→
connect another probe to the port
The system can recognize the newly connected
probe in no time.
5.4.2.5 Patient Information Management
Press <Save> (the function already set) during
image scanning
Image will be saved to the patient database, and
a thumbnail will be displayed at the right part of
the screen.
Open [Setup] →[System Preset]→”General”,
then check “Send/Print Image after End Exam”
The system automatically sends the images of
the exam to the default DICOM storage server or
 Loading...


