Chapter 3 Operation
3.6 Field Diaphragm Operation
63
3.6 Field Diaphragm Operation
(TI-DH Dia Pillar Illuminator 100W only)
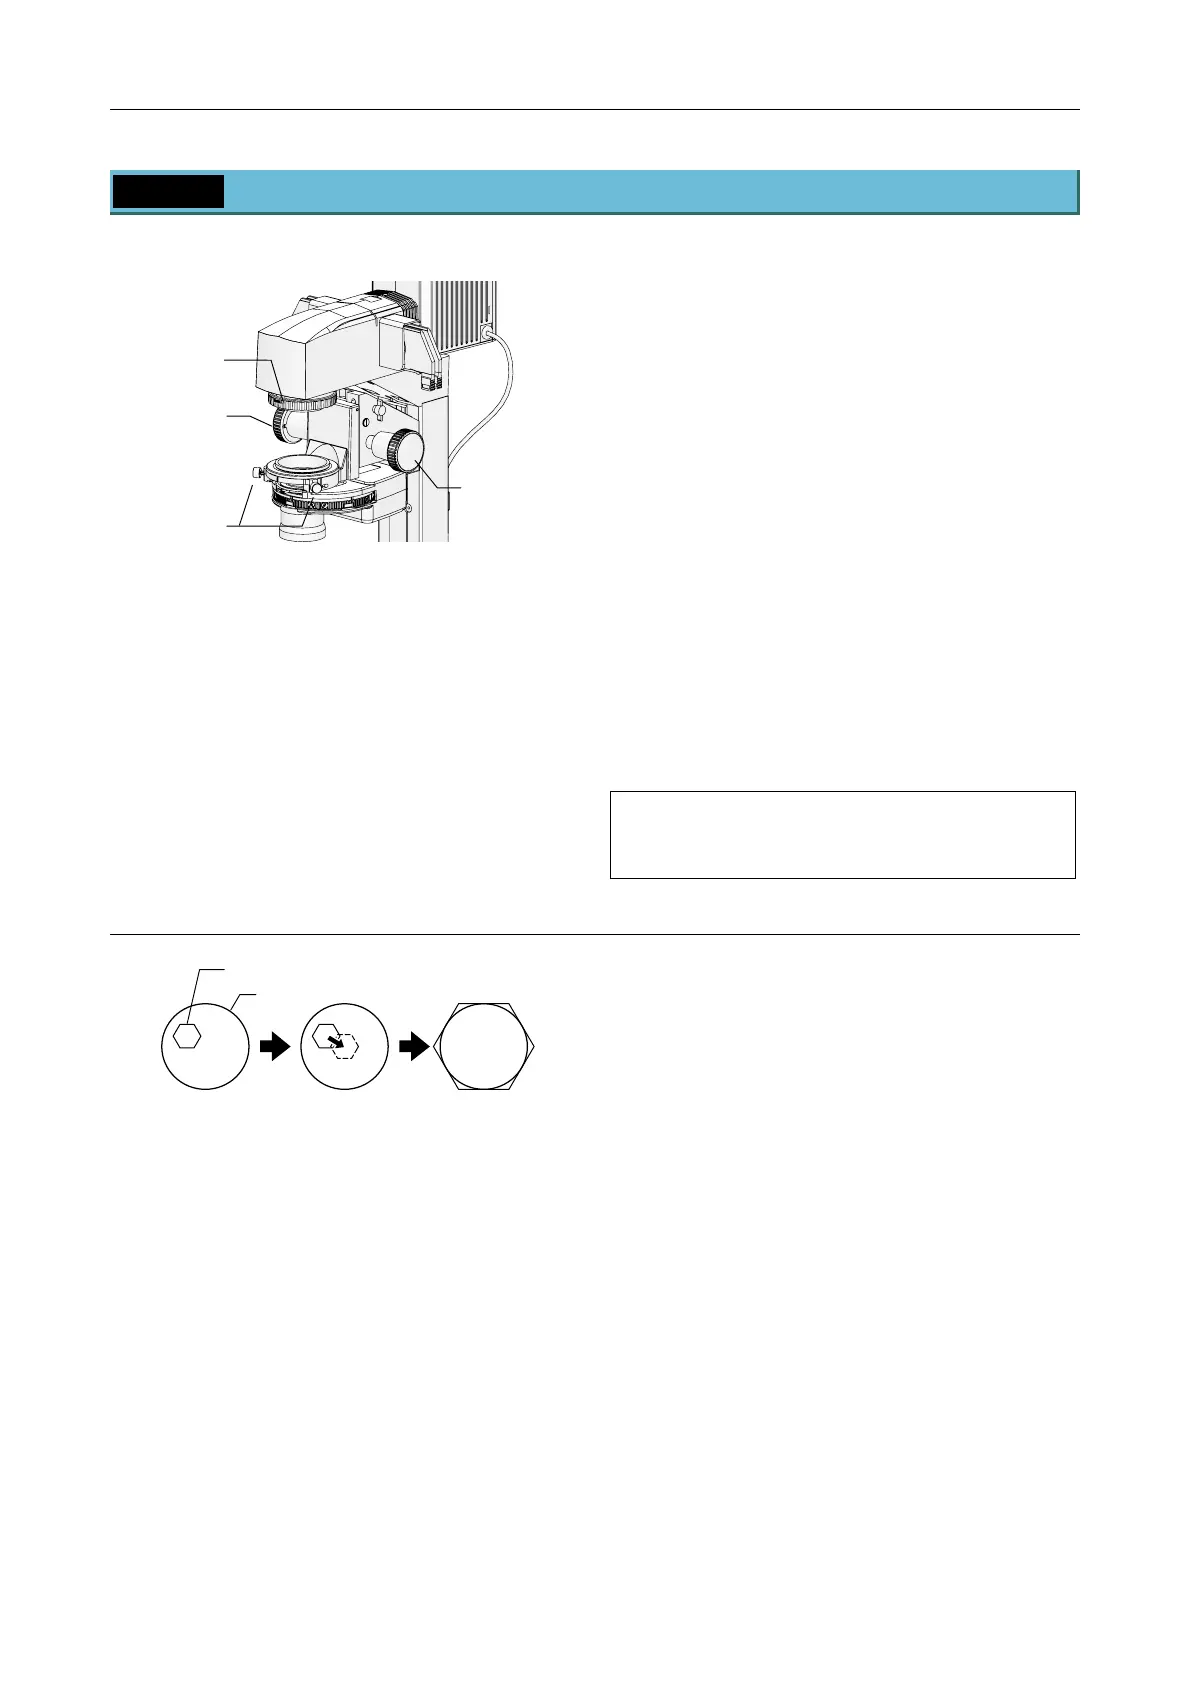
Figure 3-13 Field diaphragm knob
The field diaphragm is used to limit the irradiation
area of the lamp to the microscope's field of view.
As viewed from the top of the pillar illuminator, a
counterclockwise rotation of the field diaphragm
knob increases the diameter of the irradiation area,
and a clockwise rotation decreases the diameter of
the irradiation area.
Usually, the irradiation area is adjusted to a size that
circumscribes (or inscribes) the field of view. An
unnecessarily large irradiation area will result in stray
light and flare, thereby reducing the contrast of the
optic image.
Field diaphragm adjustment is particularly important
when performing photomicroscopy. Typically,
adjusting the irradiation area to be slightly larger
than the size of the image sensor (indicated by the
capture area frame) will yield favorable results. Avoid
making the size of the irradiation area too close to
the size of the image sensor, as it may result in
vignetting.
The field diaphragm of the TI-DS Dia Pillar
Illuminator 30W has a fixed opening size. It
cannot be adjusted.
Field diaphragm adjustment
Move field diaphragm image into center of field of
view. Adjust its size to match field of view.
Figure 3-14 Field diaphragm adjustment
1. Move the 10x objective into the optical path.
2. Rotate the field diaphragm knob on the dia
pillar illuminator until the field diaphragm
image is visible in the field of view.
3. Adjust the focus onto the field diaphragm
image by rotating the condenser focus knob
on the dia pillar illuminator.
4. Move the field diaphragm image to the center
of the field of view by rotating the two
condenser centering knobs on the dia pillar
illuminator.
5. Move the 40x objective into the optical path.
6. Adjust the size of the field diaphragm image
to closely match the size of the field of view,
by rotating the field diaphragm knob on the
dia pillar illuminator.
7. Move the field diaphragm image to the center
of the field of view by rotating the two
condenser centering knobs on the dia pillar
illuminator.
Condense
centering knob
Condenser
focus knob
Condense
focus knob
Field diaphragm
knob
Field dia
hra
m ima
e
Field of view

 Loading...


