EasyManua.ls Logo

Polaris RANGER 570 2020 User Manual

Polaris RANGER 570 2020
574 pages
To Next Page IconTo Next Page
To Previous Page IconTo Previous Page
Page #449 background image
8
9850043 R01 - 2017-2021 RANGER 500 / 570 Service Manual
© Copyright Polaris Inc.
8.43
7. Remove the boot from the shaft.
CAUTION
Complete disassembly of the plunging joint is NOT
recommended. The internal components are a
precision fit and develop their own characteristic wear
patterns. Intermixing the internal components could
result in looseness, binding, and/or premature failure of
the joint.
NOTICE
If the grease in the joint is obviously contaminated with
water and/or dirt, the joint should be replaced.
8. Thoroughly clean the joint with an appropriate
solvent and dry the joint to prevent any residual
solvent from being left in the joint upon reassembly.
9. Visually inspect the joint for damage. Replace if
needed.
10. Clean the splines on the end of the shaft and apply a
light coat of grease prior to reassembly.
11. Slide the small boot clamp and boot (small end first)
onto the drive shaft and position the boot in its
groove machined in the shaft.
12. Install a NEW circlip on the end of the shaft.
13. Grease the joint with the special CV joint grease
provided in the boot replacement kit. Fill the cavity
behind the balls and the splined hole in the joint’s
inner race. Pack the ball tracks and outer face flush
with grease. Place any remaining grease into the
boot.
CAUTION
The grease provided in the replacement kit is specially
formulated for wear resistance and durability. DO NOT
use substitutes or mix with other lubricants.
Boot Replacement Grease Requirements:
Grease Only Service Kits
PN 1350059 - 20g
PN 1350046 - 30g
PN 1350047 - 50g
Inner Plunging Joint Capacity:
Front - 60g / Rear - 100g
14. Fully compress the joint and push the drive shaft
firmly into the inner race.
15. Align the circlip with the lead-in chamfer.
16. Use a soft-faced hammer to tap the joint onto the
drive shaft until you reach the end of the splines and
the joint locks in place.
17. Pull on the joint to test that the circlip is seated and
that the joint is securely fastened to the shaft.
18. Remove excess grease from the plunging joint’s
external surfaces and place the excess grease in the
boot.
19. Pull the boot over the joint and position the boot lips
into the grooves on the joint housing and shaft. Make
sure the boot is not dimpled or collapsed.
FINAL DRIVE

Table of Contents

Question and Answer IconNeed help?

Do you have a question about the Polaris RANGER 570 2020 and is the answer not in the manual?

Polaris RANGER 570 2020 Specifications

General IconGeneral
BrandPolaris
ModelRANGER 570 2020
CategoryOffroad Vehicle
LanguageEnglish

Summary

2017-2021 RANGER 500 / 570 Service Manual

FOREWORD

SAFETY WARNINGS

Explains signal words (DANGER, WARNING, CAUTION, NOTICE, IMPORTANT) and their meanings.

CHAPTER 1 : GENERAL INFORMATION

MASTER TORQUE TABLE

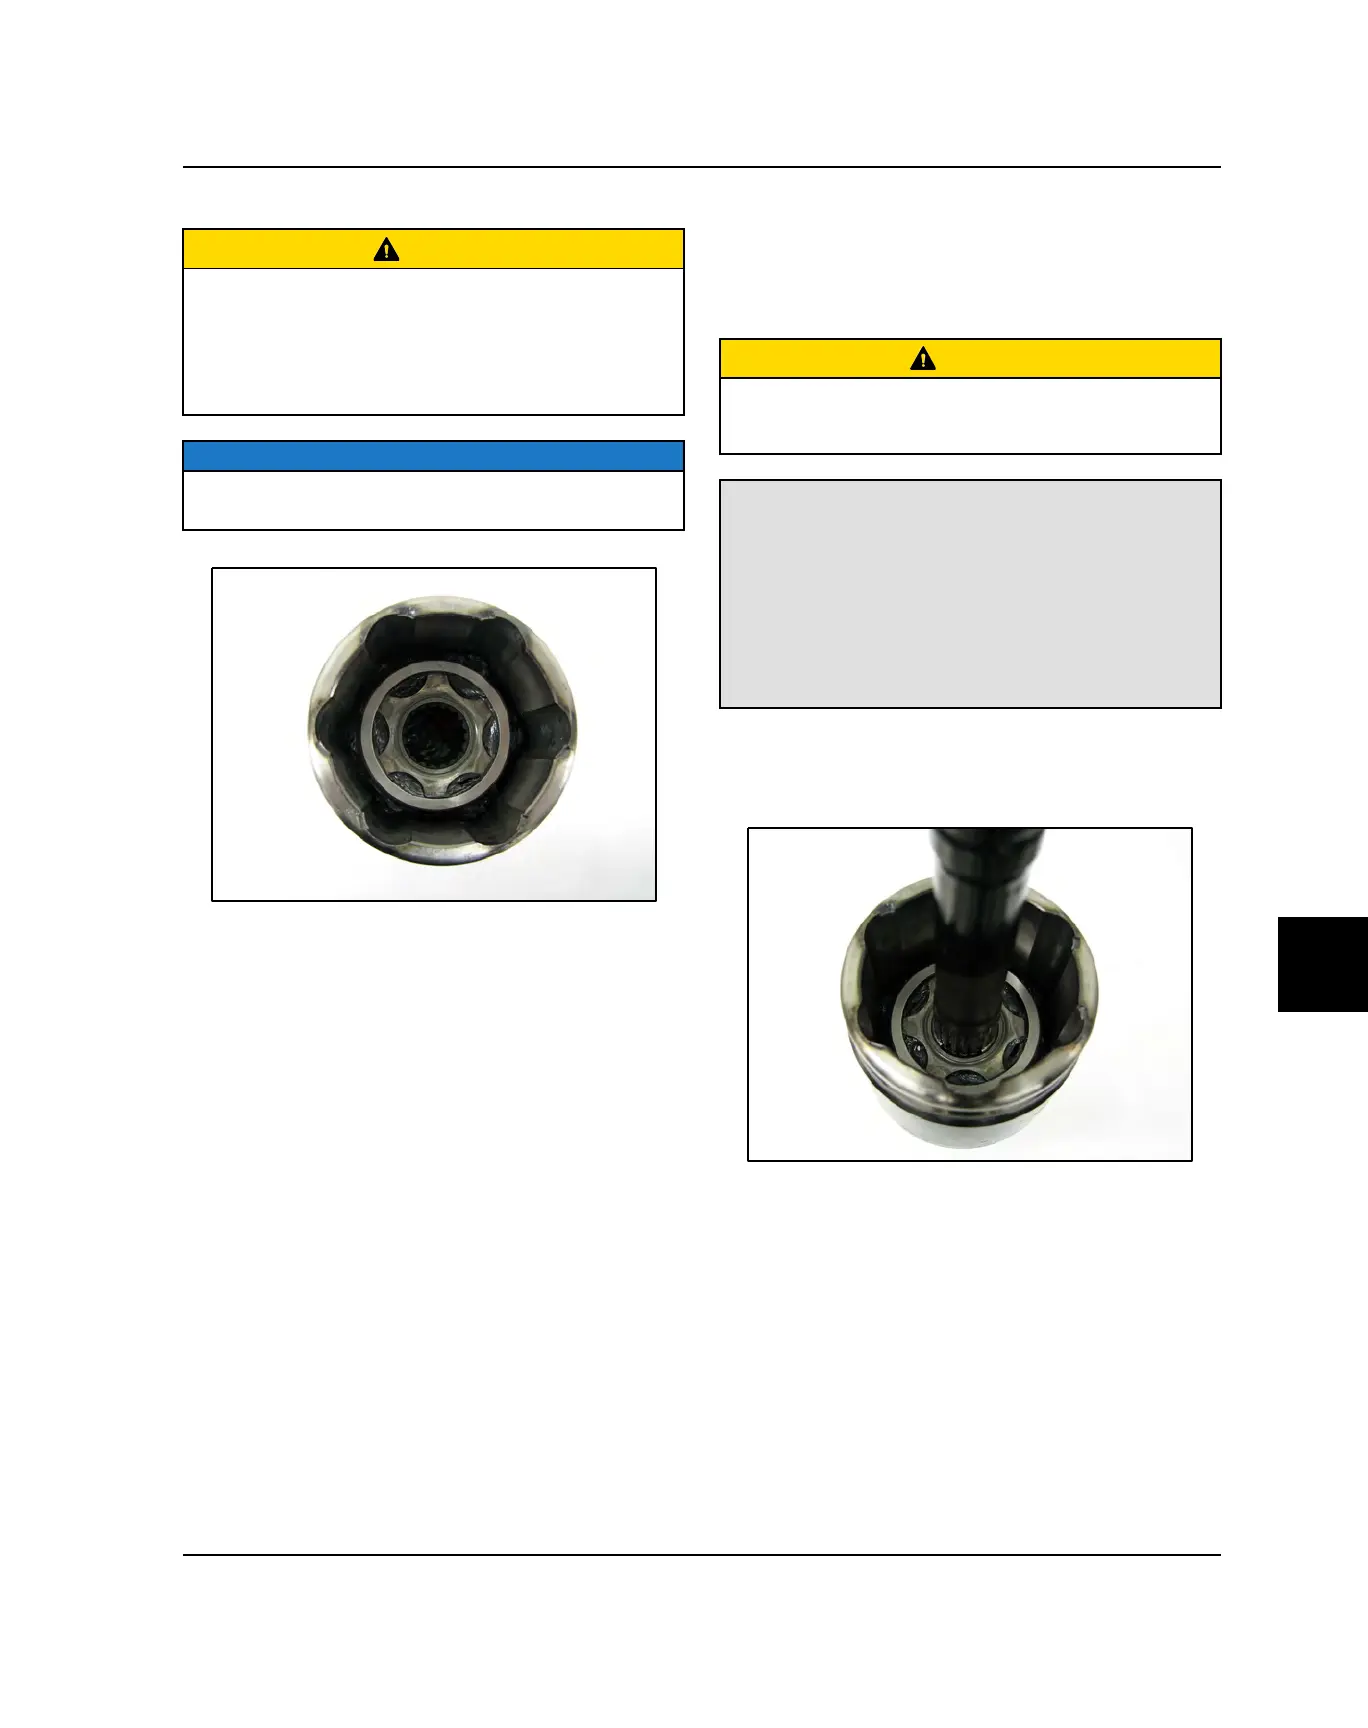
Comprehensive table of torque values for various components.

GENERAL SPECIFICATIONS

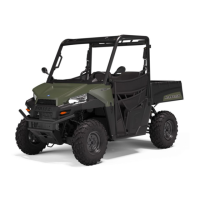
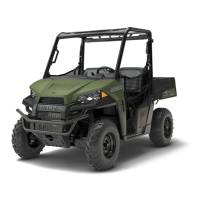
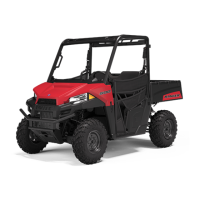
Provides detailed specifications for various RANGER models.

GENERAL DIAGNOSTICS

Overview of general diagnostics and guided symptom diagnostic procedures.

CHAPTER 2 : MAINTENANCE

ENGINE OIL LEVEL

Procedure for checking and maintaining engine oil level.

ELECTRICAL AND IGNITION SYSTEM

Details battery maintenance, testing, and spark plug service.

CHAPTER 3 : ENGINE / COOLING SYSTEM

ENGINE LUBRICATION SPECIFICATIONS

Details oil capacity, filter wrench, oil type, and pressure specifications.

OIL PRESSURE TEST

Procedure for testing engine oil pressure.

ENGINE SPECIFICATIONS

Provides detailed engine specifications for camshaft, cylinder head, and cylinder.

ENGINE REMOVAL

Step-by-step instructions for removing the engine assembly.

COOLING SYSTEM

Overview of the cooling system, specifications, and pressure testing.

PISTON / RINGS / CONNECTING ROD / CRANKSHAFT / BALANCE SHAFT

Details specifications for piston, rings, connecting rod, crankshaft, and balance shaft.

CHAPTER 4 : ENGINE ELECTRICAL

ELECTRONIC CONTROL UNIT (ECU)

Overview of the ECU's function, operation, and service.

ECU REPLACEMENT

Procedure for replacing the ECU with essential data transfer.

ELECTRONIC THROTTLE BODY (ETC)

Overview, testing, replacement, and learn procedure for the ETC.

CRANKSHAFT POSITION SENSOR (CPS)

Overview, testing, and replacement of the crankshaft position sensor.

CHAPTER 5 : FUEL SYSTEM

EFI OPERATION OVERVIEW

Explains the EFI system's role in engine performance and emissions.

FUEL SYSTEM TROUBLESHOOTING

Covers lean mixture, rich mixture, and poor idle conditions.

CHAPTER 6 : PVT SYSTEM

PVT SYSTEM OVERVIEW

Explains PVT system operation, including clutching and drive belt.

OVERHEATING / DIAGNOSIS

Procedures for diagnosing PVT overheating issues.

PVT DISASSEMBLY

Step-by-step instructions for disassembling the PVT system.

PVT ASSEMBLY

Procedures for assembling the PVT system components.

DRIVE BELT

Covers drive belt removal, inspection, and installation.

DRIVE CLUTCH SERVICE

Details drive clutch assembly view, disassembly, and inspection.

DRIVEN CLUTCH SERVICE

Details driven clutch assembly view, disassembly, and inspection.

PVT SYSTEM TROUBLESHOOTING

Troubleshooting guide for common PVT system issues.

CHAPTER 7 : TRANSMISSION

TRANSMISSION SERVICE

Procedures for transmission removal and installation.

TRANSMISSION INTERNALS SERVICE

Details differential operation and internal transmission service.

TROUBLESHOOTING CHECKLIST

Checklist for diagnosing shifting difficulties.

CHAPTER 8 : FINAL DRIVE

OPERATION, FRONT GEARCASE (4WDC)

Explains the operation of the front gearcase in 2x4, 4x4, and ADC modes.

CHAPTER 9 : STEERING / SUSPENSION

POWER STEERING UNIT REMOVAL

Steps for removing the power steering unit.

POWER STEERING UNIT INSTALLATION

Procedure for installing the power steering unit.

STEERING RACK REMOVAL / INSTALLATION (EPS)

Steps for removing and installing the steering rack on EPS models.

CHAPTER 10 : BRAKE SYSTEM

BRAKE SERVICE PROCEDURES

Steps for bleeding the brakes and changing the fluid.

BRAKES SQUEAL / POOR BRAKE PERFORMANCE

Troubleshooting guide for brake noise and poor performance.

CHAPTER 11 : BODY / FRAME

CHAPTER 12 : ELECTRICAL

DIAGNOSTIC MODE

Procedure to display diagnostic trouble codes (DTCs).

STARTER SYSTEM

Troubleshooting for starter motor issues and starter drive replacement.

Related product manuals