P
perezjosephJul 28, 2025
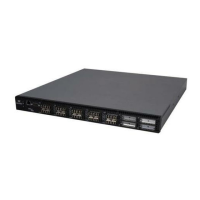
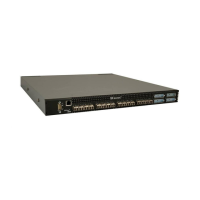
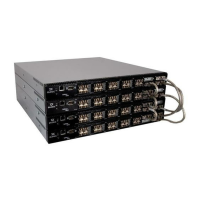
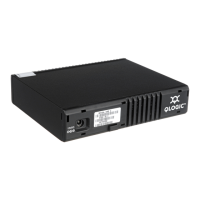
How to troubleshoot an extinguished Input Power LED on a Qlogic SANbox 5600 Switch?
- MMarcus EvansJul 28, 2025
If the Input Power LED is extinguished on your Qlogic Switch, check the power source and connections.
How to troubleshoot an extinguished Input Power LED on a Qlogic SANbox 5600 Switch?
If the Input Power LED is extinguished on your Qlogic Switch, check the power source and connections.
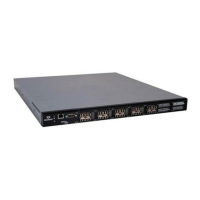
| Model | SANbox 5600 Series |
|---|---|
| Form Factor | 1U |
| Switch Type | Fibre Channel |
| Supported Protocols | Fibre Channel |
| Management Interface | Web-based GUI, CLI, SNMP |
| Port Speed | 1 Gbps, 2 Gbps |
| Fabric Type | Fibre Channel |
| Hot Swappable | Yes |
| Redundancy | Dual power supplies, hot-swappable |
| Operating Temperature | 0°C to 40°C (32°F to 104°F) |
| Storage Humidity | 10% to 90% non-condensing |
Describes the target users for the manual.
Lists other relevant manuals for switch hardware and installation.
Provides instructions for installing the SANsurfer Switch Manager application.
Describes how to launch the SANsurfer Switch Manager application.
Outlines the process for removing the SANsurfer Switch Manager.
Covers application preferences for working directory and help.
Explains the use of RADIUS for centralized authentication management.
Overview of fabric security features including connection, user, and device security.
How to manage the collection of fabrics added to the SANsurfer Switch Manager.
Overview of how to view fabric status using topology and data windows.
How to divide fabric ports and devices into zones for communication control.
Tasks related to managing the zoning database, including editing and configuring.
Creating, activating, and managing zone sets.
Tasks for managing zones, including creation, membership, and renaming.
How to create, modify, and manage user accounts on the switch.
Overview of switch configuration areas: chassis, network, and SNMP.
Loading archived configuration parameters back onto a switch.
Resetting switch and port configuration to factory default values.
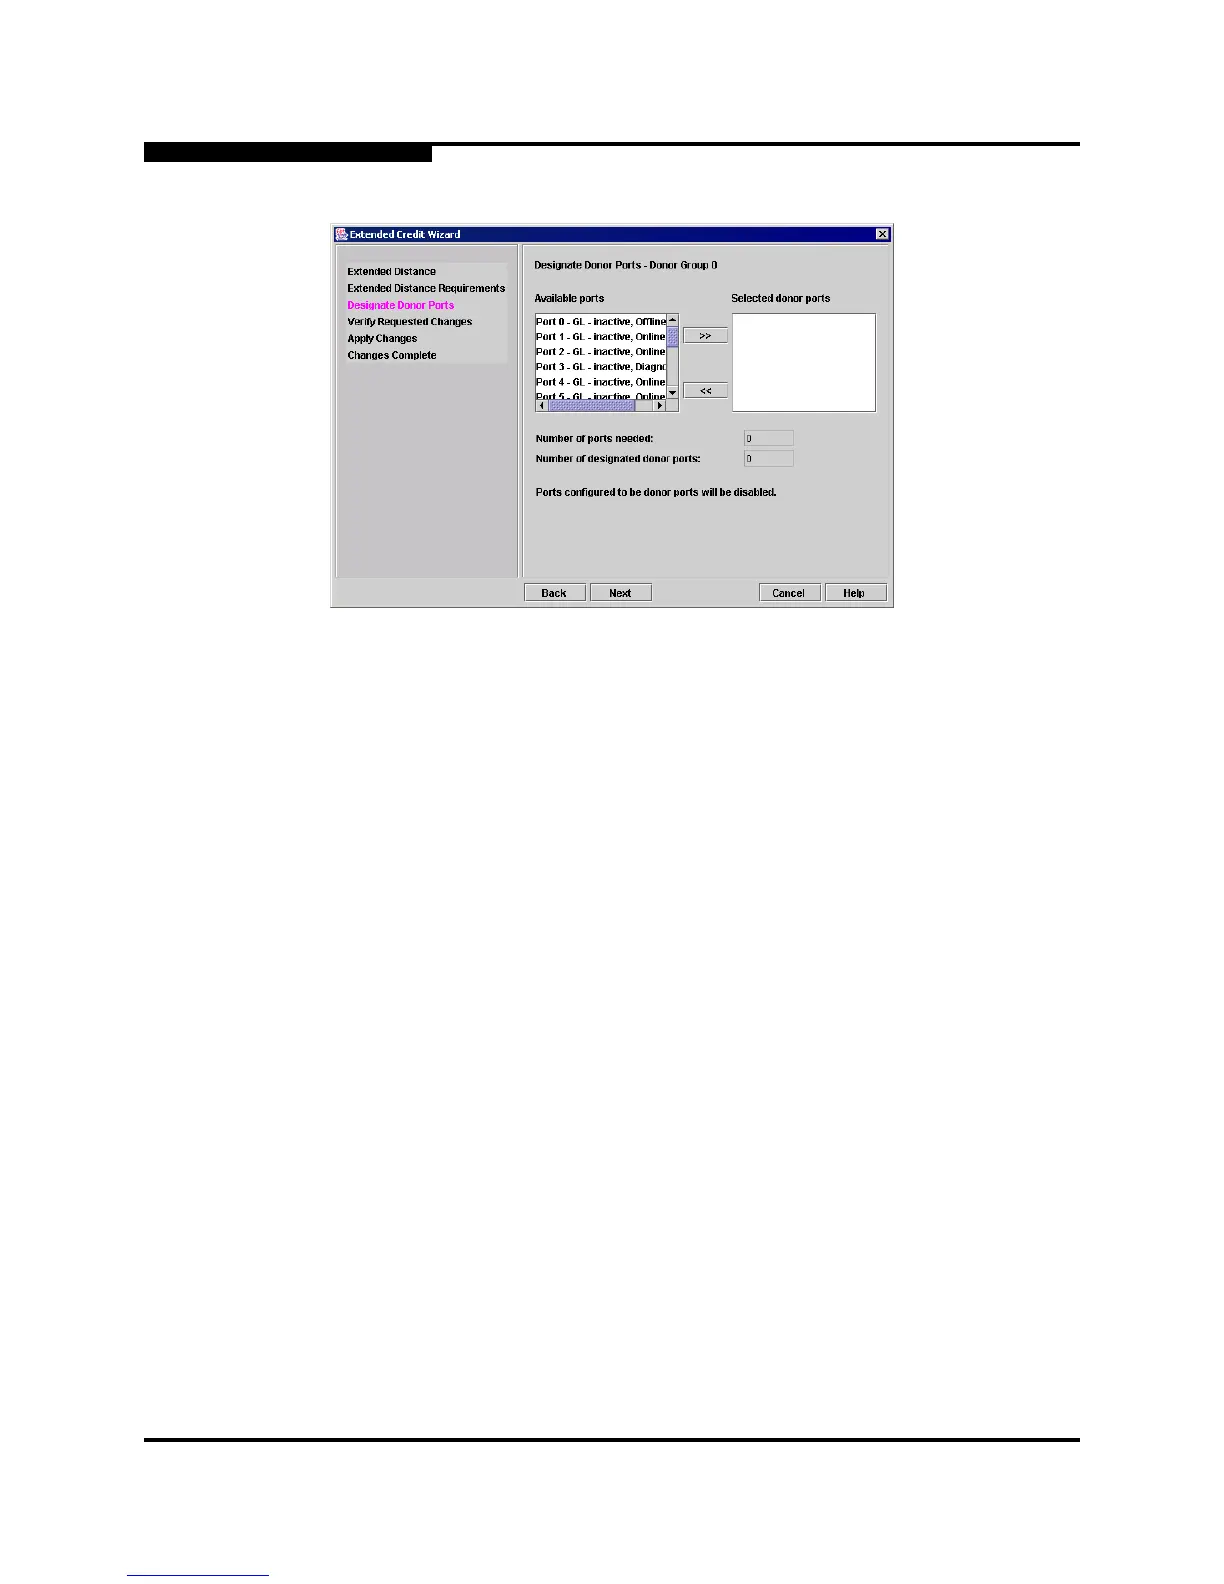
Using license keys to upgrade switch features and port counts.
Process of loading, unpacking, and activating firmware images on switches.
How to view port information and statistics using the faceplate display.
How to configure port settings and characteristics.
How to reinitialize a port using its saved configuration.
Performing internal, external, and online loopback tests on ports.
Using SANsurfer Performance Viewer to plot port performance data.
Instructions for establishing a connection to a switch via Telnet or serial port.
Managing switch configurations, including modification and backup.
Overview of command syntax, rules, and conventions for the CLI.
Managing Fibre Channel configurations on a switch.
Downloading, installing, and activating firmware from a remote host.
Resets the switch and performs a power-on self test, disrupting traffic.
Resets the switch to activate pending firmware without disrupting traffic.
Manages and installs switch firmware images.
Changes a user account's password.
Resets switch configuration parameters.
Sets switch, port, alarm threshold, security, and zoning configuration parameters.
Manages configuration settings for RADIUS servers, switch services, SNMP, and system.
Displays fabric, switch, and port operational information.
Displays switch, port, alarm threshold, security, and zoning configuration.
Displays log contents or parameters used to create log entries.
Displays port performance data in frames/second and bytes/second.
Administers and displays user accounts on the switch.
Manages zones and zone membership on a switch.
Manages zone sets and component zones across the fabric.
Opens a Zoning Edit session to create and manage zone sets and zones.
Manages zone sets and component zones across the fabric.