Current Section: Installation 82
Navigation:
17. INSTALLATION
17.1 Install the Controller
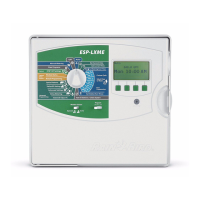
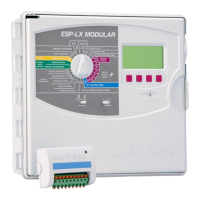
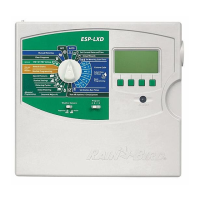
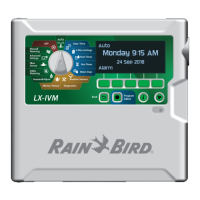
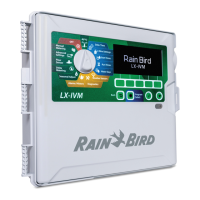
This section explains how to mount the LXME2 controller on a wall (or mounting surface) and
connect the wiring.
•
An optional metal cabinet (LXMM) and pedestal (LXMMPED) or stainless steel cabinet (LXMM-SS) and
pedestal (LXMMPED-SS) are also available for the LXME2 controller. If you intend to purchase those options
then follow the installation instructions included with those items and proceed to the Install Modules section
below.
WARNING
This controller must be installed in compliance with local electrical codes.
17.1.1 Installation Checklist
When installing the LXME2 controller for the rst time, it is recommended that you complete the
following steps in order.
For your convenience a check-o box is provided for each step.
Check box contents
Select a location
Gather installation tools
Mount the controller
Connect source power
Install base and station module[s]
Connect eld wiring
Complete the installation
17.1.2 Check Box Contents
All components below are included with your LXME2 controller and are required for installation. If
anything is missing, please contact your distributor before proceeding.
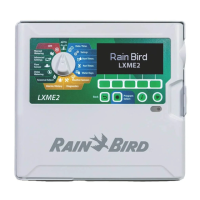
• LXME2 controller
• Controller cabinet keys
• Mounting hardware (5 screws, 5 plastic wall anchors)
• Quick Start Guide/ Programming Guide
• Controller mounting template
• Station Numbering Labels
 Loading...
