Current Section: Installation 88
Navigation:
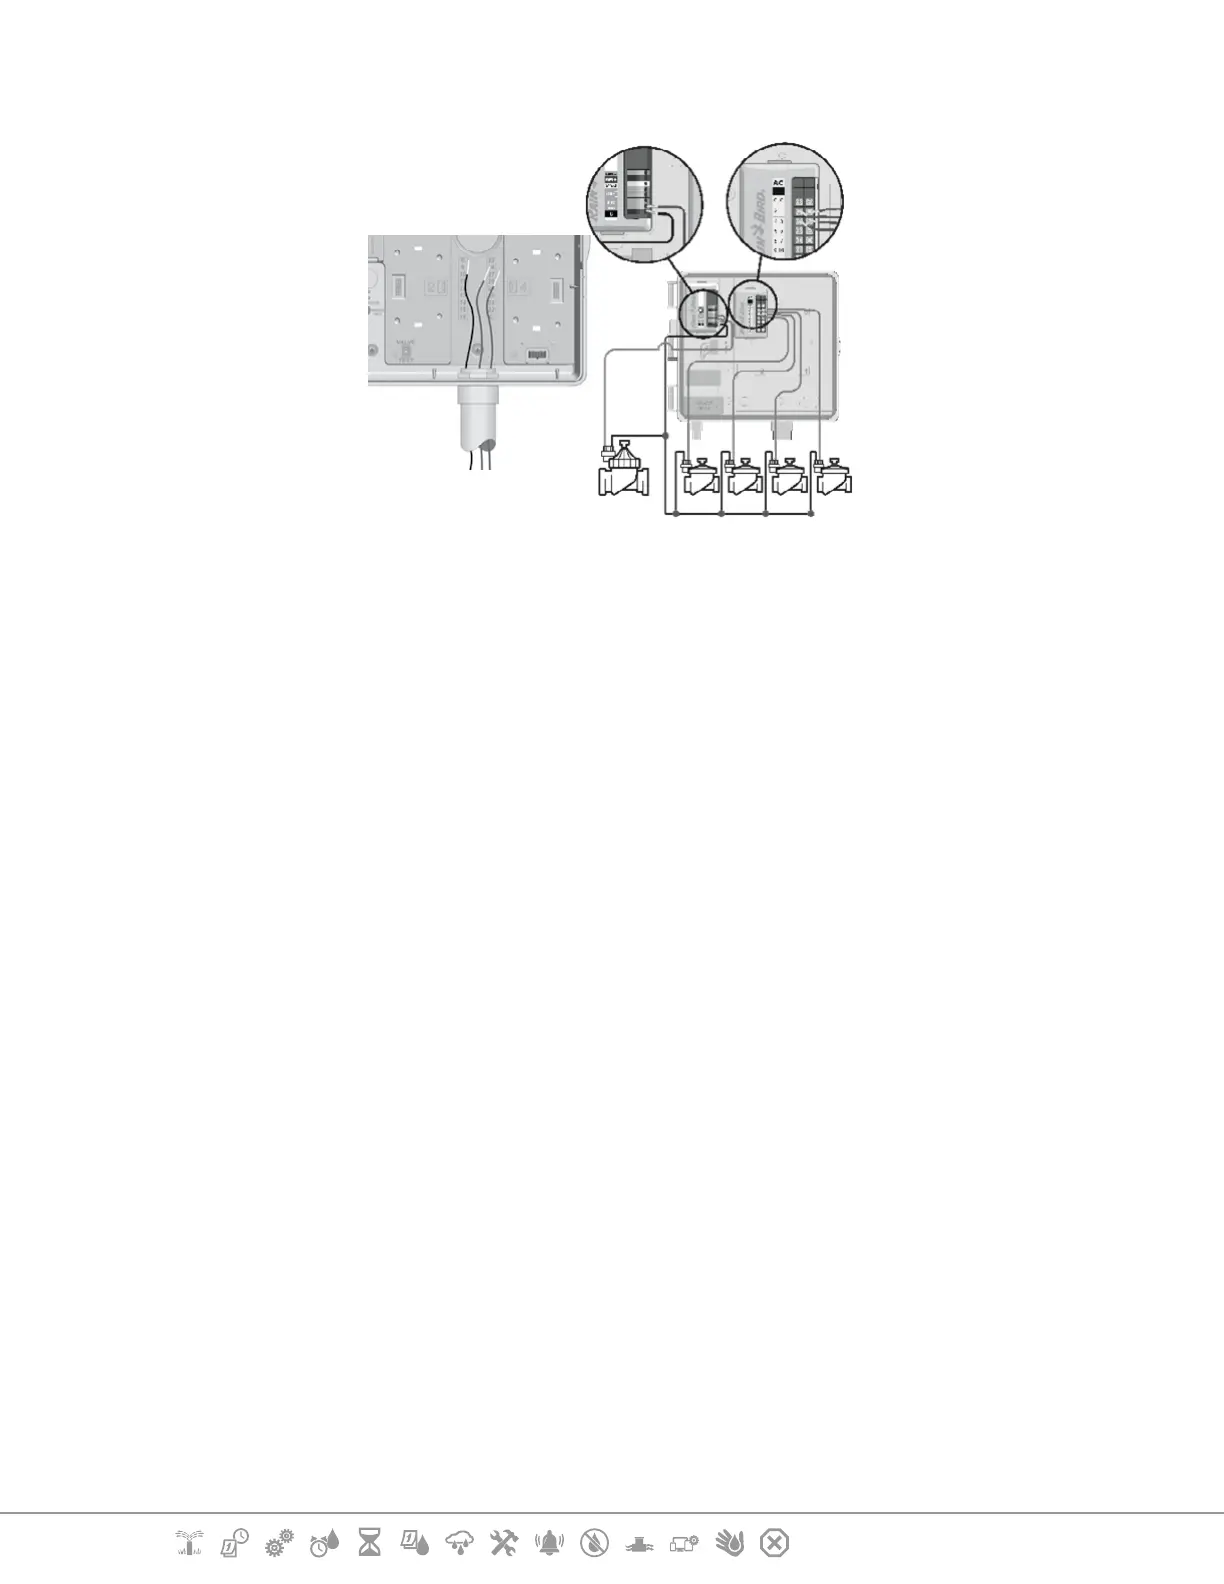
17.5.1 Connect Field Wiring
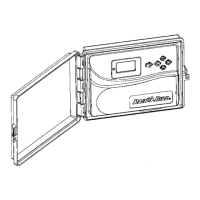
1 Locate (or remove) the large knockout on the bottom of the controller cabinet.
2 Attach a conduit tting to the bottom of the cabinet; then attach conduit to the tting.
3 Feed the eld wires through the conduit and into the controller cabinet.
4 Strip the wire jacket back by a maximum of 1/2 inch (12 mm) and connect each valve
wire to one of the numbered terminals on a station module.
5 Field wires for valves are connected to module terminals using screw terminal blocks,
loosen the screws of the appropriate terminal using a Philips screw driver.
6 Insert the wire. Then tighten the screw to clamp the wire in place.
7 Connect the common wire(s) to any one of the COM terminals on the controller. Wires
used to connect the valves must be code approved for underground installation.
•
Complete the following step only if your system uses a master valve or a pump start relay. The controller
does not provide main power for a pump.
8 Connect the master valve or pump start relay wiring to the MV and COM terminals.
9 Once wiring is completed, ll top of conduit with waterproof caulking to prevent insect
intrusion into the controller cabinet.
17.5.2 Connect Local Weather Sensor
The LXME2 can accept input from a single weather sensor wired directly to the controller or through
a wireless receiver.
 Loading...