Current Section: Installation 90
Navigation:
remove the jumper wire unless you install a weather sensor.
1 Install the ow sensor in the eld according to the manufacturer’s instructions, and run
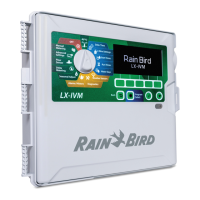
the ow sensor wire to the ESP-LXME2 controller.
2 Use a separate PE-39 #19 AWG cable for connecting the ow sensor to the Pro Smart
Module. The maximum wire run length is The maximum wire run length is 2000 feet
(610 meters).
3 The connection from the PE-39 cable to the ow sensor must be made with direct burial
type connectors. Use Rain Bird WC20 or 3M DBR/Y-6 splice kits only.
4 Minimize wire splices.
5 Any cable with broken, torn, or damaged insulation should be replaced.
6 Route the ow sensor wire through the knockout on the bottom of the controller.
7 Connect the ow sensor wire to the Flow + and Flow - inputs. When nished, tug gently
on the wires to make sure the connections are tight.
•
For Rain Bird FS-Series ow sensors, connect the red sensor wire to the red (+) terminal and the black sensor
wire to the grey (-) terminal.
17.5.4 Verify Field Installation
1 Once some or all valves have been wired and programmed into the LXME2
controller you can check the electrical portion of the installation even if water is
not available to test the valves.
2 If water is available and you would like to test some or all of your stations, the
easiest way to do so is by using the Test All Stations feature of the controller. See
Test all Stations for more details.
 Loading...
