77
3
Shooting Consecutively
with Different Expo-
sures (AUTO BRACKET)
The Auto Bracketing function automatically
shoots three consecutive shots, with the
specified exposure value as standard, at
three exposure levels, at -0.5EV, ±0, and
+0.5EV.
• By default, your camera is set to OFF.
• This function is not available when shoot-
ing with sound.
To shoot with Auto Bracket, follow the steps
below.
1. Turn the mode dial to 5
55
5 (Shoot-
ing Mode) or A/M (Aperture Pri-
ority/Manual Exposure Mode).
2. Press the M
MM
M button.
The Shooting menu appears.
3. Press the #$
#$#$
#$ buttons to switch
between displays as required.
4. Select [AUTO BRACKET] and
then press the O
OO
O or $
$$
$ button.
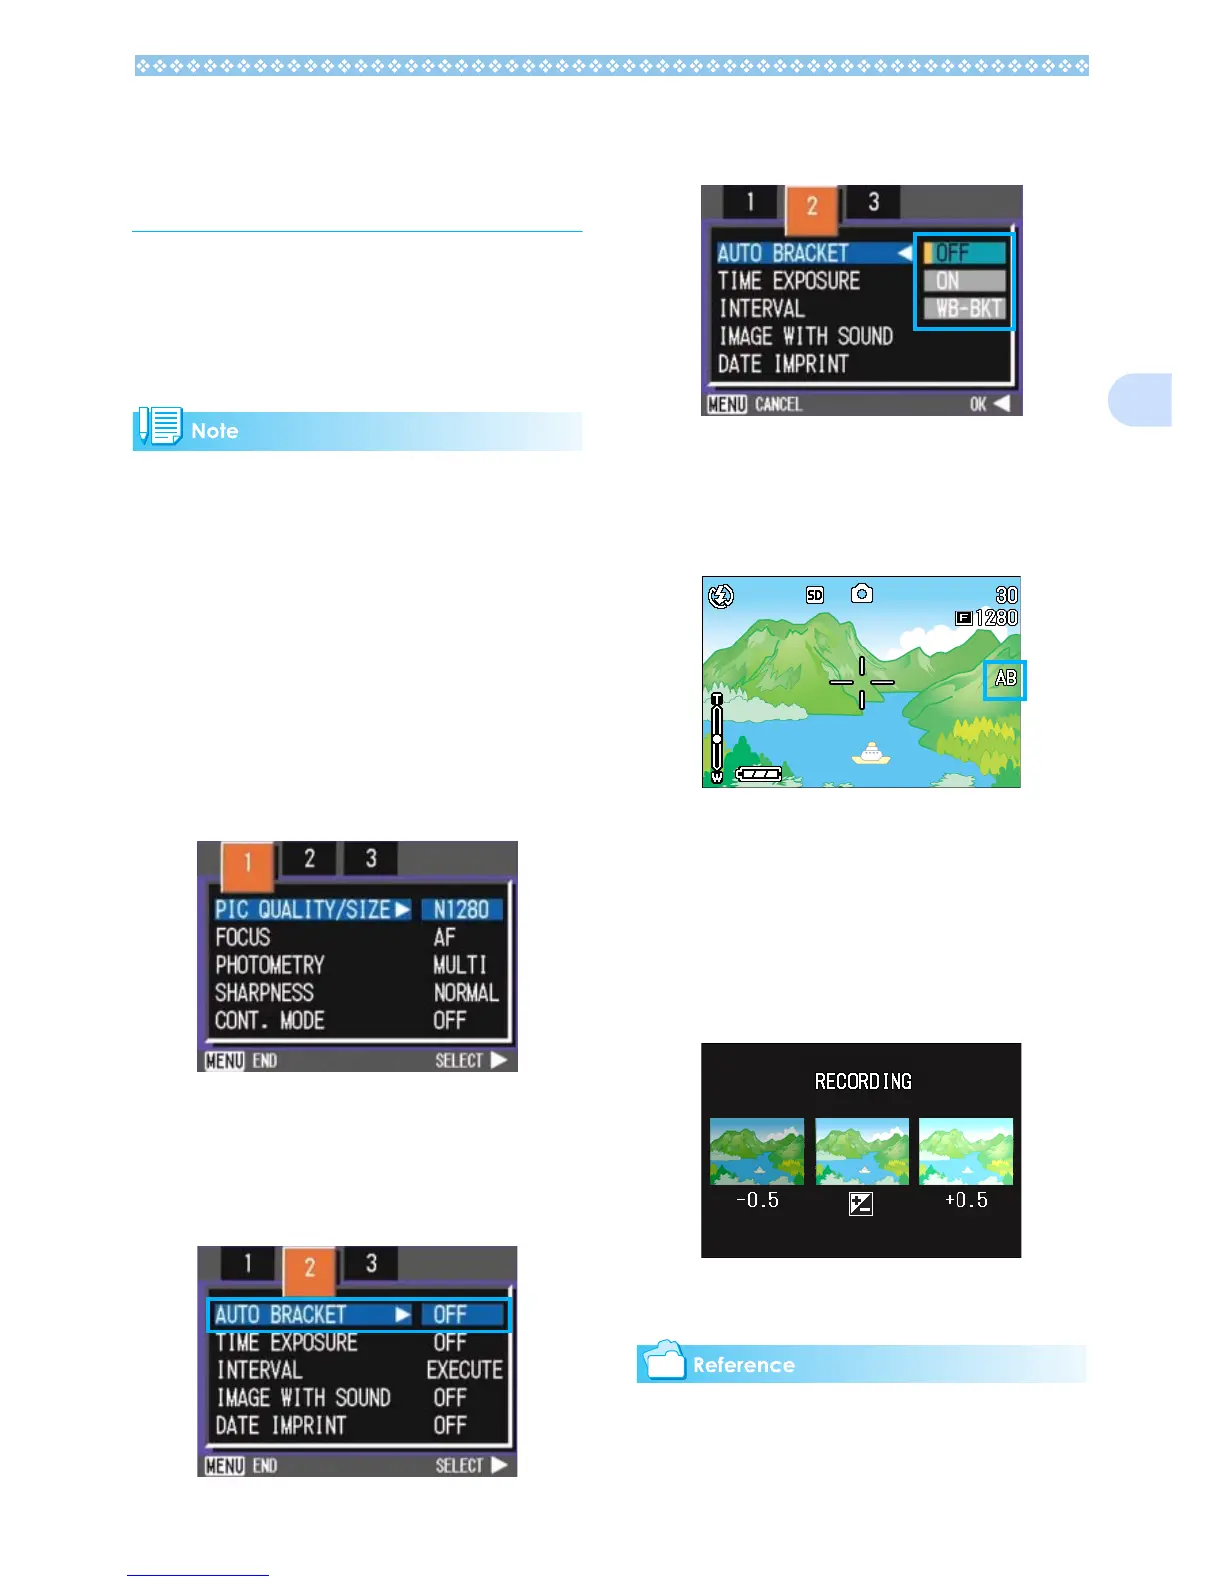
5. Select [ON] and then press the
O
OO
O or #
##
# button.
6. If you pressed the #
##
# button,
press also the M
MM
M button.
The Shooting Menu closes and [AB] is
displayed on the right side of the screen.
7. Press the shutter button.
Three consecutive shots are taken, with
the specified Exposure Compensation
value as the standard, at -0.5EV, ±0, and
+0.5EV. After shooting, three still images
are displayed on the LCD Monitor. They
are, from the left, at -0.5EV (darker), stan-
dard compensation, and +0.5EV (brighter).
This setting will be used for shooting until
you change it.
• For how to change the Exposure Compen-
sation see P.60.
• For how to change the White Balance see P.62.
 Loading...