Installation Procedure
SM 1-11 J007/J010/J011
J007/J010/
J011
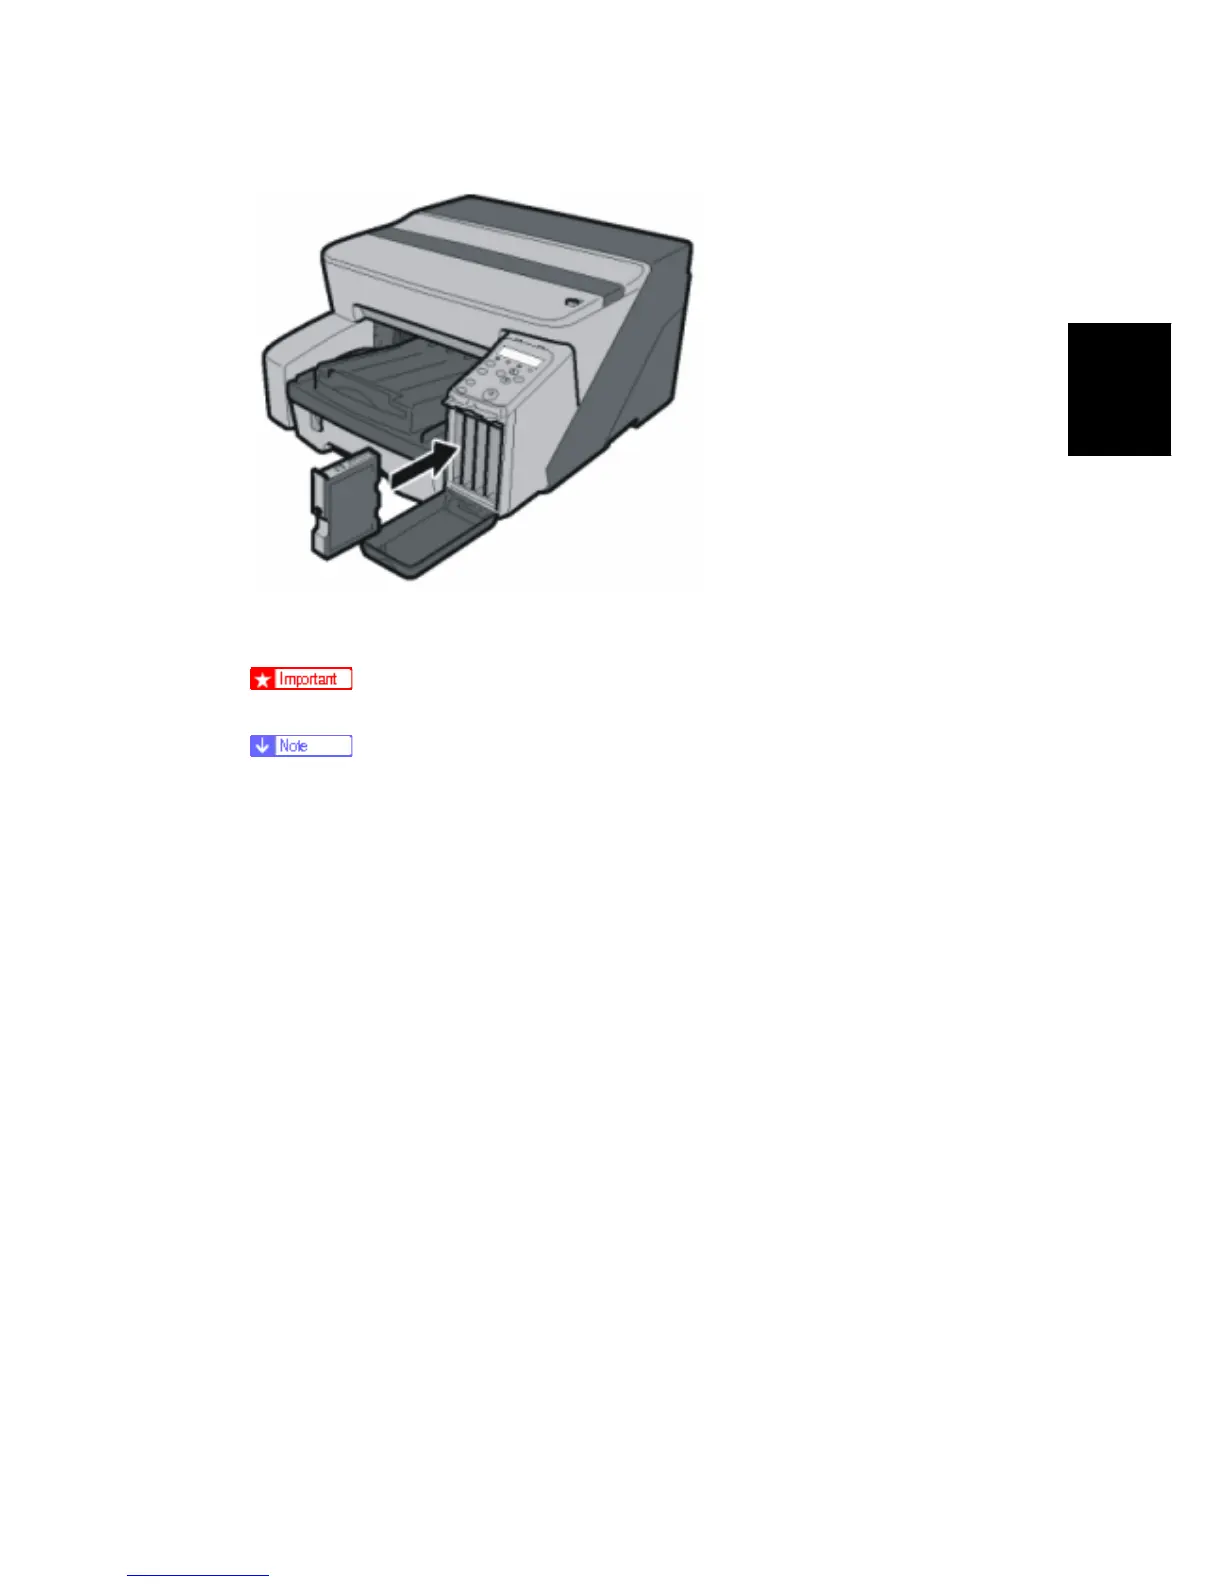
3. Remove the Black Print cartridge from its package.
4. Hold the black cartridge as shown.
Never touch the metal contact plate on the rear side.
Each cartridge is marked with a color label.
The Cartridge End LED marks below the display show you the order of
insertion from left to right (K (Black), C (Cyan), M (Magenta), Y (Yellow)
5. Insert the black ink cartridge in the first slot on the left.
6. Press on the area marked "PUSH" to insert the cartridge completely.
7. Continue from the left. Do Steps 4-6 again to insert the other cartridges.
8. Make sure that the four cartridges are inserted in this order, from left to right:
K (Black)
C (Cyan)
M (Magenta)
Y (Yellow)
9. Close the right front door.
 Loading...