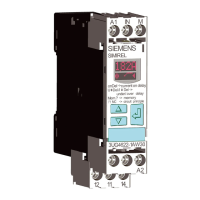
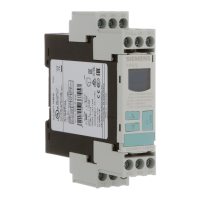
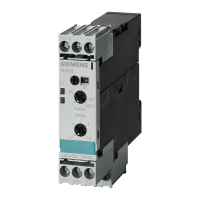
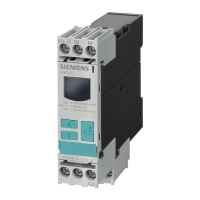
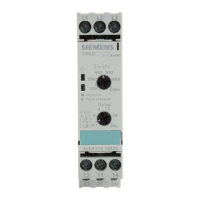
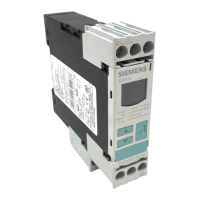
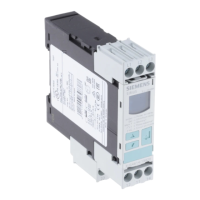
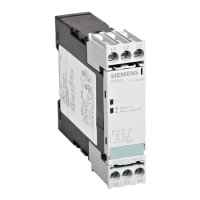
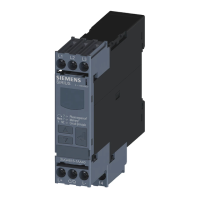
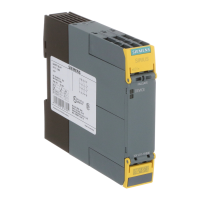
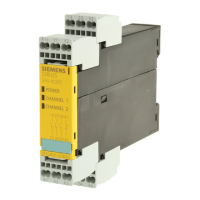
3.4 Mounting / removal
3.4.1 Mounting 3RR2 current monitoring relay
Mounting options
3RR2 current monitoring relays are matched to 3RT2 contactors and 3RF34 (size S0) solid-state
contactors in terms of their electrical and mechanical features. As a result, direct mounting can
be achieved easily.
Alternatively, the devices can also be installed individually in the case of stand-alone assembly
or if a 3RU2 / 3RB3 overload relay is being used at the same time. The accessories required for
separate mounting are described in Chapter "Terminal support for stand-alone assembly
(Page 242)."
Minimum clearance
The following minimum clearances from grounded and live parts must be complied with when
installing the 3RR2 monitoring relay:
• At the side: 6 mm
• Forward (on front): 6 mm
Mounting position
It can be mounted in any position.
Direct mounting on 3RT2 contactor / 3RF34 (size S0) solid-state contactor
The diagram below shows an example mounting scenario based on mounting the 3RR21 analog
setting current monitoring relay, size S0, on the 3RT2 contactor.
System overview
3.4 Mounting / removal
SIRIUS 3UG4 / 3RR2 monitoring relay
32 Equipment Manual, 07/2021, NEB927043002000/RS-AD/005
 Loading...

