Triggering
3-68
CSA7000B Series & TDS7000B Series Instruments User Manual
You set trigger slope by pushing the SLOPE button on the front panel to toggle
between the positive-going and negative-going edge.
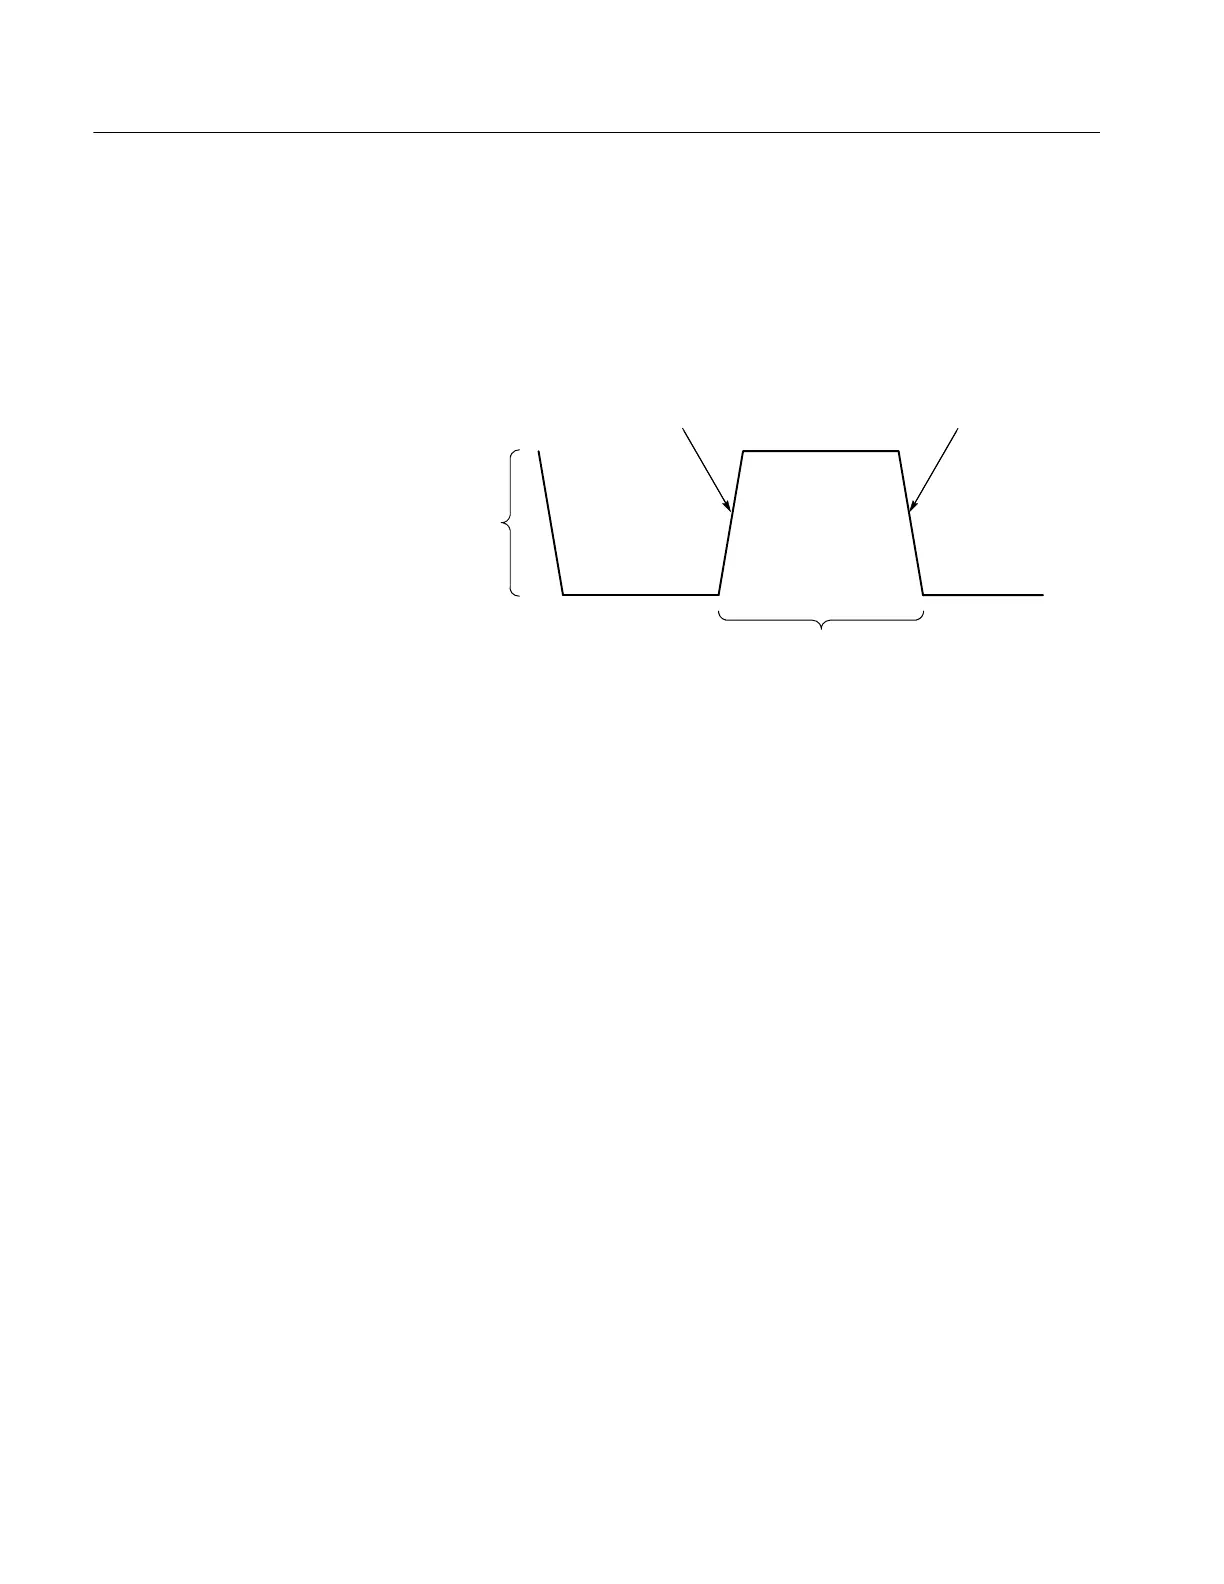
The level control determines where on that edge the trigger point occurs. (See
Figure 3--24. ) You can set the trigger level with the LEVEL knob on the front
panel. Push the LEVEL knob to automatically set the trigger level to the 50%
amplitude point of the signal.
Positive-going edge Negative-going edge
Trigger slope can be positive or negative.
Trigger level
can be adjusted
vertically.
Figure 3- 24: Slope and level controls help define the trigger
You can trigger with the A (Main) trigger system alone or you can combine the
A (Main) trigger with the B (Delayed) trigger to trigger on sequential events.
When using sequential triggering, the A trigger event arms the trigger system
and then the B trigger event triggers the instrument when the B trigger condi-
tions are met. A and B triggers can (and typically do) have separate sources. The
B trigger condition can be based on a time delay or a specified number of
counted events. See Sequential Triggering on page 3--103 to learn how to use the
delayed trigger system.
Triggering from the Front Panel
The front panel provides quick access to the most frequently used trigger
controls. The trigger readout shows you the state of the trigger system.
The slope, coupling, and source controls only work for edge triggering. To
access the advanced trigger controls, display the Trigger Control window by
pushing the ADVANC ED button (See Advanced Triggering on page 3--77 for
more information).
Use the procedure that follows when setting up the instrument to trigger using
the front-panel controls.
Delayed Trigger System
Access Procedures
 Loading...


