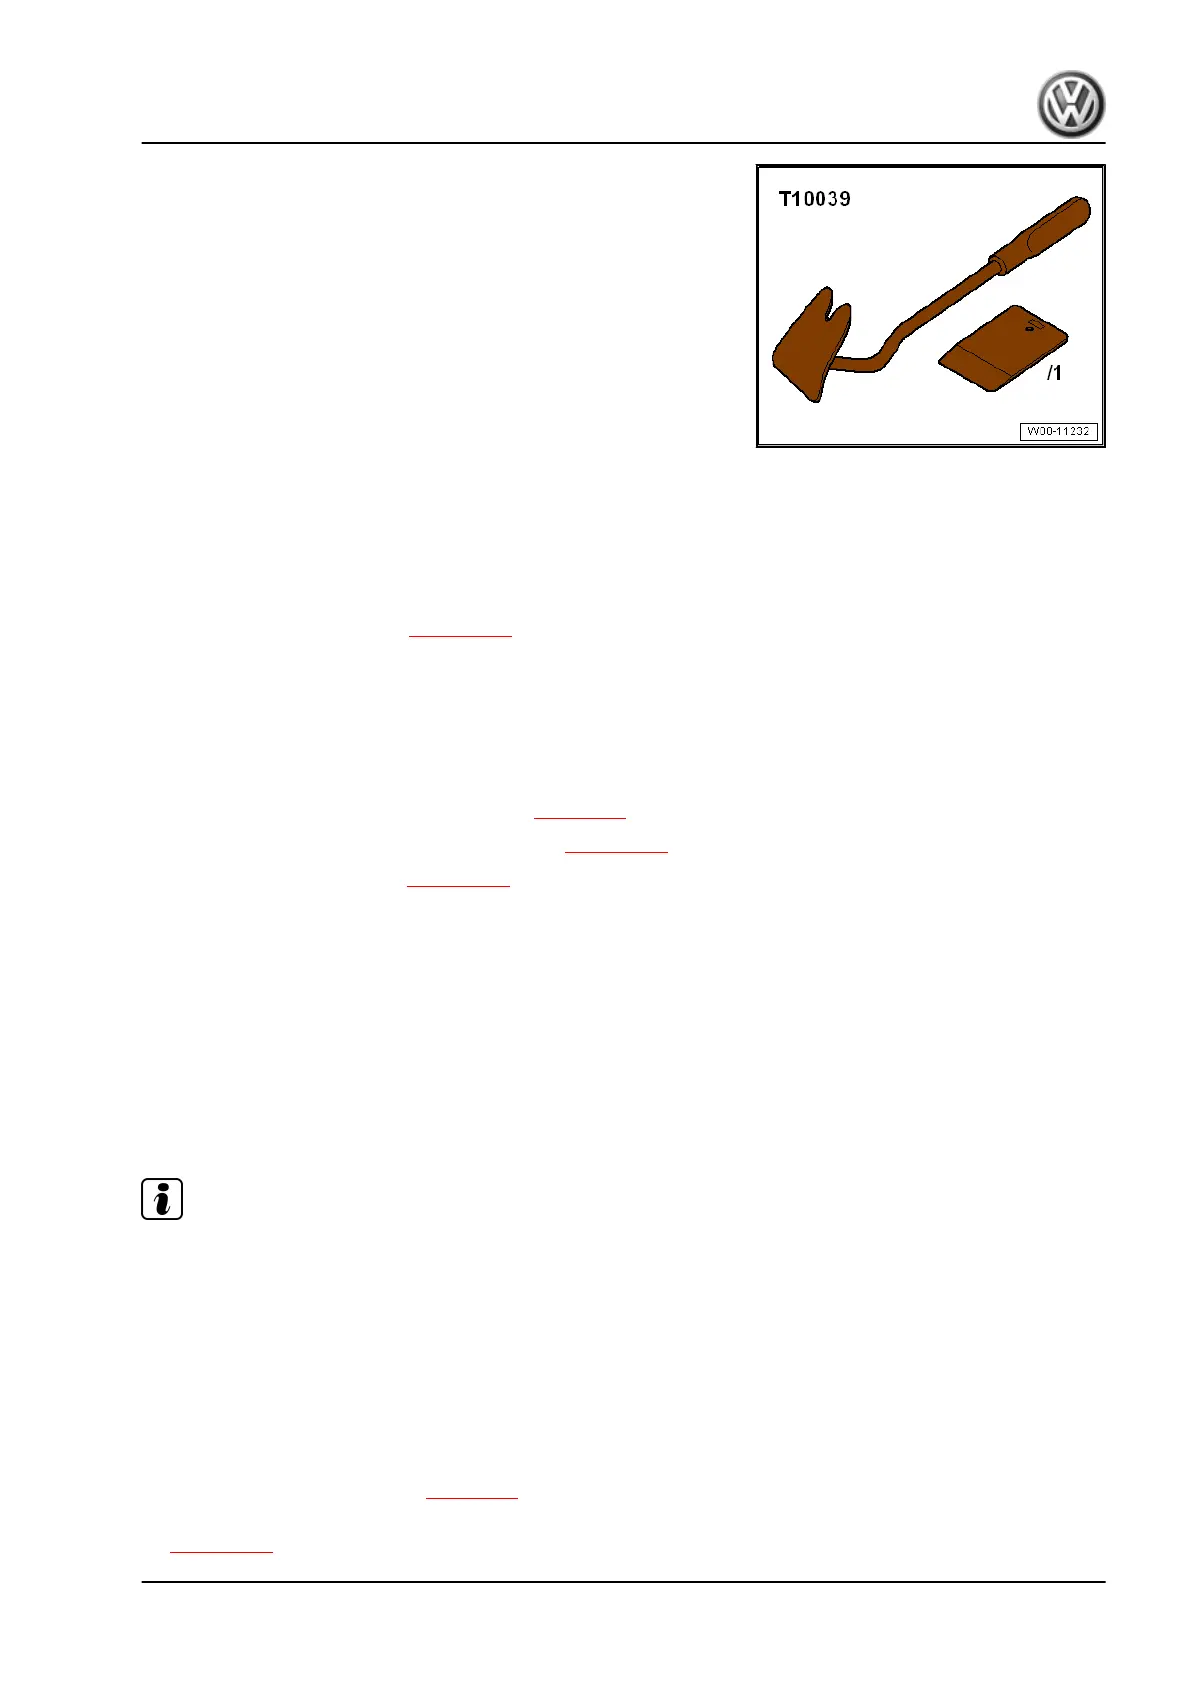
♦ Release lever - T10039-
Removing
– Move front seats as far back as possible.
– Disconnect earth wire at battery negative terminal ⇒ Electrical
system; Rep. gr. 27 ; Battery; Disconnecting and connecting
battery .
– Remove driver side airbag ⇒ page 149 .
– Remove steering wheel ⇒ Running gear, axles, steering; Rep.
gr. 48 ; Steering wheel; Removing and installing steering
wheel .
– Remove steering column switch ⇒ Electrical system; Rep. gr.
94 ; Steering column switch module; Removing and installing
steering column switch module .
– Remove dash panel cover on driver side ⇒ page 28 .
– Remove covers on both sides of dash panel ⇒ page 199 .
– Remove dash panel vents ⇒ page 213 .
– Remove dash panel insert ⇒ Electrical system; Rep. gr. 90 ;
Dash panel insert; Removing and installing dash panel insert
- KX2- .
– Remove radio/radio navigation system ⇒ Communication;
Rep. gr. 91 ; Radio; Removing and installing radio or ⇒ Com‐
munication; Rep. gr. 91 ; Navigation system; Removing and
installing control unit for navigation system .
– If fitted, unclip sunlight penetration photosensor - G107- ⇒
Heating, air conditioning; Rep. gr. 87 ; Other control compo‐
nents; Removing and installing sunlight penetration photosen‐
sor - G107- .
Note
Using wire or a cord, secure sunlight penetration photosensor -
G107- in such a way that the connector can be guided through
the assembly aperture for the sunlight penetration photosensor in
the dash panel when installing the dash panel. Otherwise the
connector for the sunlight penetration photosensor may be out of
reach after the dash panel has been installed.
– Remove operating and display unit for heater and air condi‐
tioning system ⇒ Heating, air conditioning; Rep. gr. 87 ;
Operating and display unit; Removing and installing operating
and display unit .
– Remove glove compartment ⇒ page 32 .
– Disconnect connector for front passenger airbag
⇒ page 154 .
Transporter 2016 ➤
General body repairs, interior - Edition 03.2020
3. Dash panel 207

 Loading...