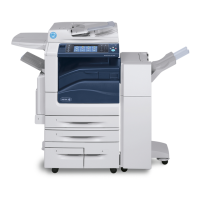
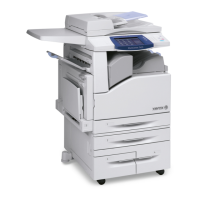
Scan WorkCentre
®
XXXX
292 User Guide
Use the Original Type options to define the type of original being scanned. Making the correct
selection enhances the quality of your output image.
1. Load your documents face up in the document feeder input tray. Adjust the guide to just touch
the documents.
Or
Lift up the document feeder. Place the document face down onto the document glass and
register it to the arrow at the top left corner. Close the document feeder.
2. Press the Clear All button on the control panel to cancel any previous programming selections.
3. Press the Services Home button.
4. Select the Single-Touch Scan button on the touch screen.
Note: Your System Administrator can customize the name of the Single-Touch Scan button.
Check with your System Administrator if you do not see a Single-Touch Scan button on the
touch screen.
5. Select the Original Type option required.
• Photo and Text produces high quality pictures but slightly reduces the sharpness of text
and line art. This setting is recommended for originals containing high quality photographs
or line art and text.
• Photo gives the best quality for photos but reduced quality text and line art. It is the best
option for originals containing photos or continuous tones without any text or line art.
• Tex t produces sharper edges and is recommended for text and line art.
• Map is used if your original is a map.
• Newspaper / Magazine is used if your original is from a magazine or newspaper that
contains photographs or text.
Note: The Text option requires less transmission time.
6. Select the How Original was Produced option required.
• Printed produces the best results for newspaper, magazine, map and other professionally
printed originals.
• Photocopied is used for most photocopied and laser printed originals.
• Photograph is recommended for originals containing high quality photographs on
photographic paper.
• Inkjet is used specifically for originals produced on inkjet printers.
• Solid Ink is recommended for originals produced on solid ink devices.
7. Select the OK button.
8. Press the Start button on the control panel to scan the original.
9. Remove the original from the document feeder or document glass when scanning has
completed.
10. Press the Job Status button on the device control panel to view the job list and check the status
of the job.
More Information
Using a User ID to Log In at the Device
System Administrator Guide www.xerox.com/support.
Using Internet Services to find System Administrator Contact Details

 Loading...


