1 - 4 Overview
Quick Start Guide
1
System Startup
1. Remove all packing materials.
2. Place the computer on a stable surface.
3. Securely attach any peripherals you want to use with the
notebook (e.g. keyboard and mouse) to their ports.
4. Attach the AC adapter to the DC-In jack at the rear of the
computer, then plug the AC power cord into an outlet, and connect
the AC power cord to the AC adapter.
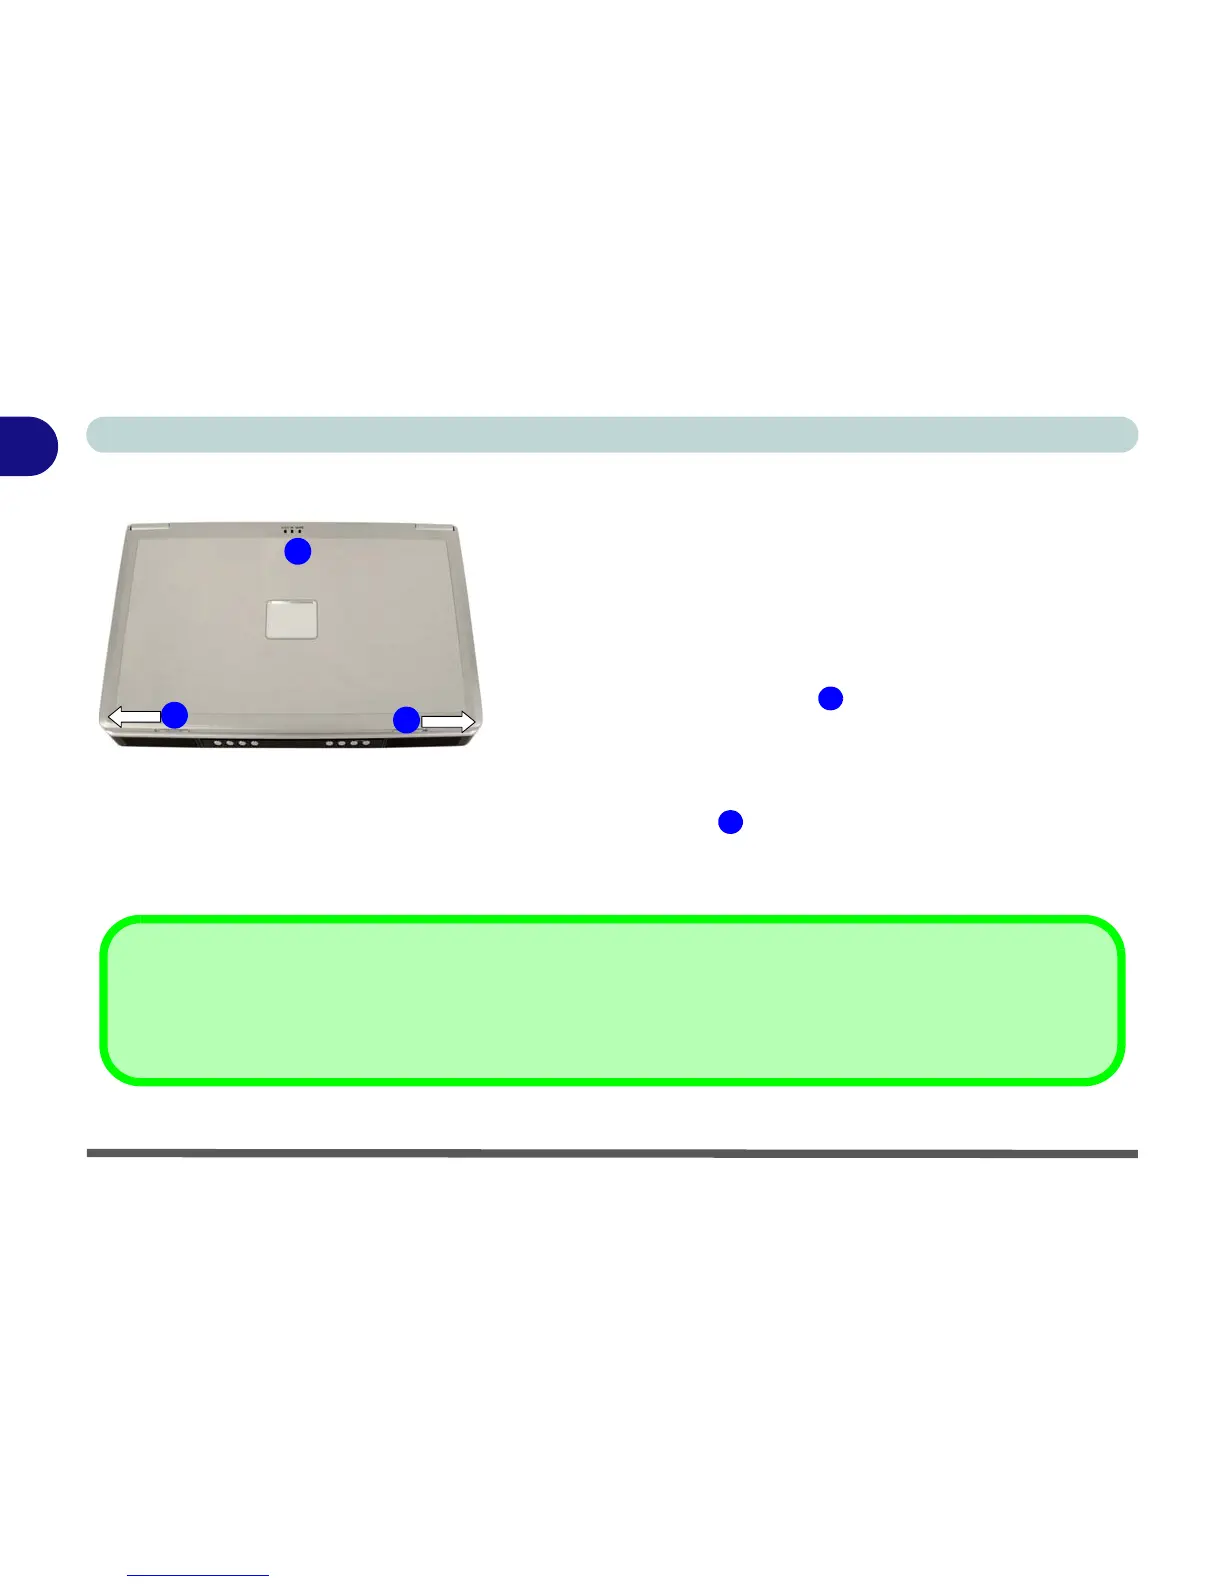
5. Move and hold the LCD latches in the direction of the arrows to
release the top cover.
6. Raise the lid/LCD to a comfortable viewing angle, and press the
power button to turn the computer “on”.
7. Adjust the LCD panel to a comfortable viewing angle.
8. The LED indicators show the power and battery status of the
computer.
Figure 1 - 1 - Top Panel with LCD Closed
1
2
Shutdown
Please note that you should always shut your computer down by choosing the Shut Down/Turn Off Computer command
from the Start menu in Windows. This will help prevent hard disk or system problems.
1. LCD Latches
2. LED Power & Communication
Indicators
1
1
2
 Loading...