20
Workshop Manual
Smart Tachograph EFAS-4.10/4.11
y Close the battery clip by inserting the two hooks under the nipples on the battery holder and interlock the hooks with
each other.
y Run the battery cable under the retaining hooks of the mounting plate to prevent the battery cable from obstructing the
movement of the orange actuator.
y With the base plate positioned perpendicular to the underside of the device and with the notch/seam behind the front
panel, press the base plate down onto the underside of the device. Make sure that the notch/seam of the base plate
remains inside the front panel.
y Pressing on both sides, slide the base plate backward until it clicks into place.
y Insert the black seal holder into the recess in the base plate and use the M3x6 screw to secure the base plate.
y Punch a seal with your workshop’s lead sealing pliers and then press it into the seal holder until you hear it click into place.
y Slide the cover gasket back over the device and insert it again correctly from the back into the EFAS front panel.
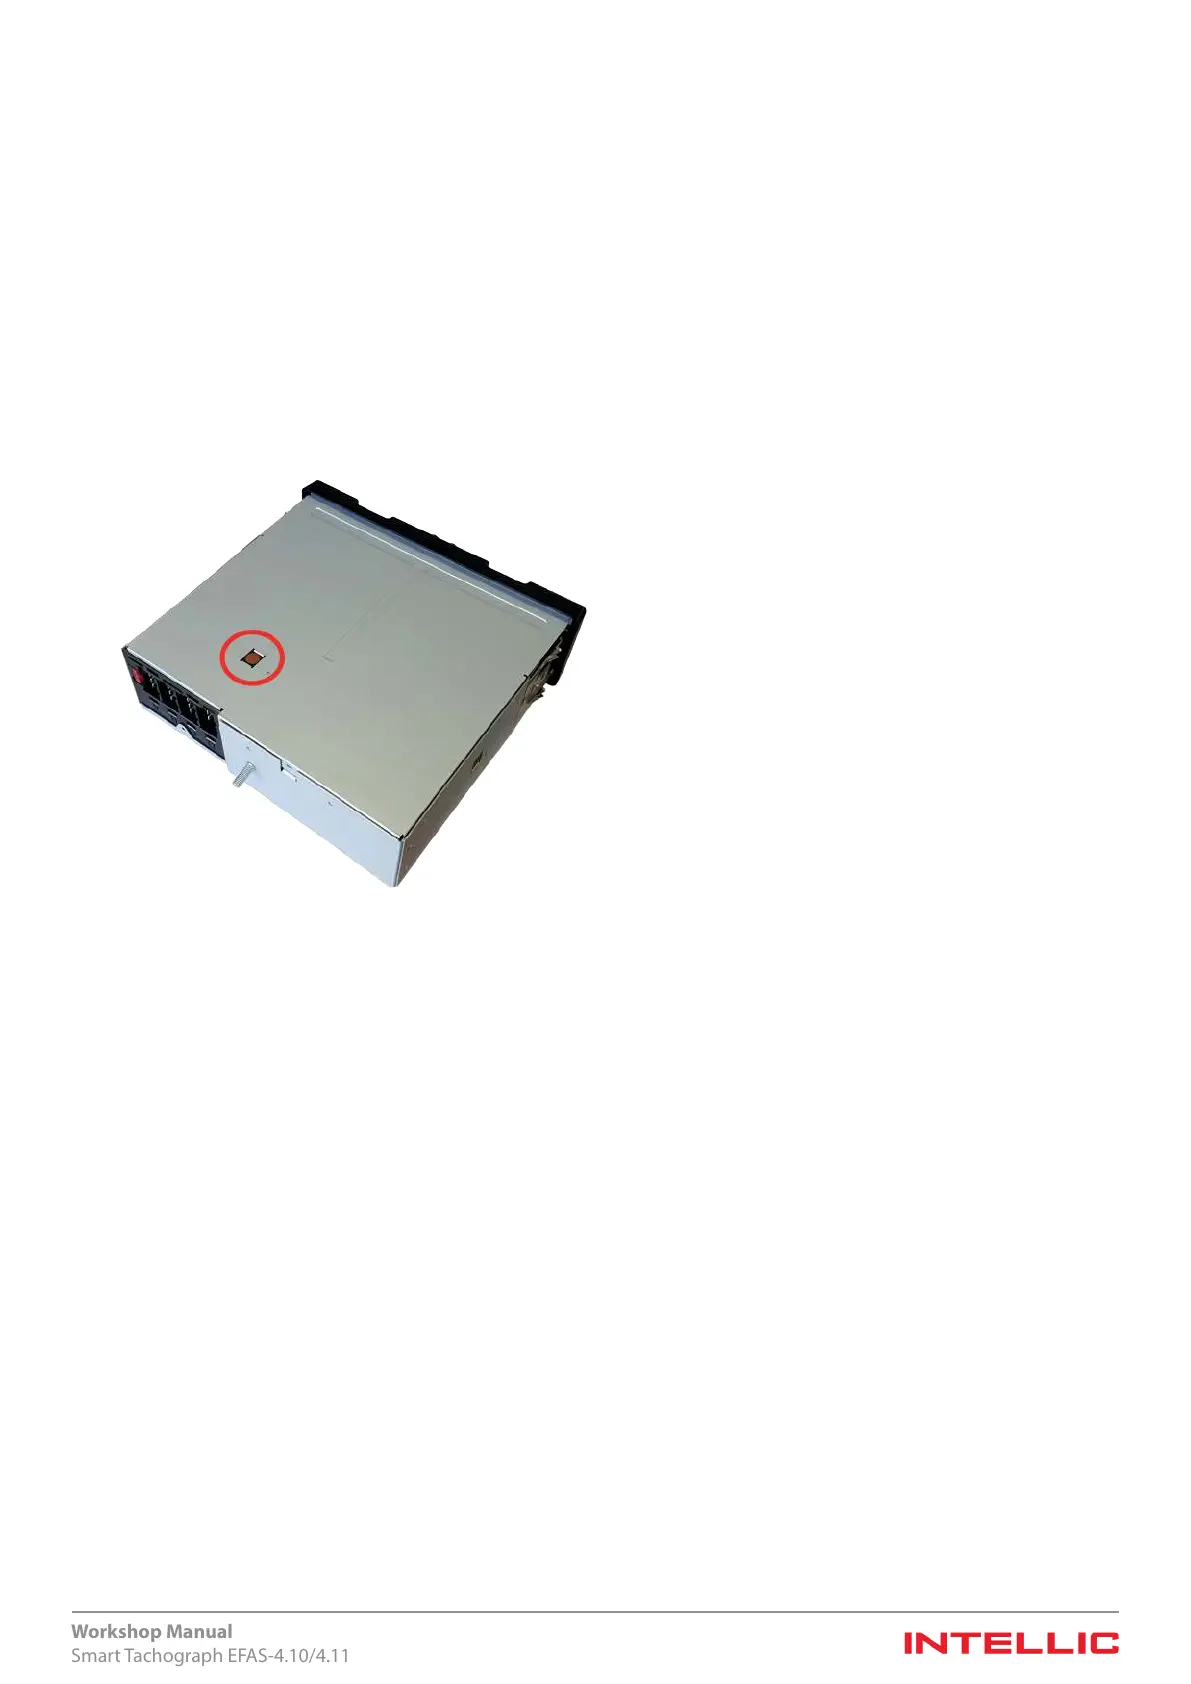
6.2.7 Seals
The tachograph EFAS must be sealed at the bottom plate (underside of the device).
Figure 15 — Seal at the bottom plate
Whereas the seal in the base plate clicks into a separate seal holder, the receptacle for the seal in the connector-panel cover is
integrated.
Before pressing the seal into its holder, the blank seal must rst be punched with the workshop’s own sealing pliers.
When pressing a seal into place, push it into the recess in far enough that you can hear it click into place, and ensure that the
seal is ush with its holder.
6.3 Preparation and conguration before activation of the control unit
For devices older than 12 months, the buer battery should be replaced before activation.
Before the activation, check whether a newer version of the EFAS software is available from the manufacturer.
Before activating the tachograph EFAS, all relevant parameters as well as the known calibration data, e.g. via the EFAS Service
Tool, should be entered into the EFAS. For this purpose, EFAS should already be installed in the vehicle and connected to the
electrical connections.
For automatic recognition of setting values of the most important communication parameters, the “Automatic detection”
function can be started. For more information see section 8.4.
6.4 Activating the tachograph EFAS
The tachograph EFAS is supplied in the “not activated“ state. It must be connected to all the necessary and legally specied
system components before being activated. When activated, the motion sensor, the gauge in the instrument panel and the
DSRC module must already be connected at the very least. The speed indicator of the tachometer may display the maximum
value when the vehicle is stationary provided it has not been correctly paired with the motion sensor.

 Loading...