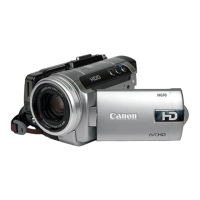
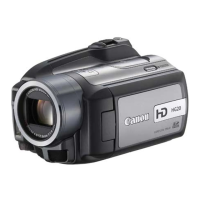
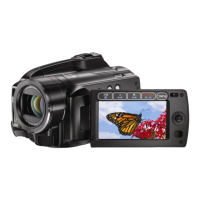
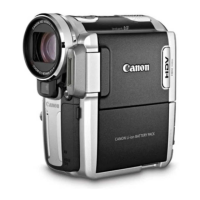
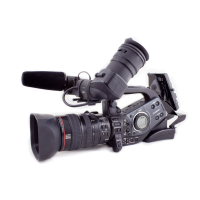
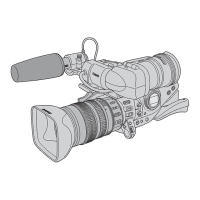
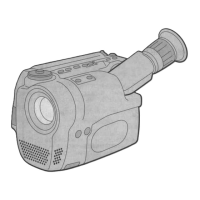
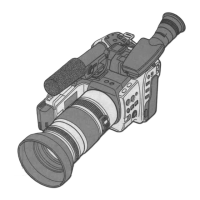
Video
This
chapter
covers
functions
related
to
shooting
movies, including
recording, playback, menu
options,
and hard
disk
operations.
Recording
Shooting
Video
Before
You
Begin
Recording
Make a test recording first to check if
the camcorder operates correctly. If
necessary, initialize the hard disk
(OJ
64).
(OJ
24)
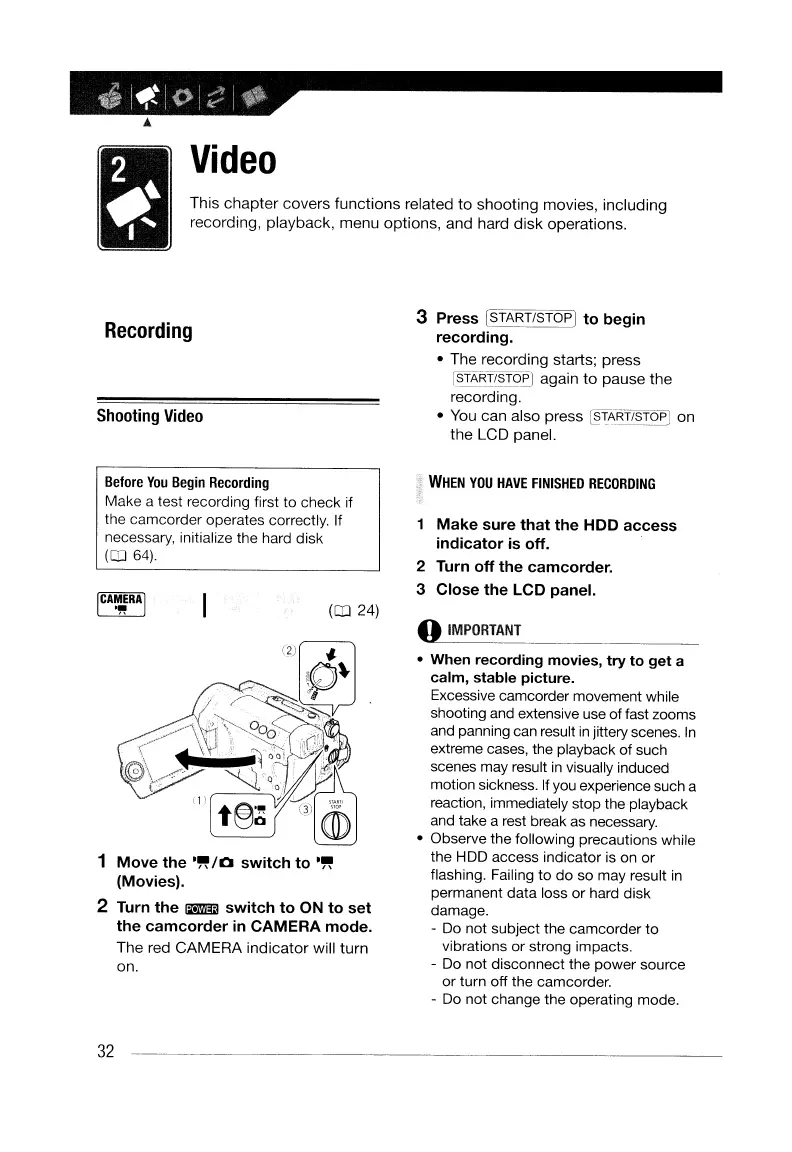
1
Move
the
...
/0
switch
to
...
(Movies).
2 Turn
the
Iil!ri'ml
switch
to
ON
to
set
the
camcorder
in
CAMERA
mode.
The red
CAMERA
indicator
will
turn
on.
32
3
Press
ISTART/STOPI
to
begin
recording
.
• The recording starts; press
fSTART/STO~
again
to
pause
the
recording.
• You can also press
~RT/STOPI
on
the LCD panel.
WHEN
YOU
HAVE
FINISHED
RECORDING
Make
sure
that
the
HOD
access
indicator
is
off.
2 Turn
off
the
camcorder.
3
Close
the
LCD
panel.
o
IMPORTANT
• When recording movies,
try
to
get
a
calm, stable picture.
Excessive camcorder movement while
shooting and extensive use of fast zooms
and panning can result
in
jittery scenes.
In
extreme cases, the playback of such
scenes may result
in
visually induced
motion sickness.
If
you experience such a
reaction, immediately stop the playback
and take a rest break
as
necessary.
• Observe the following precautions while
the
HOD
access indicator is on or
flashing. Failing to do so may result
in
permanent data loss or hard disk
damage.
- Do not subject the camcorder to
vibrations or strong impacts.
- Do not disconnect the power source
or turn off the camcorder.
- Do not change the operating mode.
Video
This
chapter
covers
functions
related
to
shooting
movies, including
recording, playback, menu
options,
and hard
disk
operations.
Recording
Shooting
Video
Before
You
Begin
Recording
Make a test recording first to check if
the camcorder operates correctly. If
necessary, initialize the hard disk
(OJ
64).
(OJ
24)
1
Move
the
...
/0
switch
to
...
(Movies).
2 Turn
the
Iil!ri'ml
switch
to
ON
to
set
the
camcorder
in
CAMERA
mode.
The red
CAMERA
indicator
will
turn
on.
32
3
Press
ISTART/STOPI
to
begin
recording
.
• The recording starts; press
fSTART/STO~
again
to
pause
the
recording.
• You can also press
~RT/STOPI
on
the LCD panel.
WHEN
YOU
HAVE
FINISHED
RECORDING
Make
sure
that
the
HOD
access
indicator
is
off.
2 Turn
off
the
camcorder.
3
Close
the
LCD
panel.
o
IMPORTANT
• When recording movies,
try
to
get
a
calm, stable picture.
Excessive camcorder movement while
shooting and extensive use of fast zooms
and panning can result
in
jittery scenes.
In
extreme cases, the playback of such
scenes may result
in
visually induced
motion sickness.
If
you experience such a
reaction, immediately stop the playback
and take a rest break
as
necessary.
• Observe the following precautions while
the
HOD
access indicator is on or
flashing. Failing to do so may result
in
permanent data loss or hard disk
damage.
- Do not subject the camcorder to
vibrations or strong impacts.
- Do not disconnect the power source
or turn off the camcorder.
- Do not change the operating mode.
 Loading...