3. Execute the following command to add entries to the ARP table for managing IP addresses and corresponding MAC
addresses.
arp -s [IP address] [the printer's MAC address you have verified]
Example: arp -s xxx.xxx.xxx.xxx xx-xx-xx-xx-xx-xx
Note
• In Mac OS X when using Terminal, enter the arp command in the format
arp -s xxx.xxx.xxx.xxx xx-xx-xx-xx-xx-xx.
For details, refer to the help file for the command line.
4.
Execute the following command to send the IP address to the printer and configure it.
ping [IP address as specified in the ARP command] -l 479
Example: ping xxx.xxx.xxx.xxx -l 479
Note
• In -l, the l is the letter l.
• In Mac OS X when using Terminal, enter the ping command in the format
ping -s 479 xxx.xxx.xxx.xxx.
For details, refer to the help file for the command line.
Note
• The subnet mask and default gateway are set to 0.0.0.0. Use RemoteUI to change the subnet mask and de-
fault gateway to match your network settings.
For details on RemoteUI, see "Using RemoteUI ." →P.938
Configuring TCP/IPv6 Network Settings
When printing in a TCP/IPv6 network, you must configure the TCP/IPv6 settings on the Control Panel.
Follow the steps below to configure the TCP/IPv6 network settings.
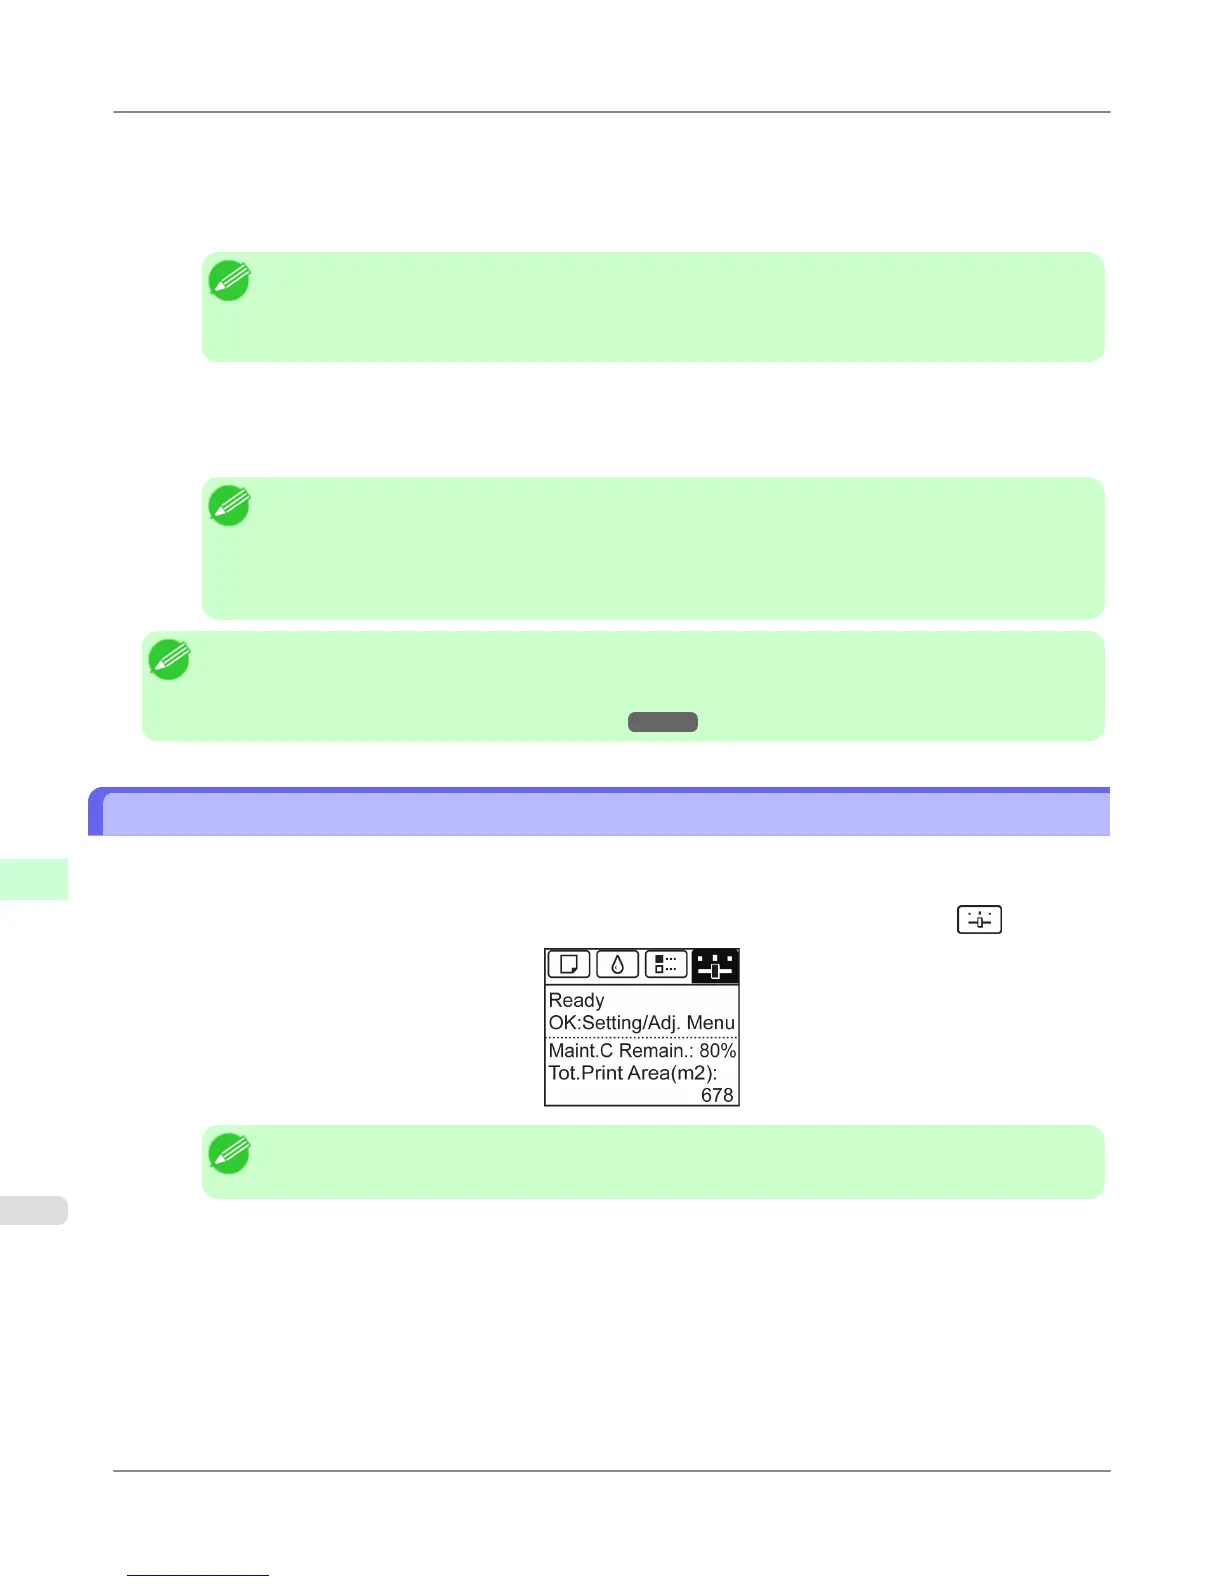
1. On the Tab Selection screen of the Control Panel, press ◀ or ▶ to select the Settings/Adj. tab ( ).
Note
• If the Tab Selection screen is not displayed, press the Menu button.
2. Press the OK button.
The Set./Adj. Menu is displayed.
3. Press ▲ or ▼ to select Interface Setup, and then press the OK button.
4. Press ▲ or ▼ to select TCP/IP, and then press the OK button.
Network Setting
>
Initial Settings
>
Configuring TCP/IPv6 Network Settings iPF6300S
10
944
 Loading...


