5. Press ▲ or ▼ to select Head Posi. Adj., and then press the OK button.
6. Press ▲ or ▼ to select Auto(Standard), Auto(Advanced), or Auto(Expansion), and then press the OK button.
A test pattern is printed for adjustment.
Adjustment is now finished if you have printed on a roll.
Note
• Auto(Expansion) may be unavailable in some cases, even if it is displayed in the menu.
If so, execute Auto(Advanced) once.
7. If you are printing on sheets, a confirmation message is displayed requesting you to continue printing. Press the OK
button and follow the instructions displayed.
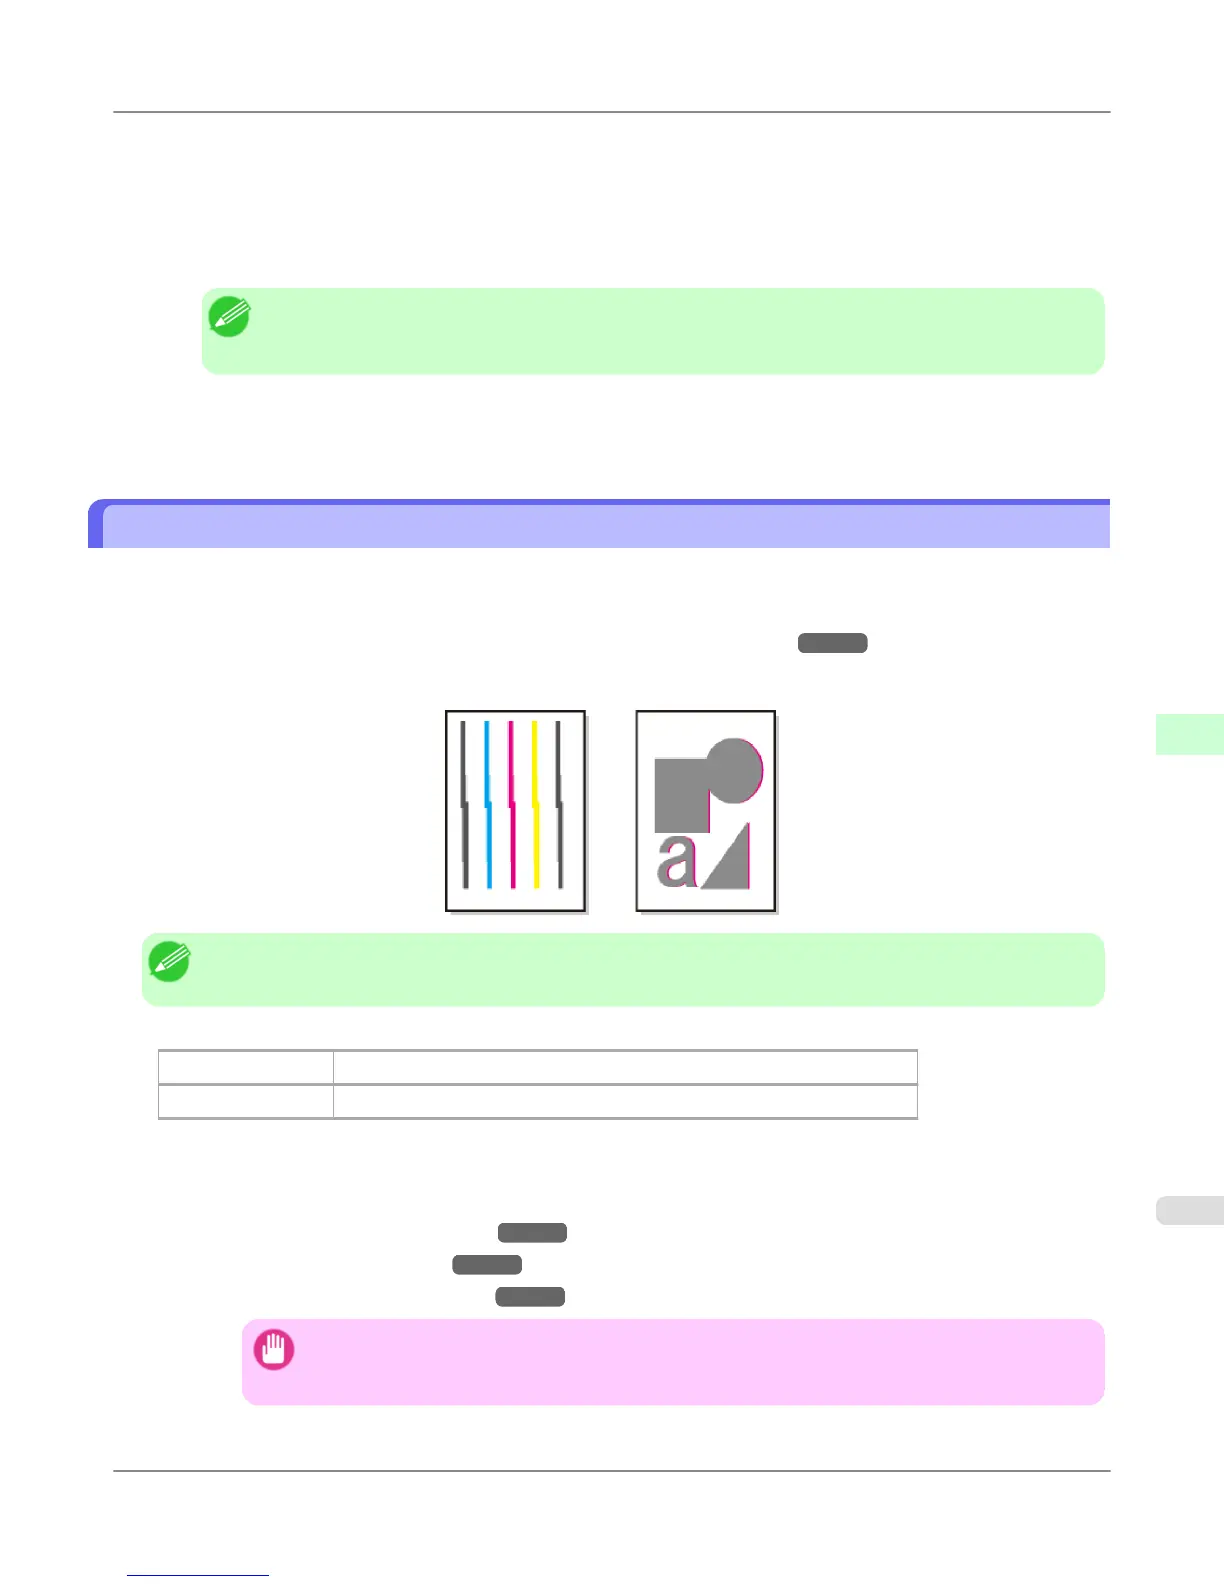
Manual Adjustment to Straighten Lines and Colors (Head Posi. Adj.)
If printed vertical lines are warped or colors are out of alignment, execute Head Posi. Adj. to adjust the Printhead align-
ment.
Normally, execute Auto(Standard), Auto(Advanced), or Auto(Expansion).
(See "Automatic Adjustment to Straighten Lines and Colors (Head Posi. Adj.).") →P.827
However, when printing on special paper, or if printing is not improved after Auto(Advanced), try Manual.
Manual adjustment requires you to examine the printed test pattern and enter an adjustment value.
Note
• We recommend using the type of paper you use most often for adjustment.
Items to Prepare
When Using Rolls An unused roll at least 10 inches wide
When Using Sheets Two sheets of unused paper, A4/Letter size (or one sheet when using A2)
Perform adjustment as follows.
1. Load the paper.
• Loading Rolls on the Roll Holder →P.781
• Loading Rolls in the Printer →P.784
• Loading Sheets in the Feed Slot →P.809
Important
• Always make sure the loaded paper matches the type of paper specified on the printer. Adjust-
ment cannot be completed correctly unless the loaded paper matches the settings.
Adjustments for Better Print Quality
>
Adjusting the Printhead
>
iPF6300S Manual Adjustment to Straighten Lines and Colors (Head Posi. Adj.)
7
829
 Loading...