DESIGNER’S HANDBOOK 4189350049C EN Page 193 of 206
13.2 Application 2 – azimuth CANopen and analogue system
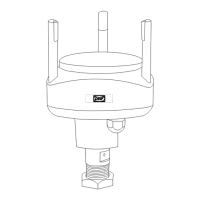
The azimuth angle is received from a CAN angle transmitter. All other data types are analogue and are supplied
from the control system to the AX1 extension module(s) mounted on the XDi 1.
Analogue inputs are default 4 to 20 mA, but this can be changed from the XDi installation menu.
The standard library is set up to share the analogue data via the XDi-net; this means that if analogue signals are
connected to one XDi, it will transmit the data on CAN, using the plug and play XDi-net protocol. This makes
system integration quite easy: select the right input setup profiles according to the table below and fine-adjust the
analogue input on the XDi, to which the analogue signals are connected; then the complete system is set up and
ready.
Default setup for the XDi standard library is to use both CAN 1 and CAN 2, which means that you can select on
which bus you want to transmit CAN data. CAN settings can be changed via the XDi installation menu, and each
data type can be limited to one bus, also from the menu.
If presentation of set point (commanded value) data is activated in the virtual indicator, the additional analogue
inputs must be connected.
Select a different NodeID for each of the 3 XDi indicators, and make sure that it is not already used by another
CAN device on the bus.
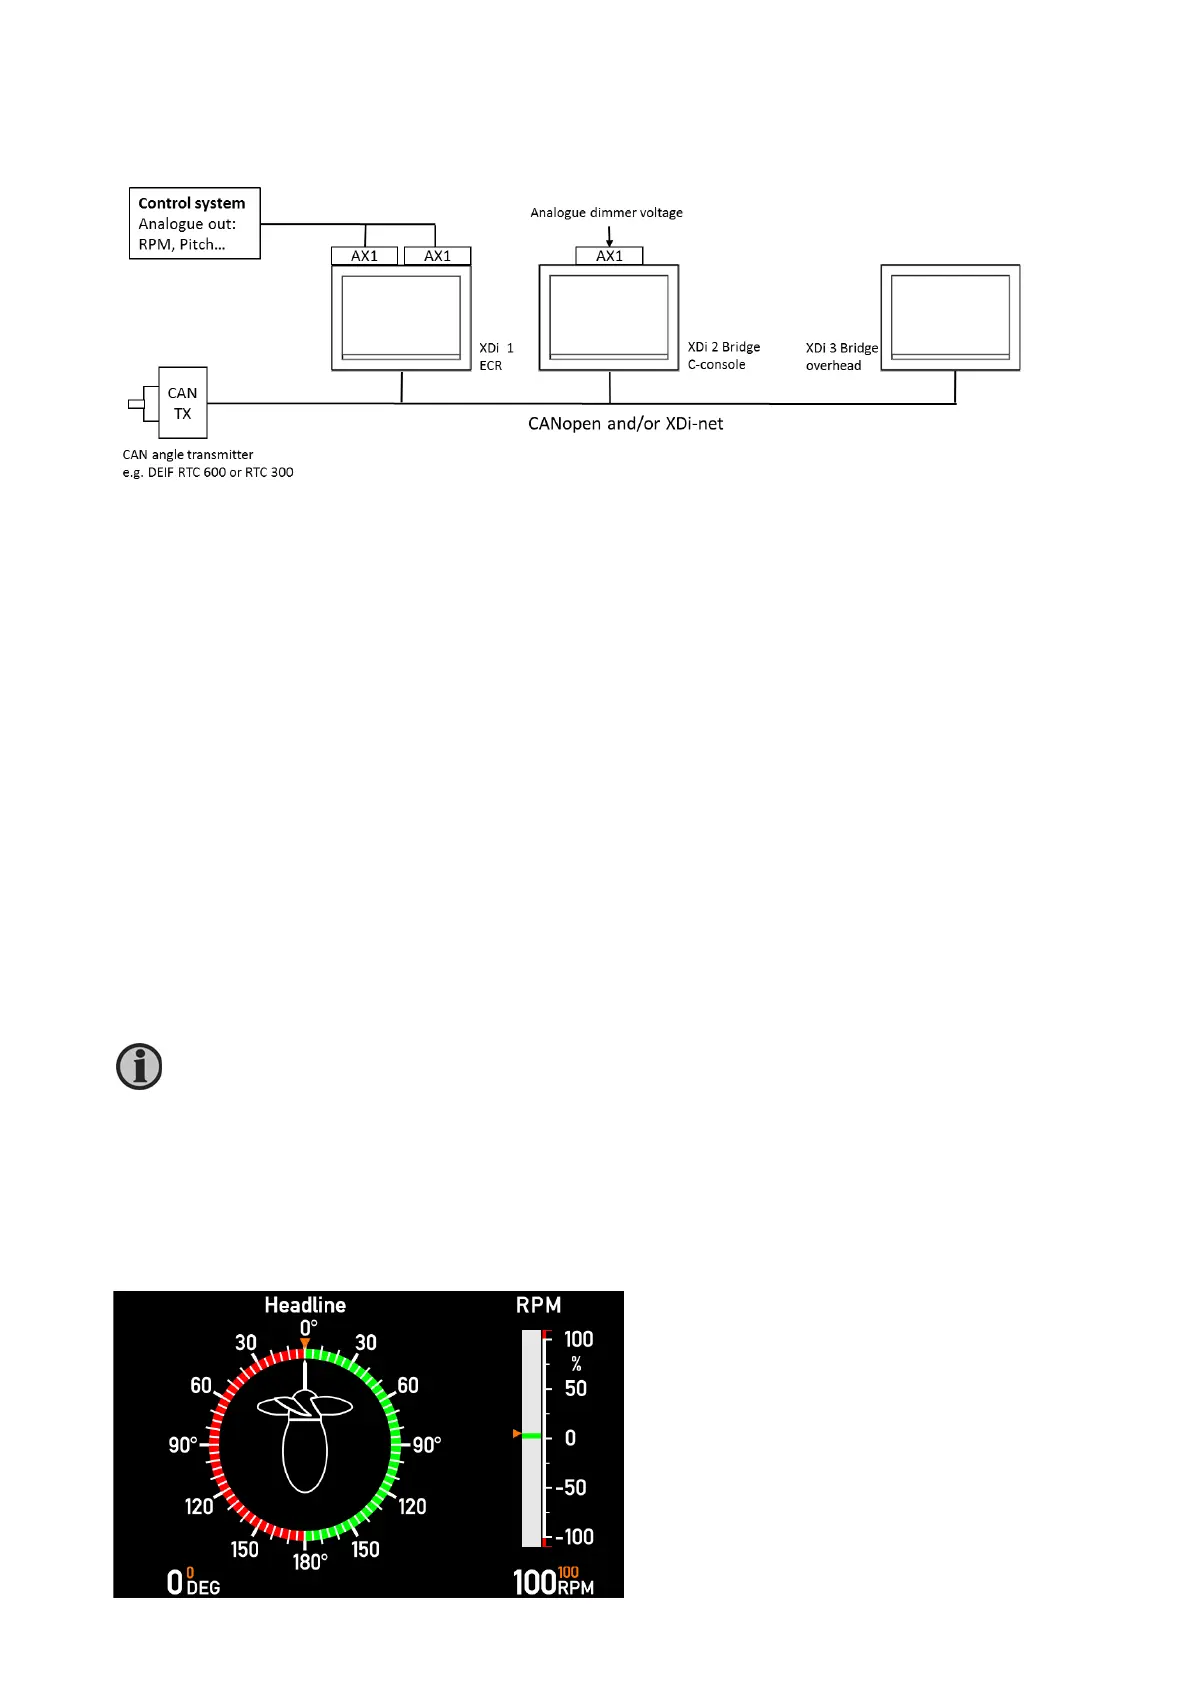
13.2.1 Azimuth and RPM indicator system with set point
This is the system above configured for azimuth angle and RPM/RPN% and with all set point data presented.
In this example, it is VI007 Pushing azimuth type with dynamic azimuth pointer and indicating +/- RPM/RPM%.
 Loading...