NOTE: Systems with x16 hard-drive backplanes use a dierent air shroud. To ensure proper cooling, always install the
air shroud provided with your system.
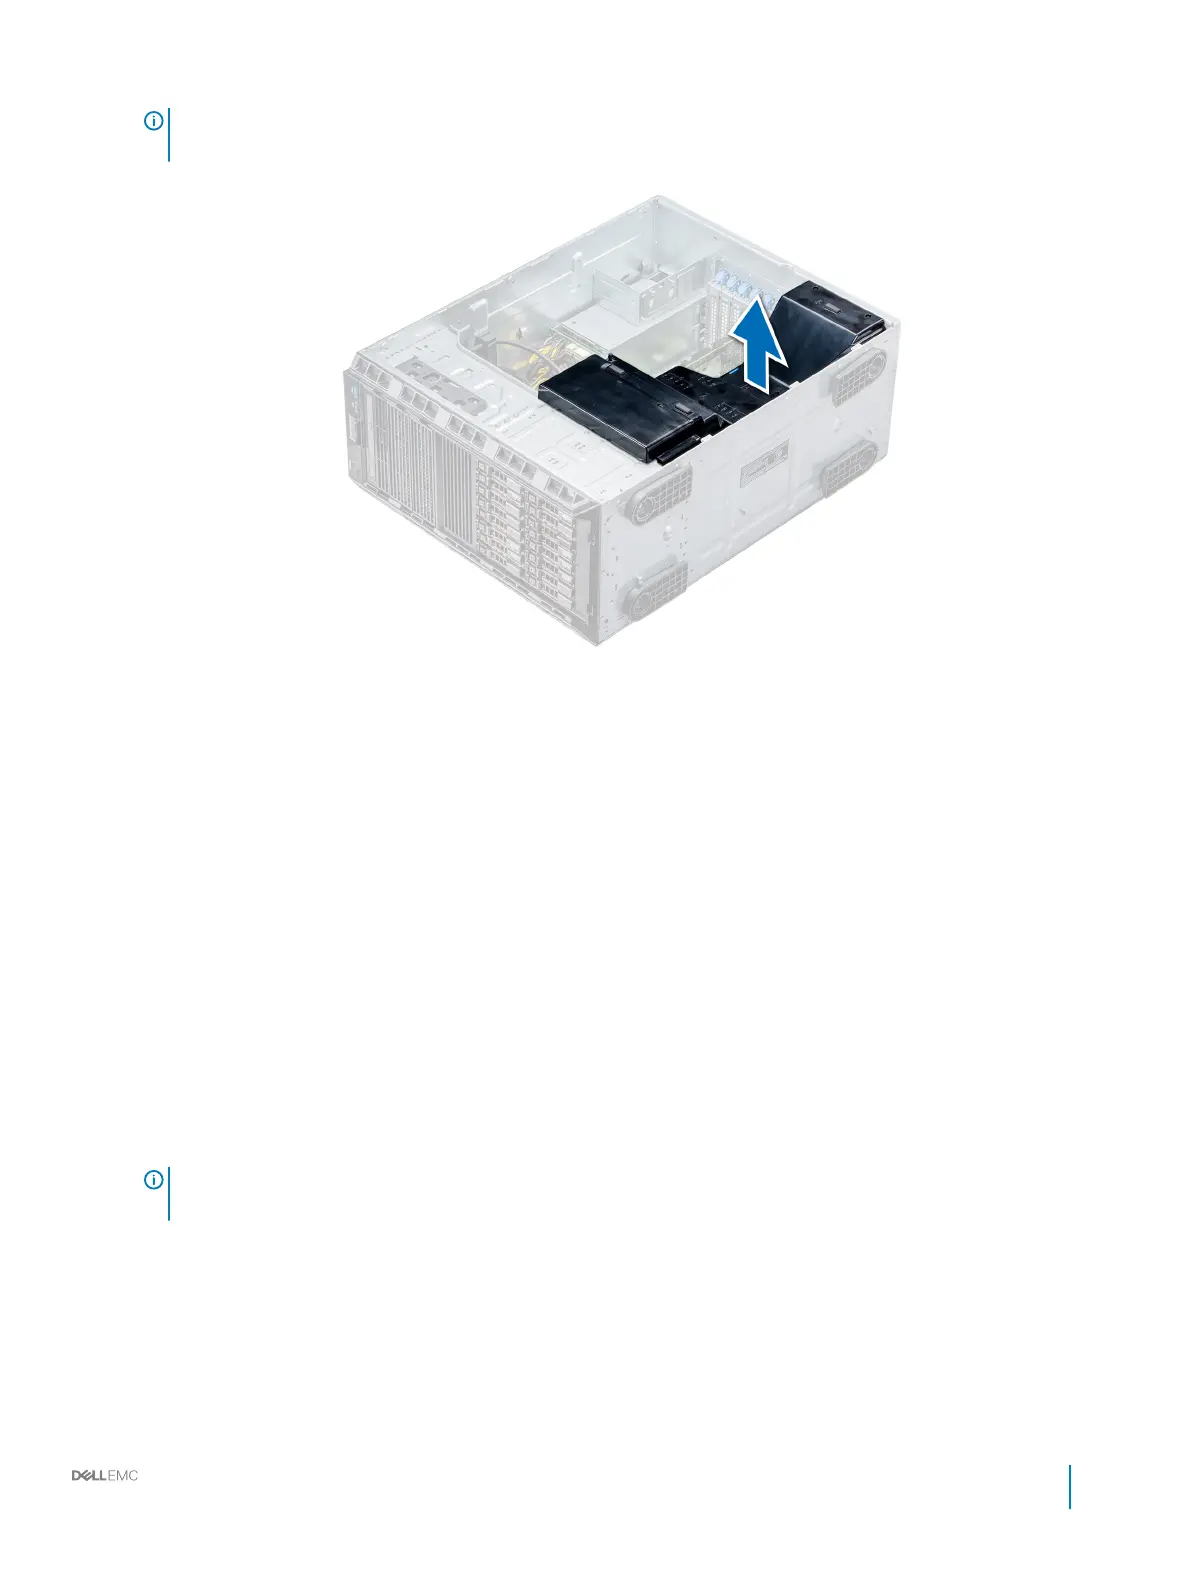
Figure 21. Removing the air shroud
Next step
Install the air shroud.
Related link
Installing the air shroud
Installing the air shroud
Prerequisites
1 Follow the safety guidelines listed in Safety instructions.
2 If applicable, route the cables inside the system along the chassis wall and secure the cables by using the cable-securing bracket.
Steps
1 Align the tabs on the air shroud with the securing slots on the chassis.
2 Lower the air shroud into the chassis until it is rmly seated.
NOTE
: When the cooling shroud is properly seated, the chassis intrusion-switch on the cooling shroud connects to the
chassis intrusion-switch connector on the system board.
Installation and Service Manual
Installing and removing system components
69
 Loading...


