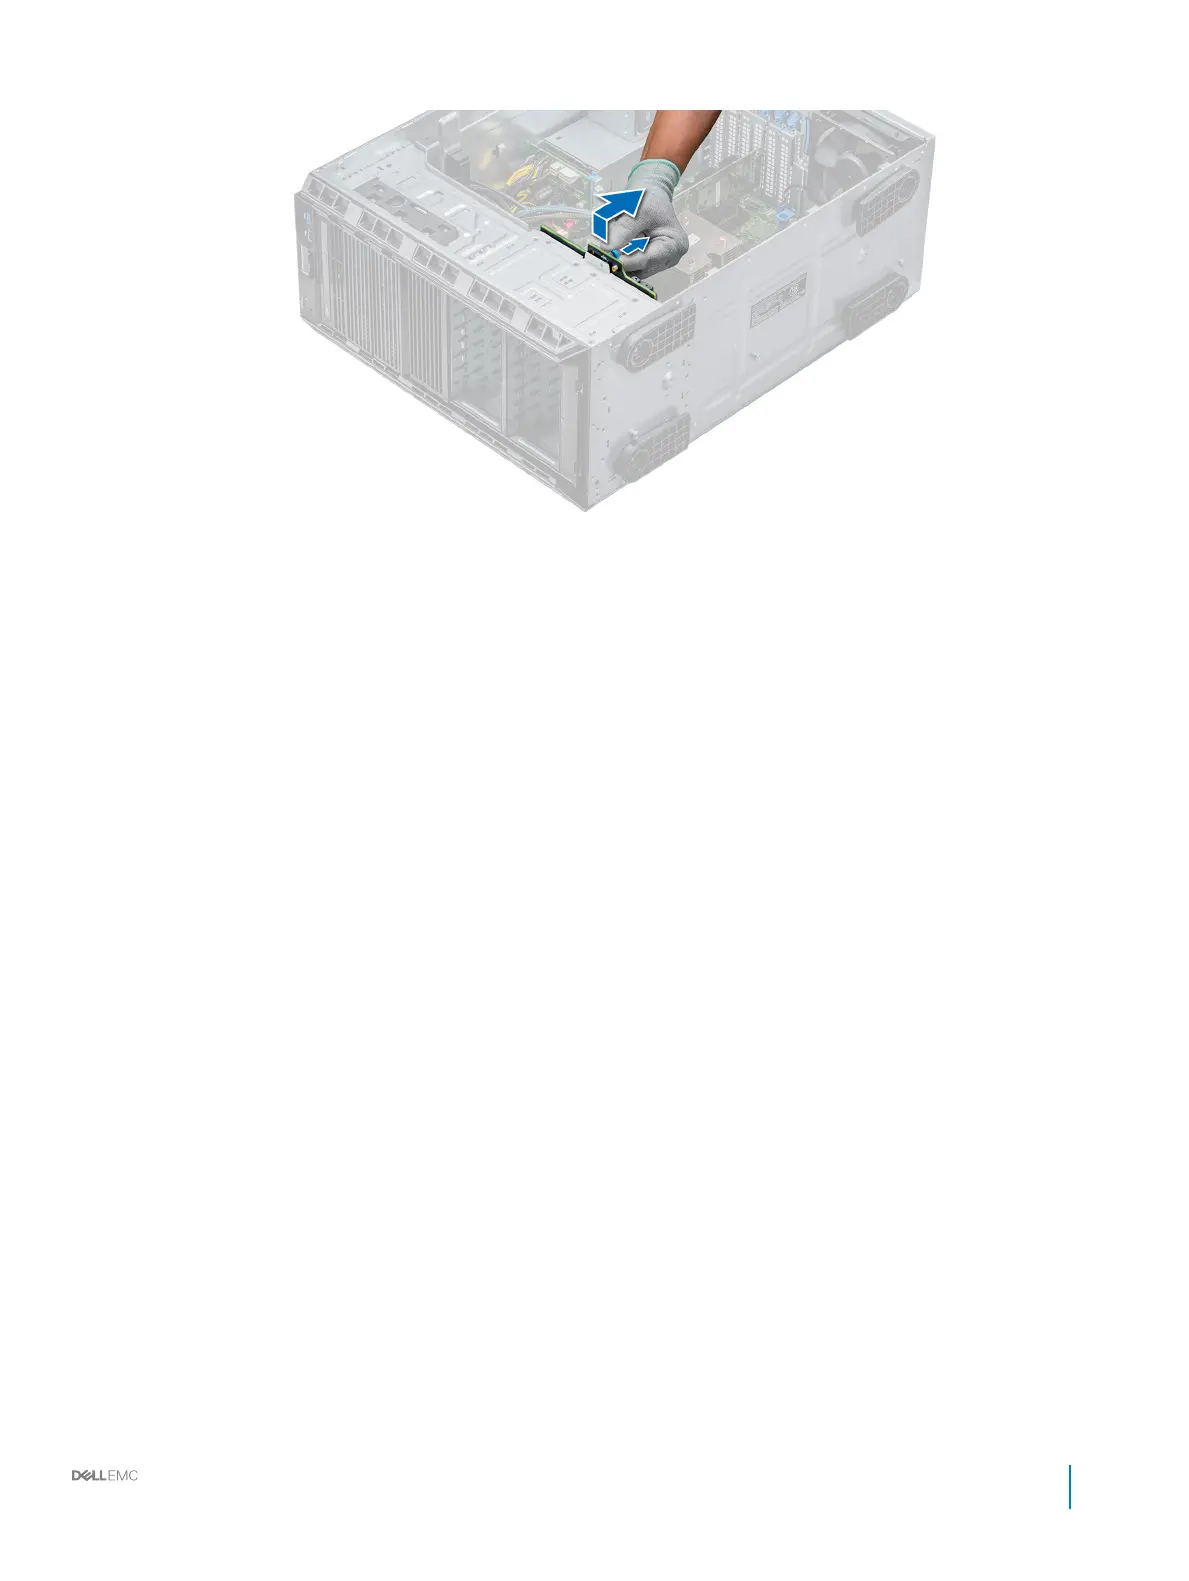
Figure 43. Removing a backplane
Next step
Install a hard drive backplane.
Related link
Removing a drive blank
Removing the optical drive cage or tape drive
Removing a cabled drive
Removing the air shroud
Removing the front bezel
Installing a hard drive backplane
Installing a hard drive backplane
Prerequisites
1 Follow the safety guidelines listed in Safety instructions.
2 Follow the procedure listed in Before working inside your system.
3 If installed, remove the bezel.
4 Remove the air shroud.
Steps
1 Use the hooks at the base of the system as guides to align the hard drive backplane.
2 Lower the hard-drive backplane into the system till the release pin locks in place, securing the hard drive backplane to the system.
3 Connect the data, signal, and power cables to the backplane.
Figure 44. Installing a hard drive backplane
Installation and Service Manual
Installing and removing system components
91
 Loading...


