Administrators: Configure the AnywhereUSB® Plus in the web user interface Ethernet network bonding
AnywhereUSB® Plus User Guide
64
Ethernet network bonding
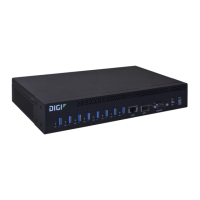
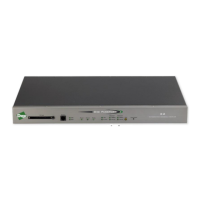
For the AnywhereUSB 24 Plus Hub, you can specify the bonding mode for the Ethernet network. The
Hub has two physical Ethernet network ports that use the same MAC address and share one IP
address. When both ports are being used, they act as one Ethernet network port.
Note This applies to the AnywhereUSB 24 Plus only.
1. Open the web UI.
2. Select Ethernet Network from the Configuration section. The Ethernet Network
Configuration dialog appears.
3. In the Ethernet Network Bonding section, select the bonding option that you want to use.
Bonding is used when Ethernet cables are connected to both Ethernet network ports.
n Load Balancing (Round-Robin): The Ethernet network connection alternates between
the two ports as the Hub sends data. If one Ethernet network connection fails, all data
is sent from the second Ethernet network connection.
n Fault-Tolerance (Active-Backup): The Hub uses only one of the Ethernet network
connections at a time. If one Ethernet network connection fails, all data is sent from the
second Ethernet network connection. This is the default.
4. Click Apply.
Change the Hub password
You can change the administrator password for the Hub in the Admin Password Management page.
Note The default password is included on the Hub's label, and must be entered the first time you
connect to the Hub from the web UI.
After you change the password, you must log in before you can access any pages in the web UI.
1. Open the web UI.
2. Click Admin Password in the Configuration section. The Admin Password Management page
appears.
3. In the Current Password field, enter the current password.
4. In the New Password field, enter the new password.
5. In the Confirm Password field, re-enter the new password.
6. Click Apply to apply and save the change.
7. Select any link in the web UI. A log in dialog appears.
8. Log in using the new password.
 Loading...