144
CARE AND MAINTENANCE
5. Dry air filter
5.1 Vacuum check
Operation_Pic_number:1
Function check:
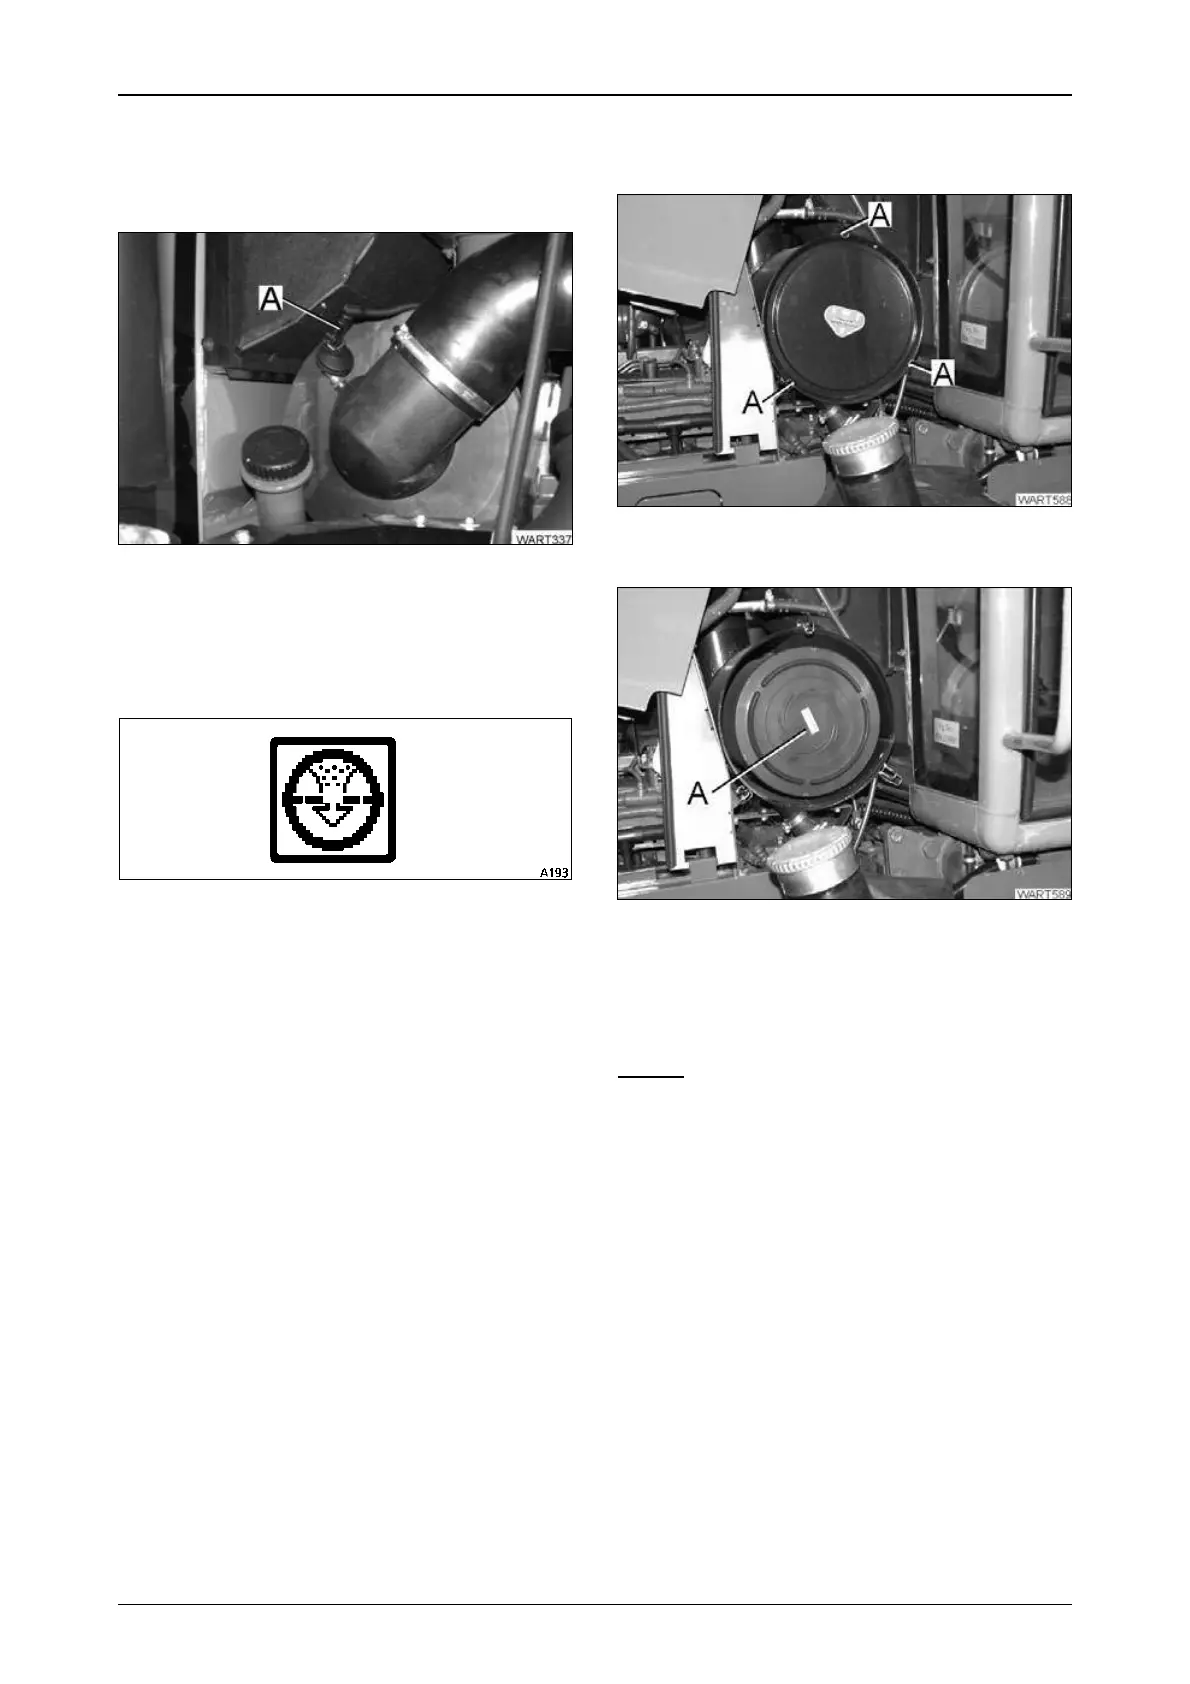
● Remove cable connector (A) from vacuum
switch and connect to ground.
● Turn ignition key to position I.
Operation_Pic_number:1
The vacuum check symbol should now appear
on the multiple display, accompanied by an
intermittent audible signal and a flashing
warning light.
● Check air filter intake hoses and intake sy-
stem for leaks, and tighten the connections if
necessary.
Fig.13
Fig.14
5.2 Removing/installing the
main cartridge
Operation_Pic_number:1
● Undo fastners (A) and remove the cover.
Operation_Pic_number:1
● Pull out main cartridge (A).
● Clean filter housing; ensure sealing faces are
free of defects.
● Insert main cartridge and attach the cover.
NOTE:
The main cartridge must be replaced after 5
cleanings, or after 2 years at the latest.
Fig.15
Fig.16
 Loading...