3-28
FUEL SYSTEM
3-28
MODEL 4160 CARBURETOR SYSTEMS
(Continued)
SERVICE PROCEDURES
Dirt, dust, water and gum and varnish depos-
its are some of the main causes of poor
carburetor operation.
All parts
except
the secondary diaphragm
should be thoroughly cleaned in suitable solvent
or commercial carburetor cleaner, then in-
spected for wear or damage.
All restrictions and channels should be blown
out with air.
Experienced technicians develop their own
order or method of disassembly. It is probably
best for a beginner to break the carburetor down
into subassemblies,- keeping the related parts to-
gether. The most important tool or asset of any
carburetor repairman is a keen sense of
observation.
NOTE: Before disassembling any carburetor
in this series place the carburetor on a suit-
able stand or legs. Legs can be made from
four two-inch cap screws and eight nuts.
Screw one nut on each cap screw about one
inch from the end. Place in the mounting
holes and install the other
nut
on the top.
This procedure prevents nicks or damage to
the throttle valves or shafts.
Many carburetors do not have all the hard-
ware noted in the following Steps
1.
Remove integral choke assembly and fast
idle cam (if used).
2.
Remove choke fast idle lever screw and lev-
er, remove “E” clip, fast idle cam and lever
(if used).
3. Remove secondary vacuum diaphragm as-
sembly from carburetor body (if used).
4. Remove four fuel bowl screws and primary
fuel bowl assembly by sliding straight off
transfer tube.
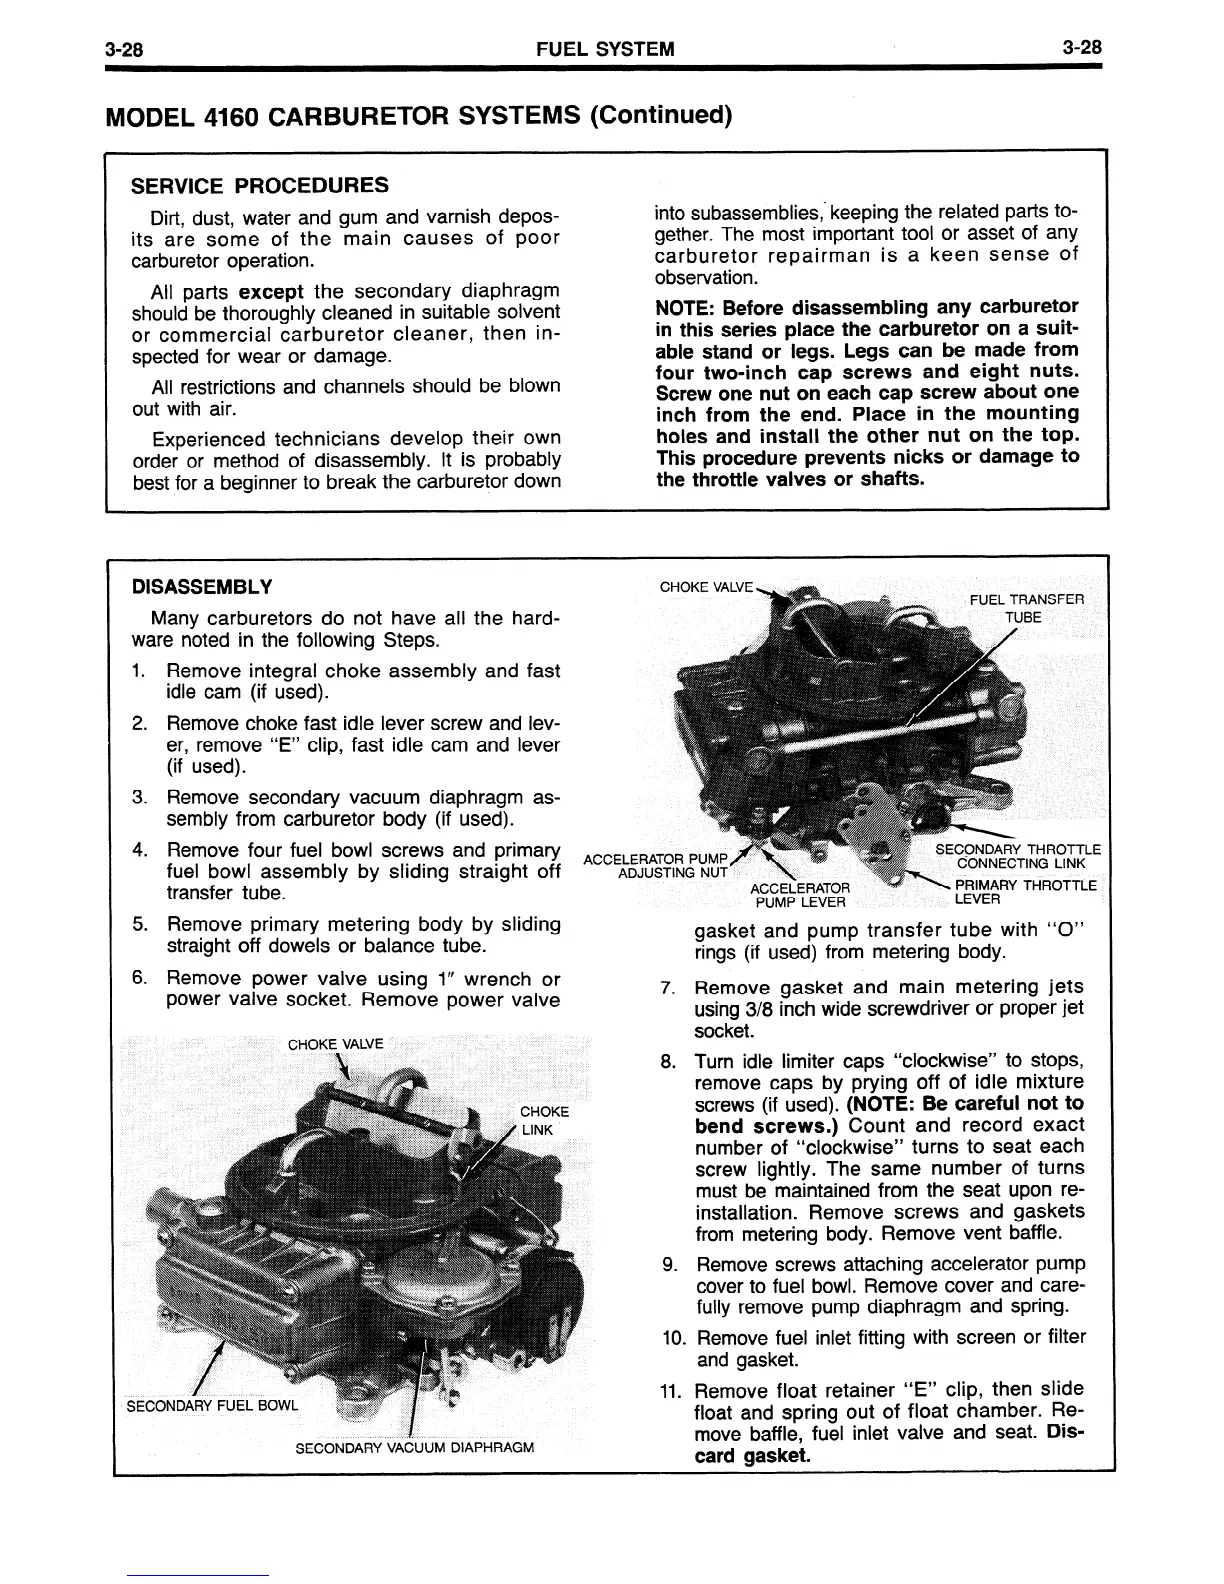
ACCEL
A
ACCEtERATOR
PUMP LEVER
- \ ;=,$tRY THROTTLE
5. Remove primary metering body by sliding
straight off dowels or balance tube.
gasket and pump transfer tube with “0”
rings (if used) from metering body.
6. Remove power valve using 1” wrench or
power valve socket. Remove power valve
CHOKE VALVE
7. Remove gasket and main metering jets
using 3/8 inch wide screwdriver or proper jet
socket.
8 .
Turn idle limiter caps “clockwise” to stops,
remove caps by prying off of idle mixture
screws (if used).
(NOTE: Be careful not to
bend screws.)
Count and record exact
number of “clockwise” turns to seat each
screw lightly. The same number of turns
must be maintained from the seat upon re-
installation. Remove screws and gaskets
from metering body. Remove vent baffle.
Remove screws attaching accelerator pump
cover to fuel bowl. Remove cover and care-
fully remove pump diaphragm and spring.
9 .
10
.
11 .
Remove fuel inlet fitting with screen or filter
and gasket.
Remove float retainer “E” clip, then slide
float and spring out of float chamber. Re-
move baffle, fuel inlet valve and seat.
Dis-
card gasket.
SECONDARY FUEL BOWL
‘. 1 I,,
$
SECONDARY VACUUM DIAPHRAGM
 Loading...


