l-17 BASIC ENGINE
I-17
CLEANING AND INSPECTION (Continued)
CONNECTING RODS
Cleaning
Remove the bearings from the rod and cap.
Identify the bearings if they are to be used
again. Clean the connecting rod in solvent, in-
cluding the rod bore and the back of the inserts.
Do not use a caustic cleaning solution.
Blow
out all passages with compressed air.
Inspection
The connecting rods and related parts should
be carefully inspected and checked for confor-
mance to specifications. Various forms of engine
wear caused by these parts can be readily
identified.
A shiny surface on either pin boss side of the
piston usually indicates that a connecting rod is
bent.
Abnormal connecting rod bearing wear can be
caused by either a bent connecting rod, worn or
damaged crankpin, or a tapered connecting rod
bore.
Twisted connecting rods will not create an
easily identifiable wear pattern, but badly twisted
rods will disturb the action of the entire piston,
rings, and connecting rod assembly and may be
the cause of excessive oil consumption.
Inspect the connecting rods for signs of frac-
tures and the bearing bores for out-of-round and
taper. If the bore exceeds the recommended lim-
its and/or if the connecting rod is fractured, it
should be replaced. Check the ID of the con-
necting rod piston pin bore. If the pin bore in the
connecting rod is larger than specifications, in-
stall a
0.002
inch oversize piston pin. First, prefit
the oversize piston pin to the piston pin bore by
reaming or honing the piston. Then, assemble
the piston, piston pin and connecting rod follow-
ing the procedures for assembly.
It is not nec-
essary to ream or hone the pin bore in the
connecting rod. Replace damaged connect-
ing rod nuts and bolts. Check the connecting
rods for bend or twist on a suitable align-
ment fixture. Follow the instructions of the
fixture manufacturer. If the bend and/or twist
exceeds specifications, the connecting rod
must be straightened or replaced.
PISTONS, PINS AND RINGS
Cleaning
Remove deposits from the piston surfaces.
Clean gum or varnish from the piston skirt,
piston pins and rings with solvent.
Do not use a
caustic cleaning solution or a wire brush to
clean pistons.
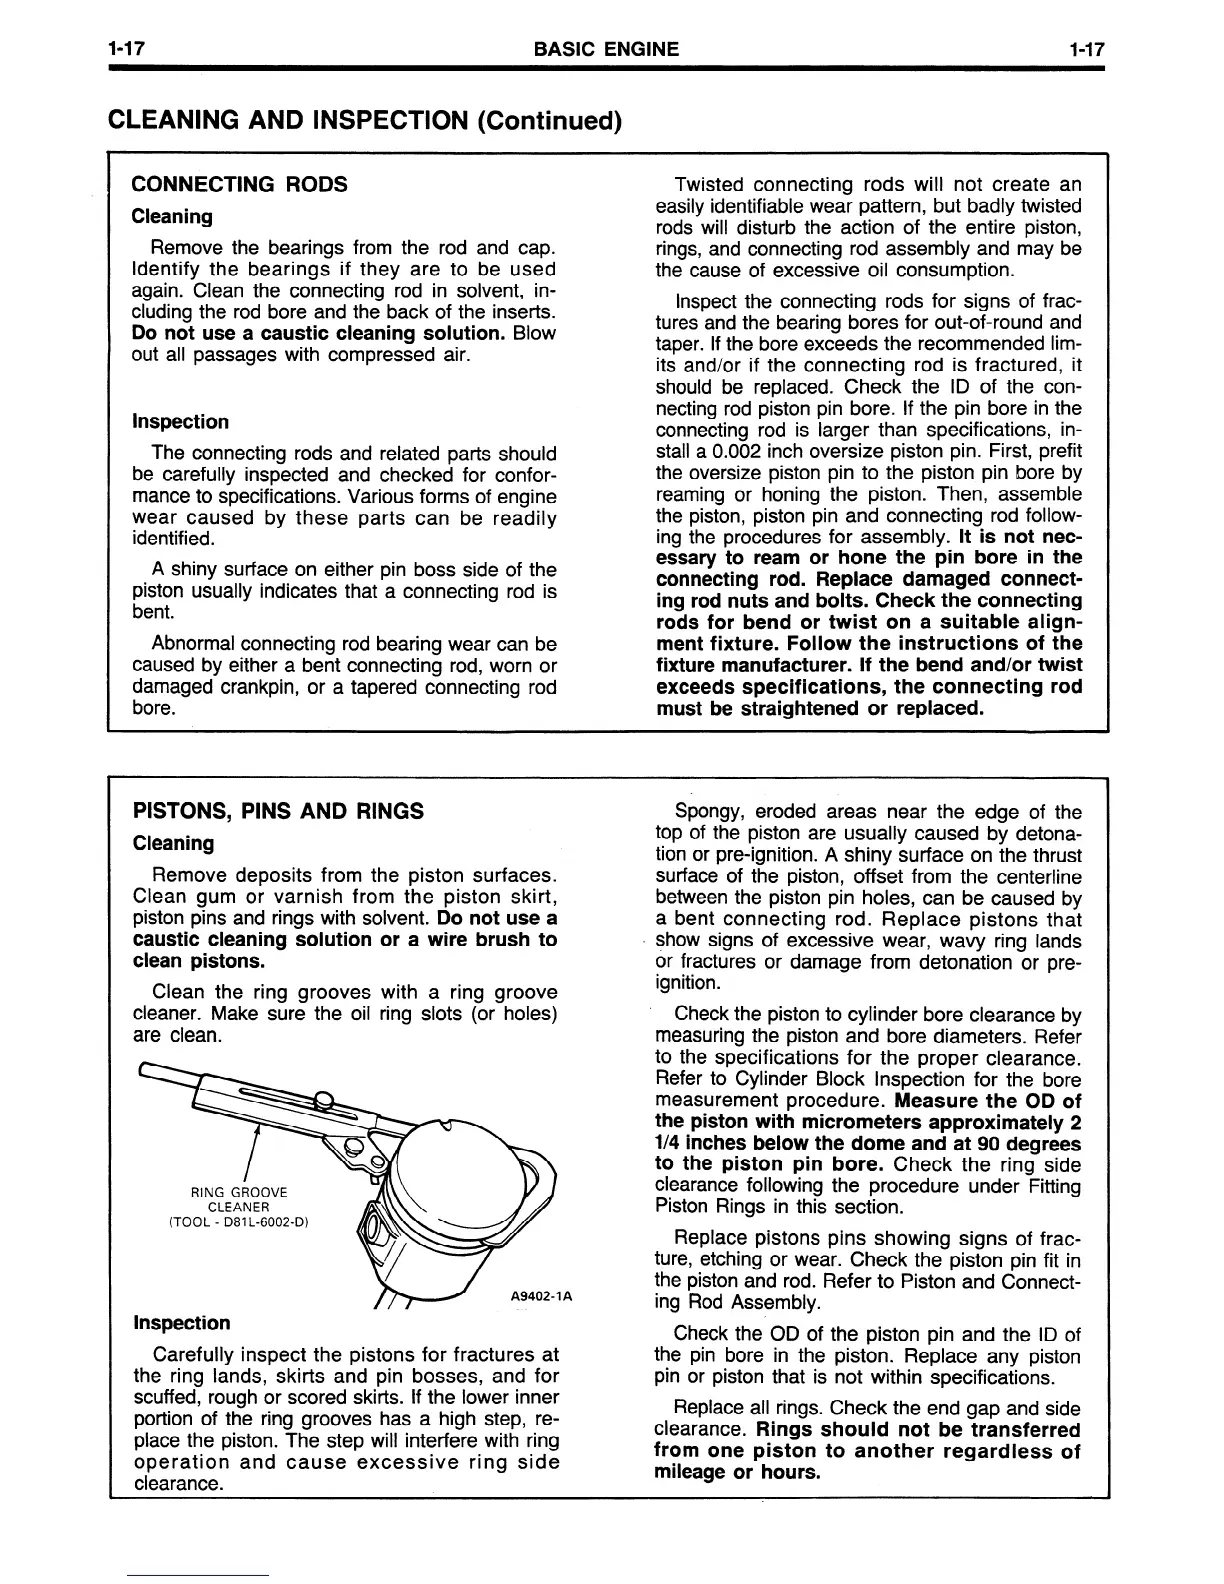
Clean the ring grooves with a ring groove
cleaner. Make sure the oil ring slots (or holes)
are clean.
RING GROOVE
CLEANER
(TOOL - D81 L-6002-D)
A9402-1 A
Inspection
Carefully inspect the pistons for fractures at
the ring lands, skirts and pin bosses, and for
scuffed, rough or scored skirts. If the lower inner
portion of the ring grooves has a high step, re-
place the piston. The step will interfere with ring
operation and cause excessive ring side
clearance.
Spongy, eroded areas near the edge of the
top of the piston are usually caused by detona-
tion or pre-ignition. A shiny surface on the thrust
surface of the piston, offset from the centerline
between the piston pin holes, can be caused by
a bent connecting rod. Replace pistons that
show signs of excessive wear, wavy ring lands
or fractures or damage from detonation or pre-
ignition.
Check the piston to cylinder bore clearance by
measuring the piston and bore diameters. Refer
to the specifications for the proper clearance.
Refer to Cylinder Block Inspection for the bore
measurement procedure.
Measure the OD of
the piston with micrometers approximately 2
l/4 inches below the dome and at 90 degrees
to the piston pin bore.
Check the ring side
clearance following the procedure under Fitting
Piston Rings in this section.
Replace pistons pins showing signs of frac-
ture, etching or wear. Check the piston pin fit in
the piston and rod. Refer to Piston and Connect-
ing Rod Assembly.
Check the OD of the piston pin and the ID of
the pin bore in the piston. Replace any piston
pin or piston that is not within specifications.
Replace all rings. Check the end gap and side
clearance.
Rings should not be transferred
from one piston to another regardless of
mileage or hours.
 Loading...


