GE MEDICAL SYSTEMS
D
IRECTION FK091075, REVISION 04 VIVID 3N PRO/EXPERT SERVICE MANUAL
Chapter 8 Replacement Procedures 8-41
8-3-7 Rotary Knob (External Keyboard) Replacement Procedure
NOTE: This section describes the replacement procedure for a parameter adjustment Rotary Knob on the
external keyboard.
8-3-7-1 Tools
Use a small flat screw driver, as indicated in the rotary knob replacement procedure.
8-3-7-2 Preparation
Shut down the Vivid 3N Pro/Expert ultrasound unit, as described in Chapter 3 - Installation.
8-3-7-3 Rotary Knob Removal Procedure
1) Carefully place a small flat screw driver between the rotary knob you wish to remove and the
surface of the keyboard - see Figure 8-39 "Keypad Replacement" on page 8-39.
2) Use the screw driver to gently lever off the defective rotary knob, until it is completely loosened from
its base.
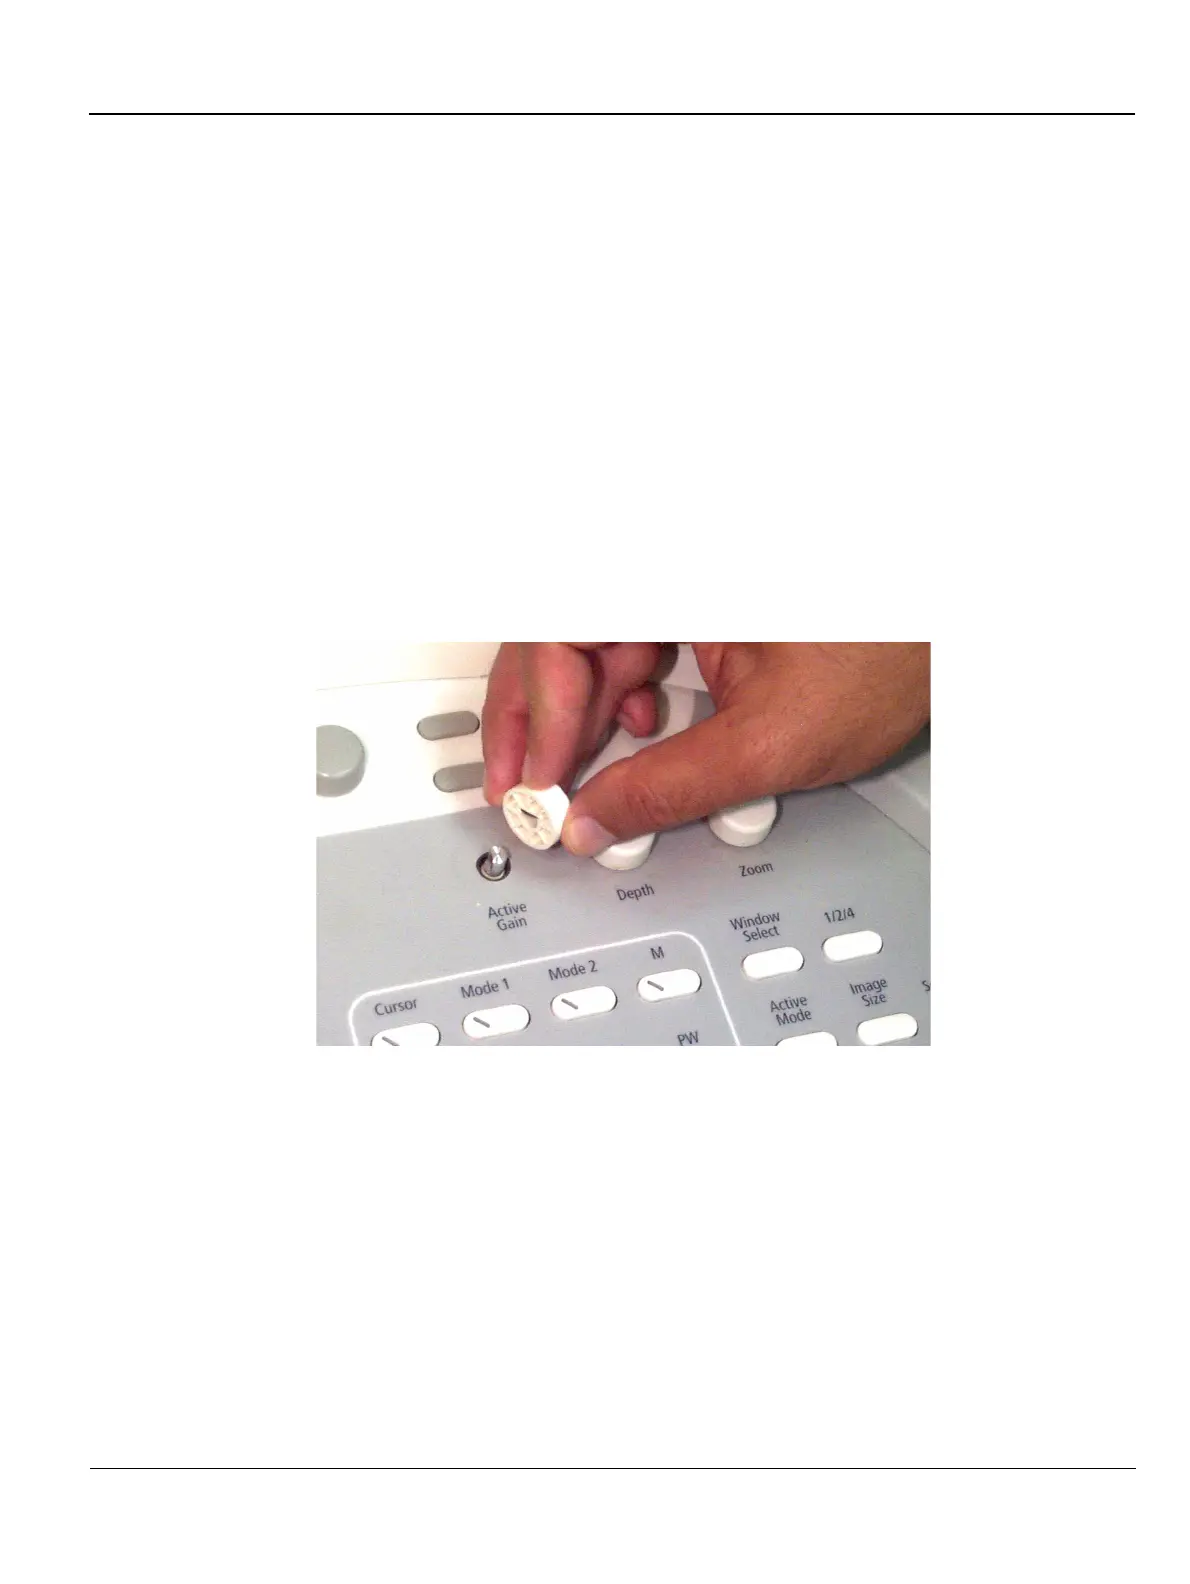
3.) Lift off and remove the defective knob - see Figure 8-41 below.
4.) Carefully take out the metal tension plate from the centre of the knob (refer to Figure 8-42 "Tension
Plate Fitted in Centre of Knob" on page 8-42), before discarding the defective knob.
Do not discard
the tension plate.
Figure 8-41 Rotary Knob Replacement
 Loading...


