GE MEDICAL SYSTEMS
D
IRECTION FK091075, REVISION 04 VIVID 3N PRO/EXPERT SERVICE MANUAL
8-78 Section 8-5 - Back End Parts Replacement
8-5-11 MO Drive Replacement Procedure
8-5-11-1 Tools
Use the appropriate flat and Phillips-type screw drivers and a wire cutter.
8-5-11-2 Preparation
Shut down the Vivid 3N Pro/Expert ultrasound unit, as described in Chapter 3 - Installation.
8-5-11-3 MO Drive Removal Procedure
1) Disconnect the mains AC power cable for the mains power wall outlet.
2) Remove the Vivid 3N left and right side covers - refer to the 8-2-2-3 "Side Covers Removal
Procedure" on page 8-4.
3.) Remove the Vivid 3N rear cover - refer to the 8-2-4-3 "Rear Cover Removal Procedure" on page 8-
7.
4) Remove the BEP left and right side covers, as described in the appropriate procedure:
8-5-2-3 "BEP1 - Left and Right Side Cover Removal Procedure" on page 8-62, or 8-5-3-3 "BEP2 -
Side Cover Removal Procedure" on page 8-64.
5) Remove the BEP front cover as described in the appropriate procedure:
8-5-2-5 "BEP1 - Front Cover Removal Procedure" on page 8-63, or 8-5-3-5 "BEP2 - Front Cover
Removal Procedure" on page 8-65.
6) Remove the cables (data and power) that connect to the rear of the MO Drive.
7.) For BEP2, remove the two screws from each side of the MO that hold the MO Drive inside the BEP.
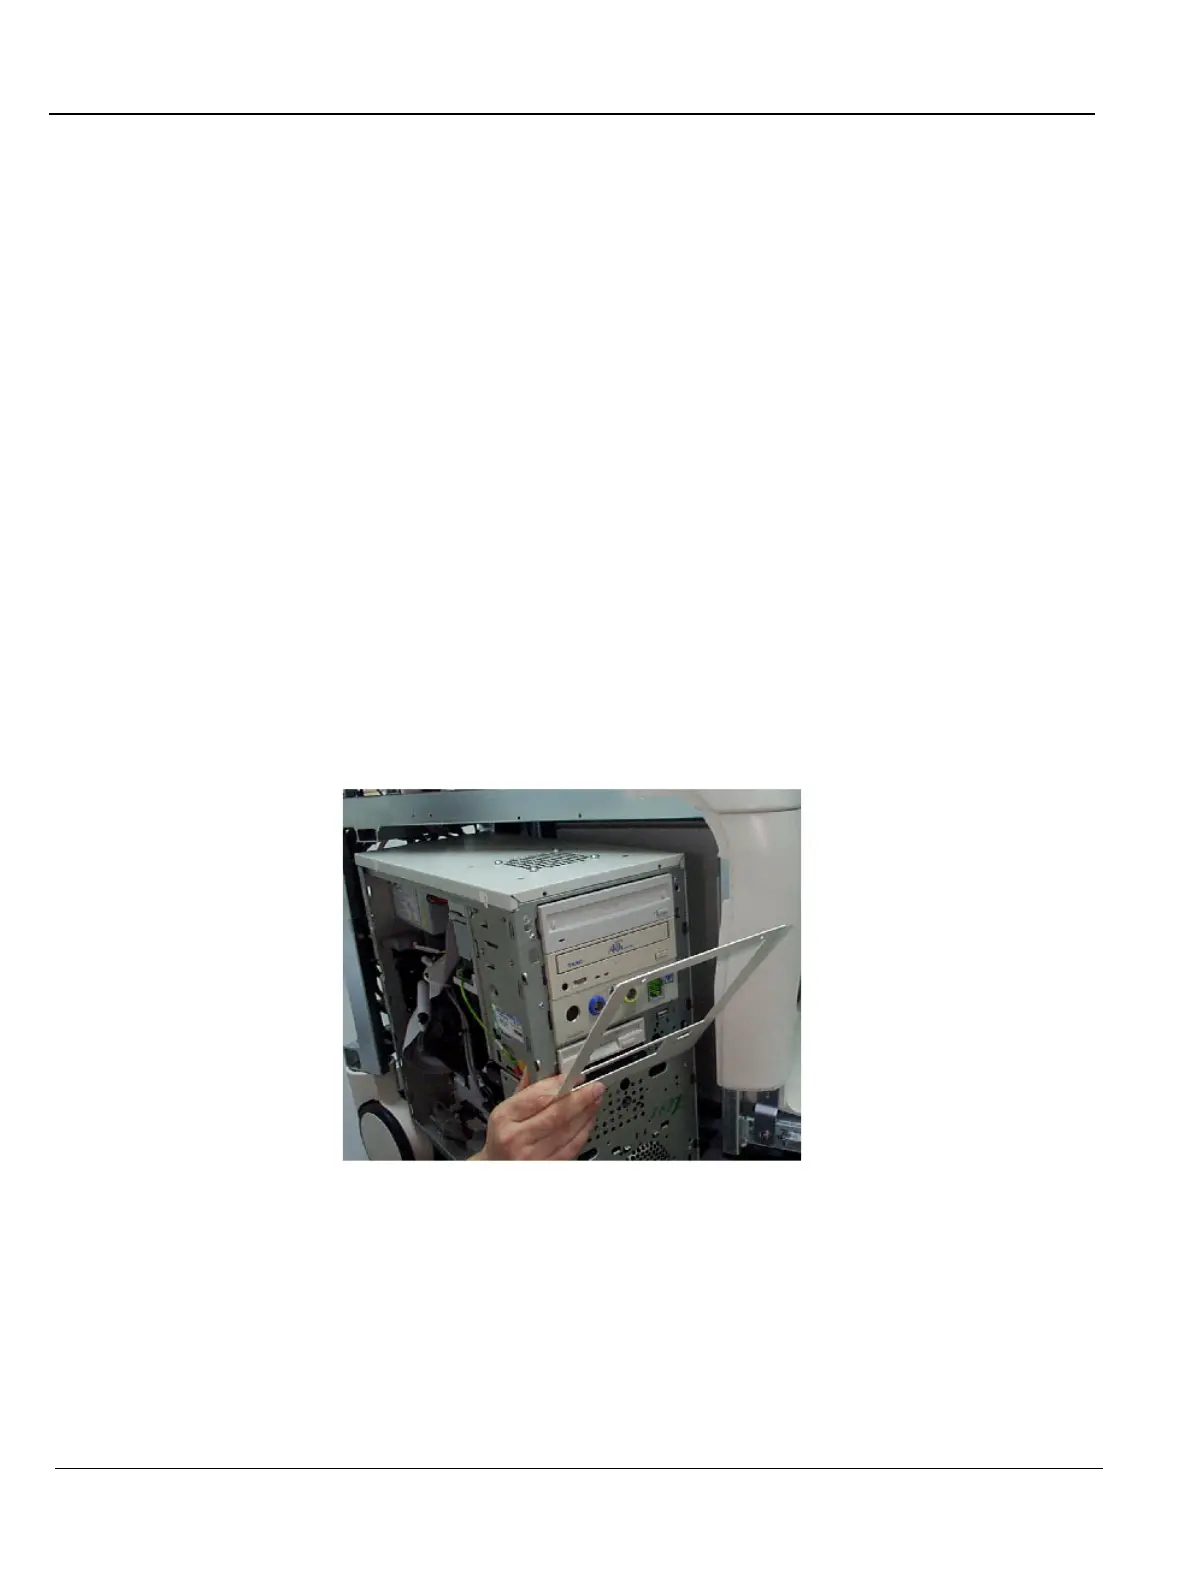
8.) Carefully slide the MO Drive out from the front of the BEP.
Figure 8-67 MO Drive Removal
 Loading...


