GE MEDICAL SYSTEMS
D
IRECTION FK091075, REVISION 04 VIVID 3N PRO/EXPERT SERVICE MANUAL
Chapter 8 Replacement Procedures 8-43
8-3-8 Trackball Replacement Procedure
8-3-8-1 Tools
Use the appropriate flat and Phillips-type screw drivers, a wire cutter and the appropriate Hex wrench
keys as indicated in the trackball replacement procedure.
8-3-8-2 Preparation
Shut down the Vivid 3N Pro/Expert ultrasound unit, as described in Chapter 3 - Installation.
8-3-8-3 Trackball Removal Procedure
1) Remove the bottom keyboard cover, as described in 8-2-8-4 "Bottom Keyboard Cover Installation
Procedure" on page 8-15.
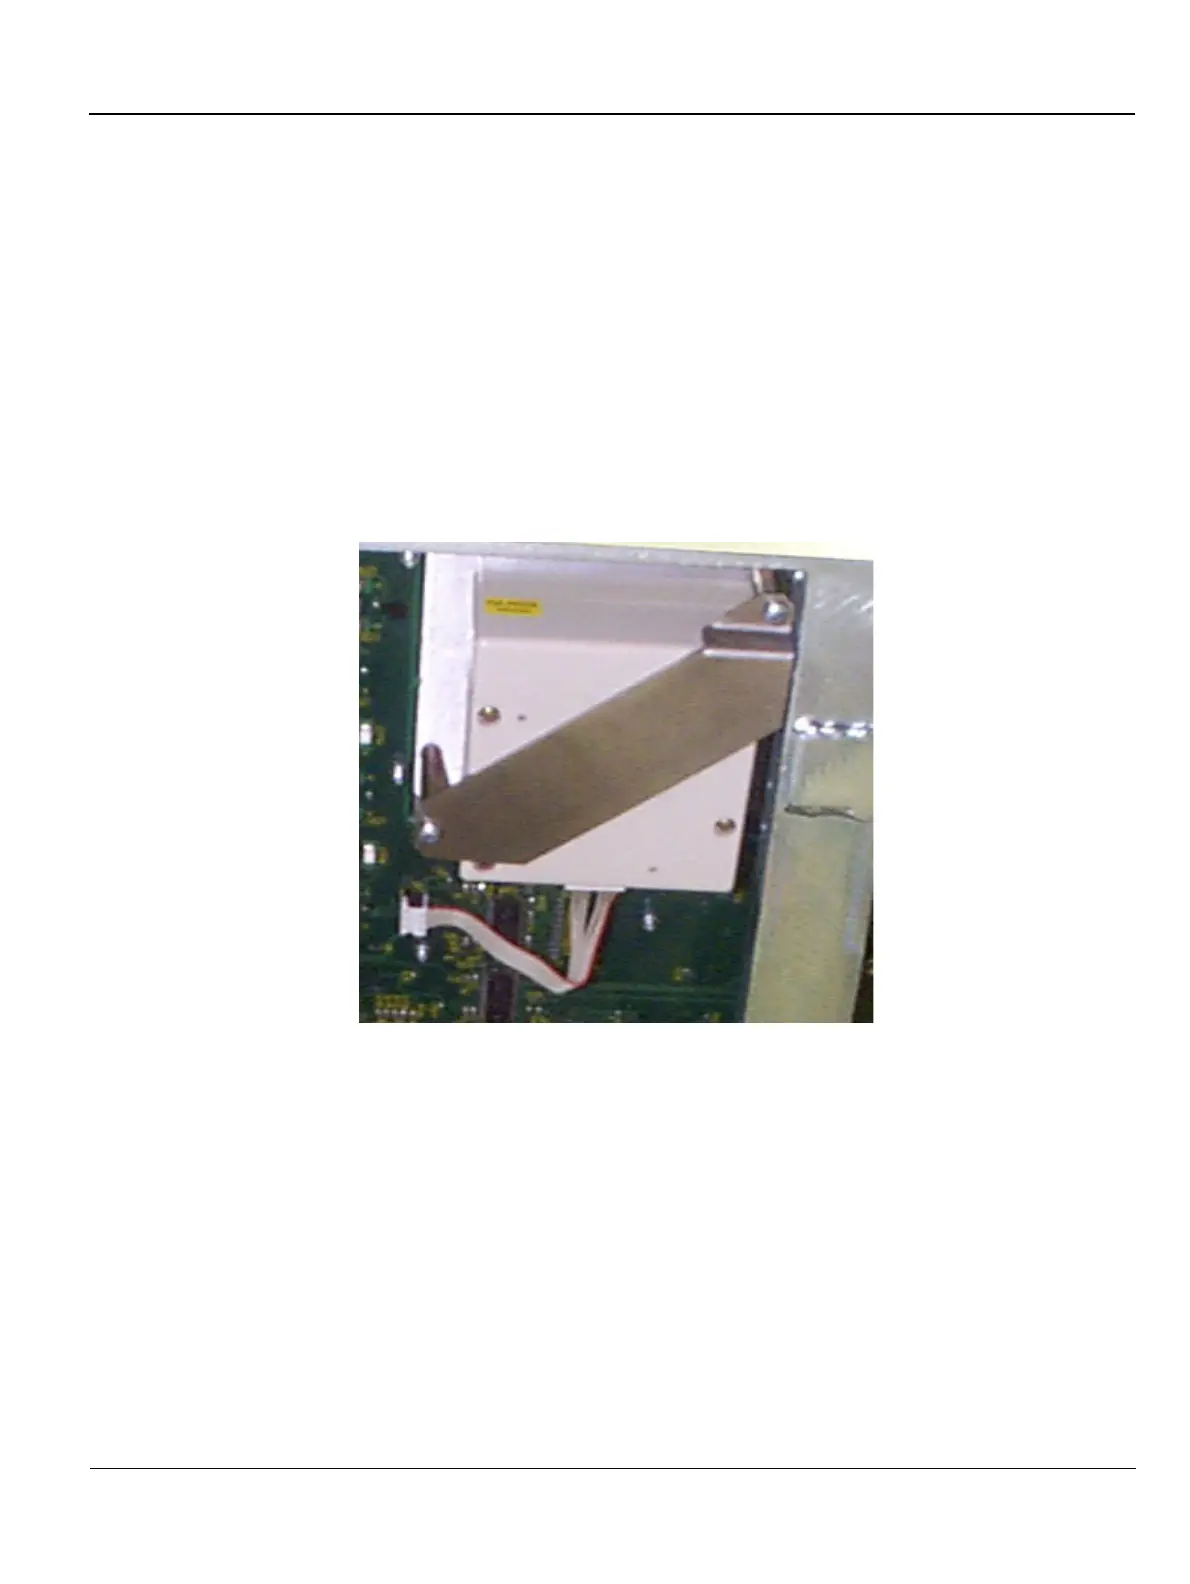
2) Disconnect the trackball cable from the trackball unit - see Figure 8-43 below.
3) Remove the two screws located on the bracket on either side of the trackball unit, and then remove
the trackball unit.
8-3-8-4 Trackball Installation Procedure
1) Return the trackball unit to its original location and insert the two screws located on the bracket on
either side of the trackball unit.
2) Connect the trackball cable to the trackball unit.
3) Return the bottom keyboard cover to its original location, as described in 8-2-8-4 "Bottom Keyboard
Cover Installation Procedure" on page 8-15.
Figure 8-43 Trackball Removal