2MP/4MP Low Light WDR IP Camera User Guide
12
1. From the File Type list, select dav.
2. From the Data Src list, select the location where the video files are stored.
3. On the calendar, click the date that the video was recorded.
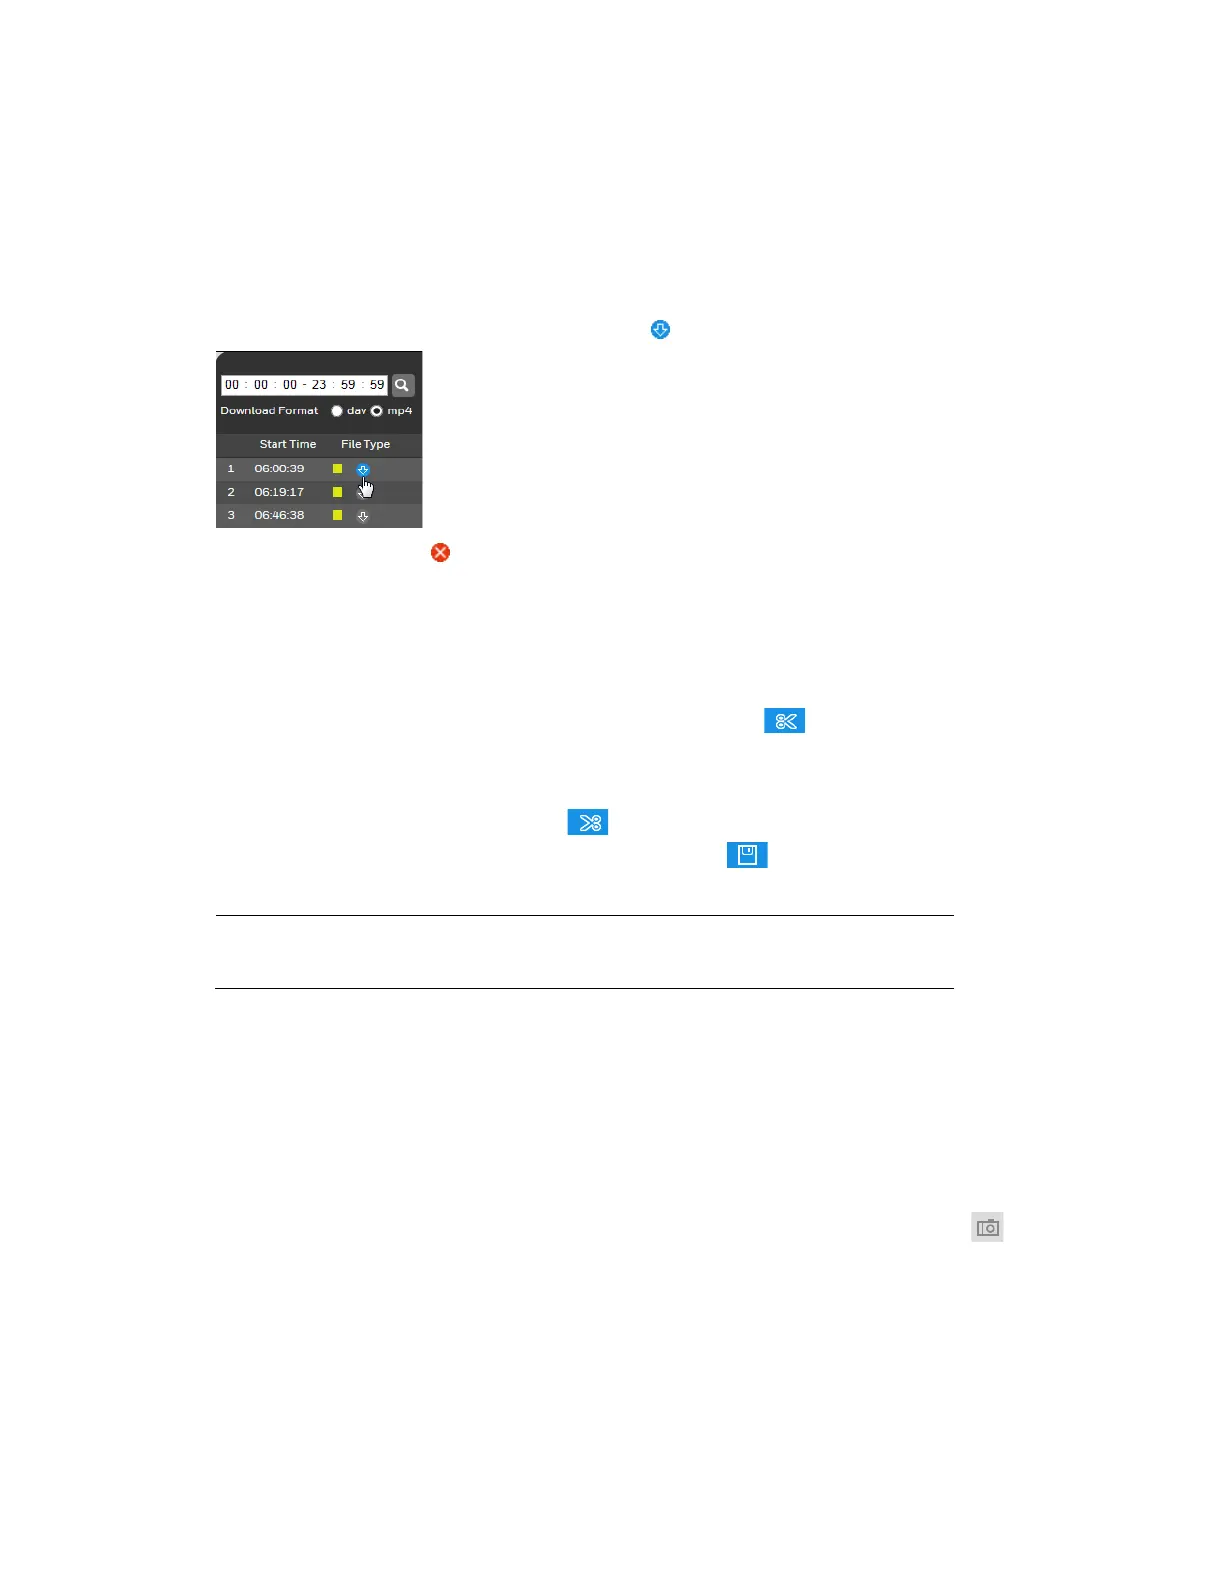
4. Click File List to display the list of video files for that date.
5. Set the Download Format to dav or mp4.
6. From the file list, click the download button of the file that you want to download.
The button changes to and the file is saved to the location specified in Setup
Compression Setup
Path Playback Download.
To create and export a video clip:
1. Open a video file in the playback window.
2. Pause the video at the time when you want to start the clip.
3. In the video clip area, click the Select Start Time button .
4. Resume playing the video.
5. Pause the video at the time when you want to stop the clip.
6. Click the Select Stop Time button .
7. Stop the video, and then click the Download button .
Note
You cannot download the clip while the video file is still open in the
web client.
The clip is saved to the location specified in Setup Compression Setup Path Video
Clips.
Viewing Snapshots
You can take snapshots of video during playback by clicking the Snapshot button . The
snapshot is saved to the location specified in Setup
Compression Setup Path
Playback Snapshot.
To view a snapshot that you have saved manually during live monitoring, go the directory
specified in Setup
Compression Setup Path Live Snapshot and double-click the file
to open it.
 Loading...