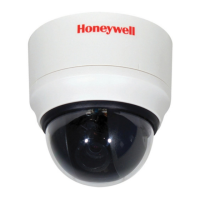
2MP/4MP Low Light WDR IP Camera User Guide
62
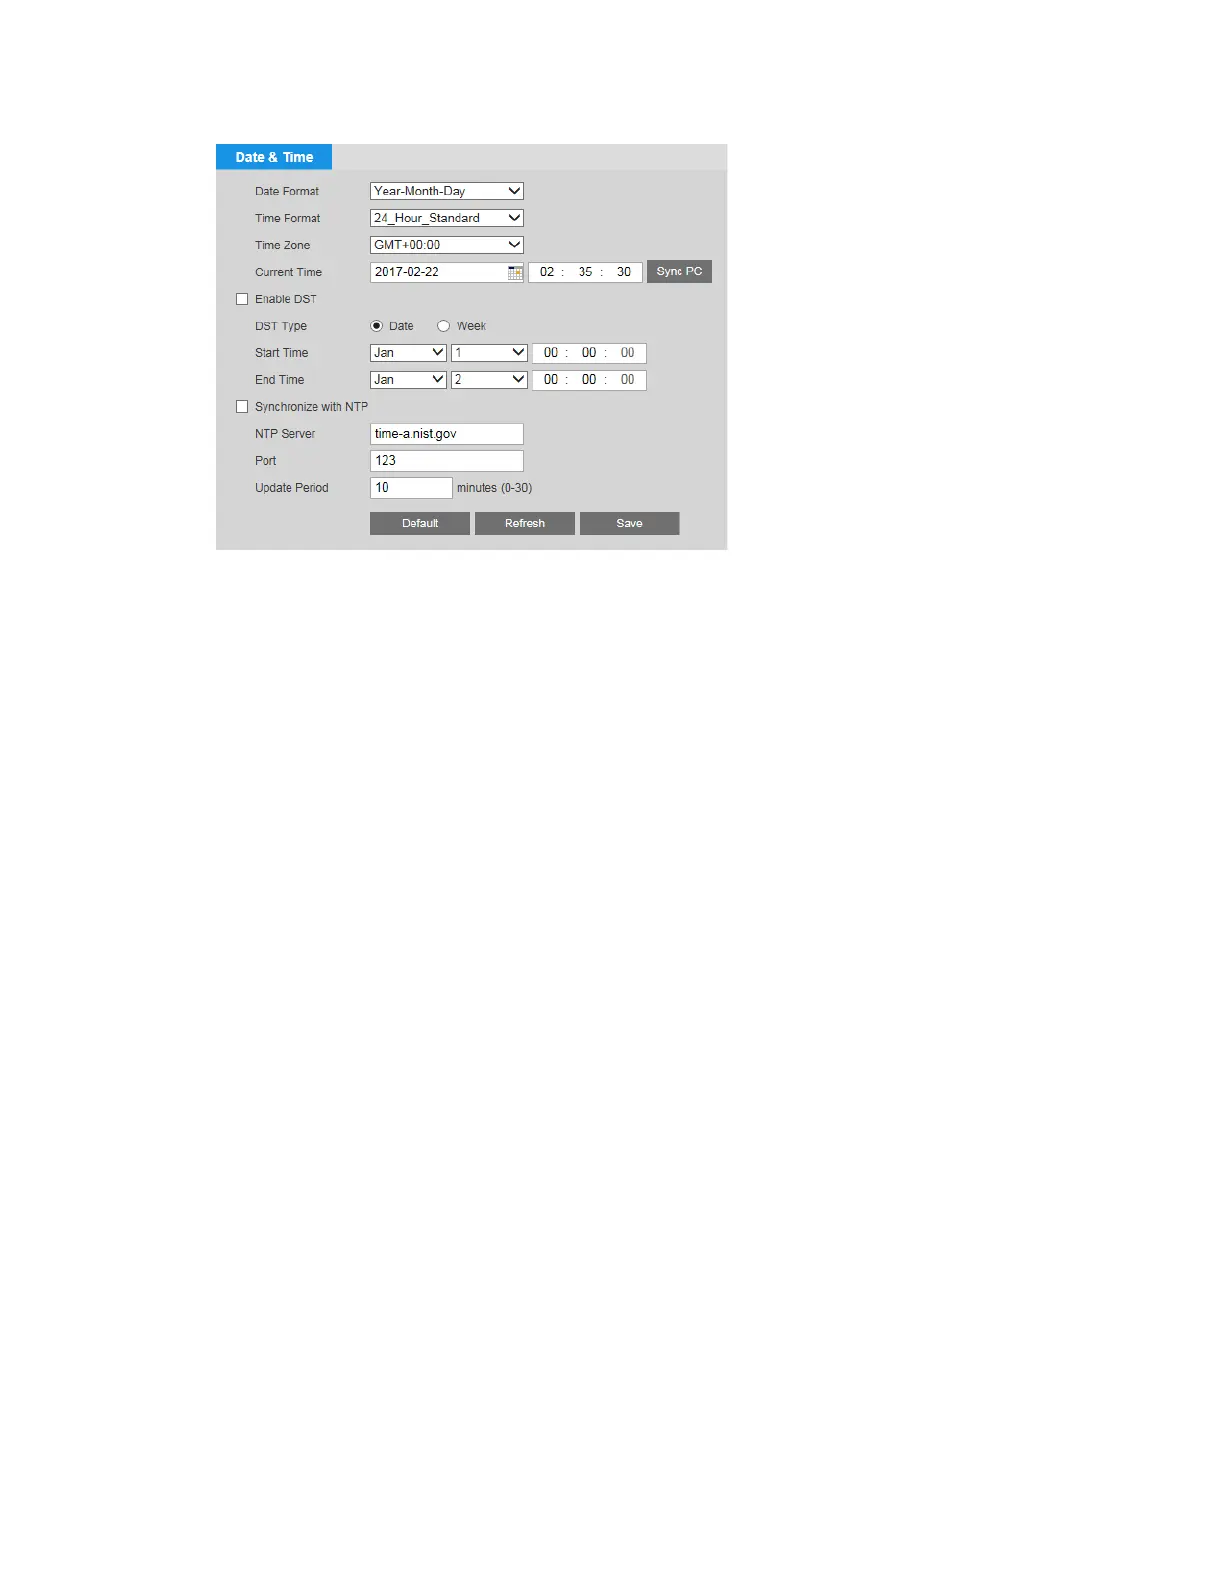
Changing the Date and Time Format
You can change the format of the date and time that appear in the text overlay on the video.
To change the date format, select one of the following formats from the Date Format list:
Year-Month-Day, Month-Day-Year, or Day-Month-Year. Click Save to apply the settings.
To change the time format, select 24_Hour_Standard or 12_Hour_Standard from the Time
Format list.
Setting the Date and Time
There are three ways you can set the camera’s date and time. You can manually enter the
date and time, synchronize with your PC’s internal clock, or set up the camera to synchronize
automatically with a Network Time Protocol (NTP) server at regular intervals.
To manually set the date and time, enter the date and time in the Current Time fields, and
then click Save.
To synchronize the date and time with your PC, click Sync PC. If the synchronization is
successful, the message “Save succeeded” appears. You must manually click Sync PC each
time you want the date and time to synchronize with the PC.
To synchronize the time with an NTP server:
1. From the Time Zone list, select your time zone.
2. If you are in an area that observes Daylight Saving Time (DST):
a. Select the Enable DST check box.
b. Set DST Type to Week.
c. Set Start Time to Mar 2nd Sunday 02:00:00 AM.
d. Set End Time to Nov 1st Sunday 02:00:00 AM.
3. Select the Synchronize with NTP check box.
4. If you want, you can change the NTP Server from the default (time-a.nist.gov).
 Loading...