Message List
109
Troubleshooting Other Symptoms
Use standard fault isolation techniques to troubleshoot malfunctions that are
not indicated by display messages. These techniques are summarized below:
1. Ask the operator to describe the problem.
2. Verify the fault by running a diagnostic printer test or by replicating
conditions reported by the user.
3. Look for a match in the General Symptom List that begins on page 110.
If you find a match, go to the troubleshooting procedure and follow the
numbered instructions.
4. If you do not find the symptom in the General Symptom List, use the Half-
Split Method to find the malfunction:
a. Start at a general level and work down to details.
b. Isolate faults to half the remaining system at a time, until the final half
is a field-replaceable part or assembly. (Troubleshooting aids are
listed on page 59.)
IMPORTANT
Do not attempt field repairs of electronic components or assemblies.
Replace a malfunctioning electronic assembly with an operational
spare. Most electronic problems are corrected by replacing the printed
circuit board assembly, sensor, or cable that causes the fault indication.
The same is true of failures traced to the hammer bank: replace the
entire shuttle frame assembly. It is not field repairable.
5. Replace the defective part or assembly.
6. Test printer operation after every corrective action.
7. Reinstall any parts you replaced earlier that did not solve the problem.
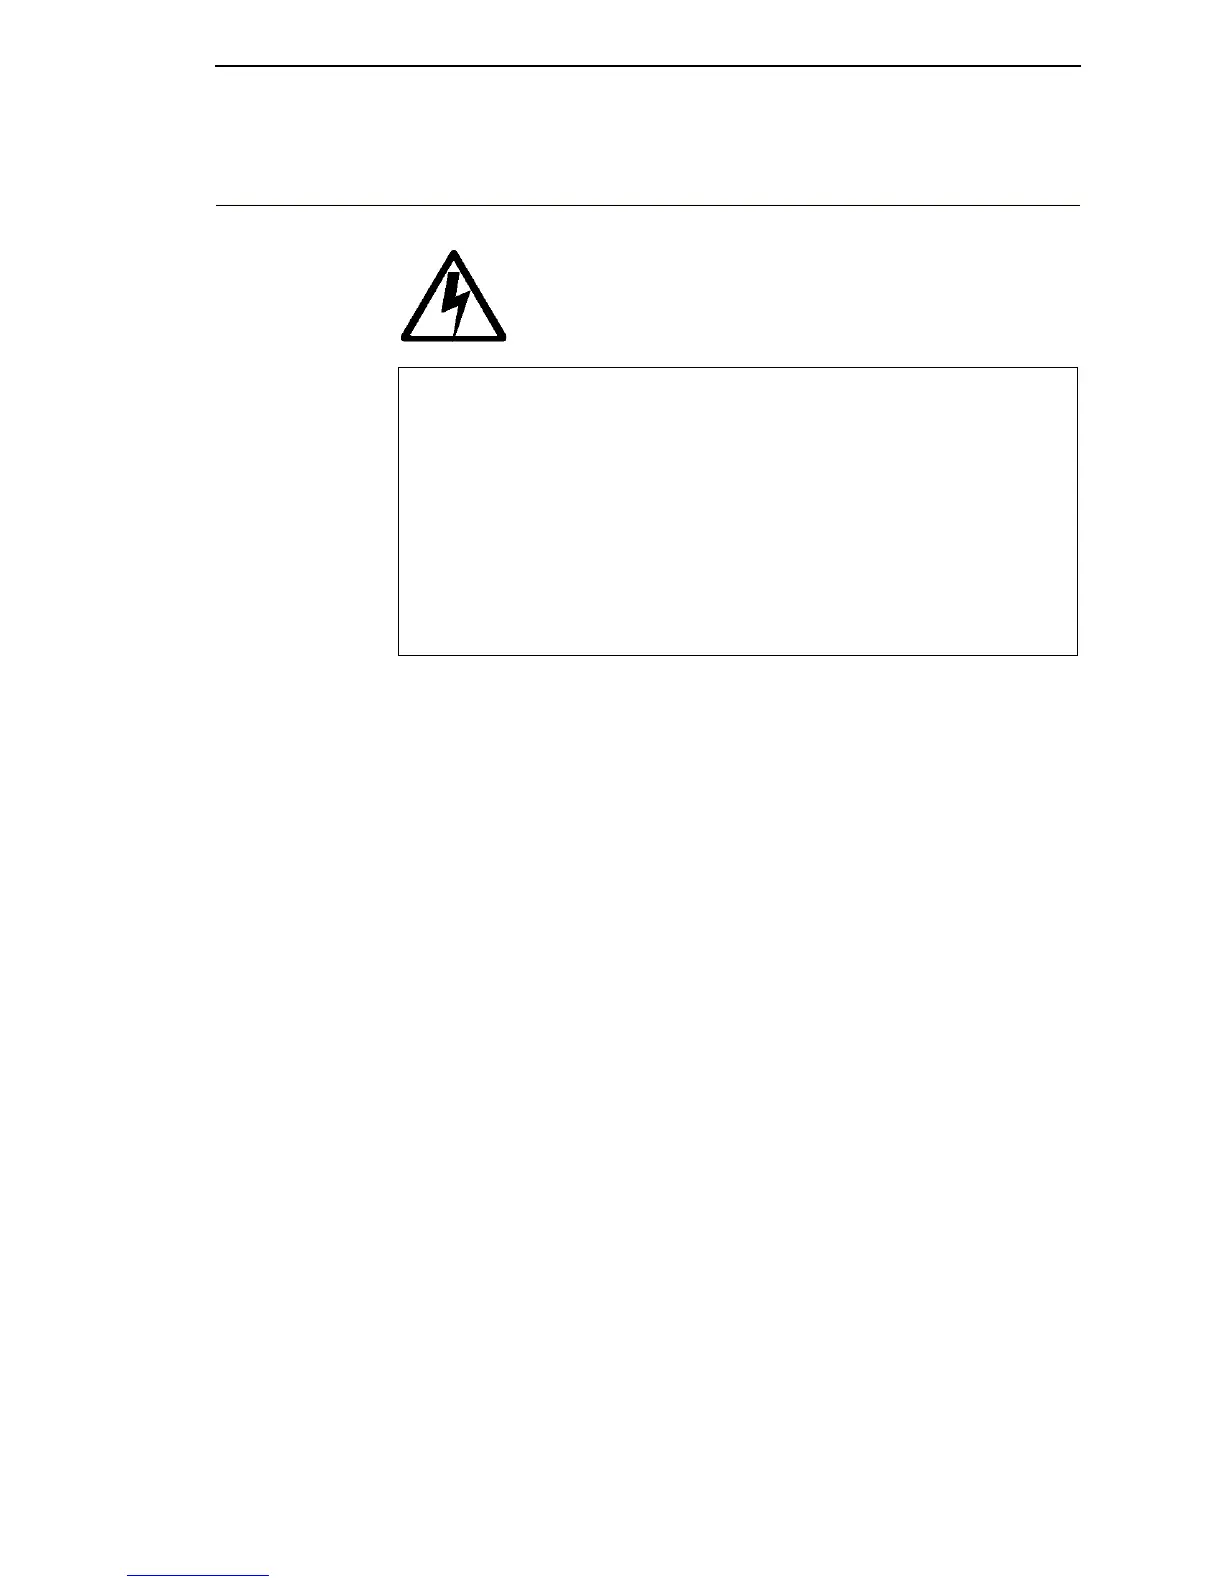
<3> Hazardous voltages are present in the printer with the
power cord connected to the power source. Switch off
printer power and unplug the printer power cord before
proceeding.
<4> Do not connect or disconnect any communication port,
teleport, attachment connector, or power cord during an
electrical storm.
<5> Power off the printer and disconnect the power cord before
connecting or disconnecting any communication port,
teleport, or attachment cable connector.
DANGER
 Loading...