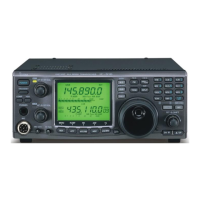
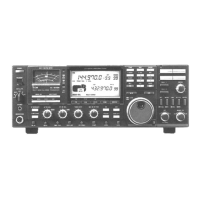
■ Basic transmit operation
Before transmitting, monitor the operating fre-
quency to make sure transmitting won’t cause
interference to other stations on the same fre-
quency. It’s good amateur practice to listen rst,
and then, even if nothing is heard, ask “Is the fre-
quency in use?” once or twice, before you begin
operating on that frequency.
D Transmitting
CAUTION: Transmitting without an antenna may
damage the transceiver.
In the AM mode, you can transmit on only the
HF/50MHz frequency bands.
q Push [PTT] on the microphone to transmit. (or
[TRANSMIT] on the transceiver)
•TheMAINBandTX/RXindicatorlightsred.
•Wheninthesatellitemode,theSUBBandTX/RXindi-
cator lights red. (p. 156)
w Release [PTT] again to receive. (or push [TRANS-
MIT])
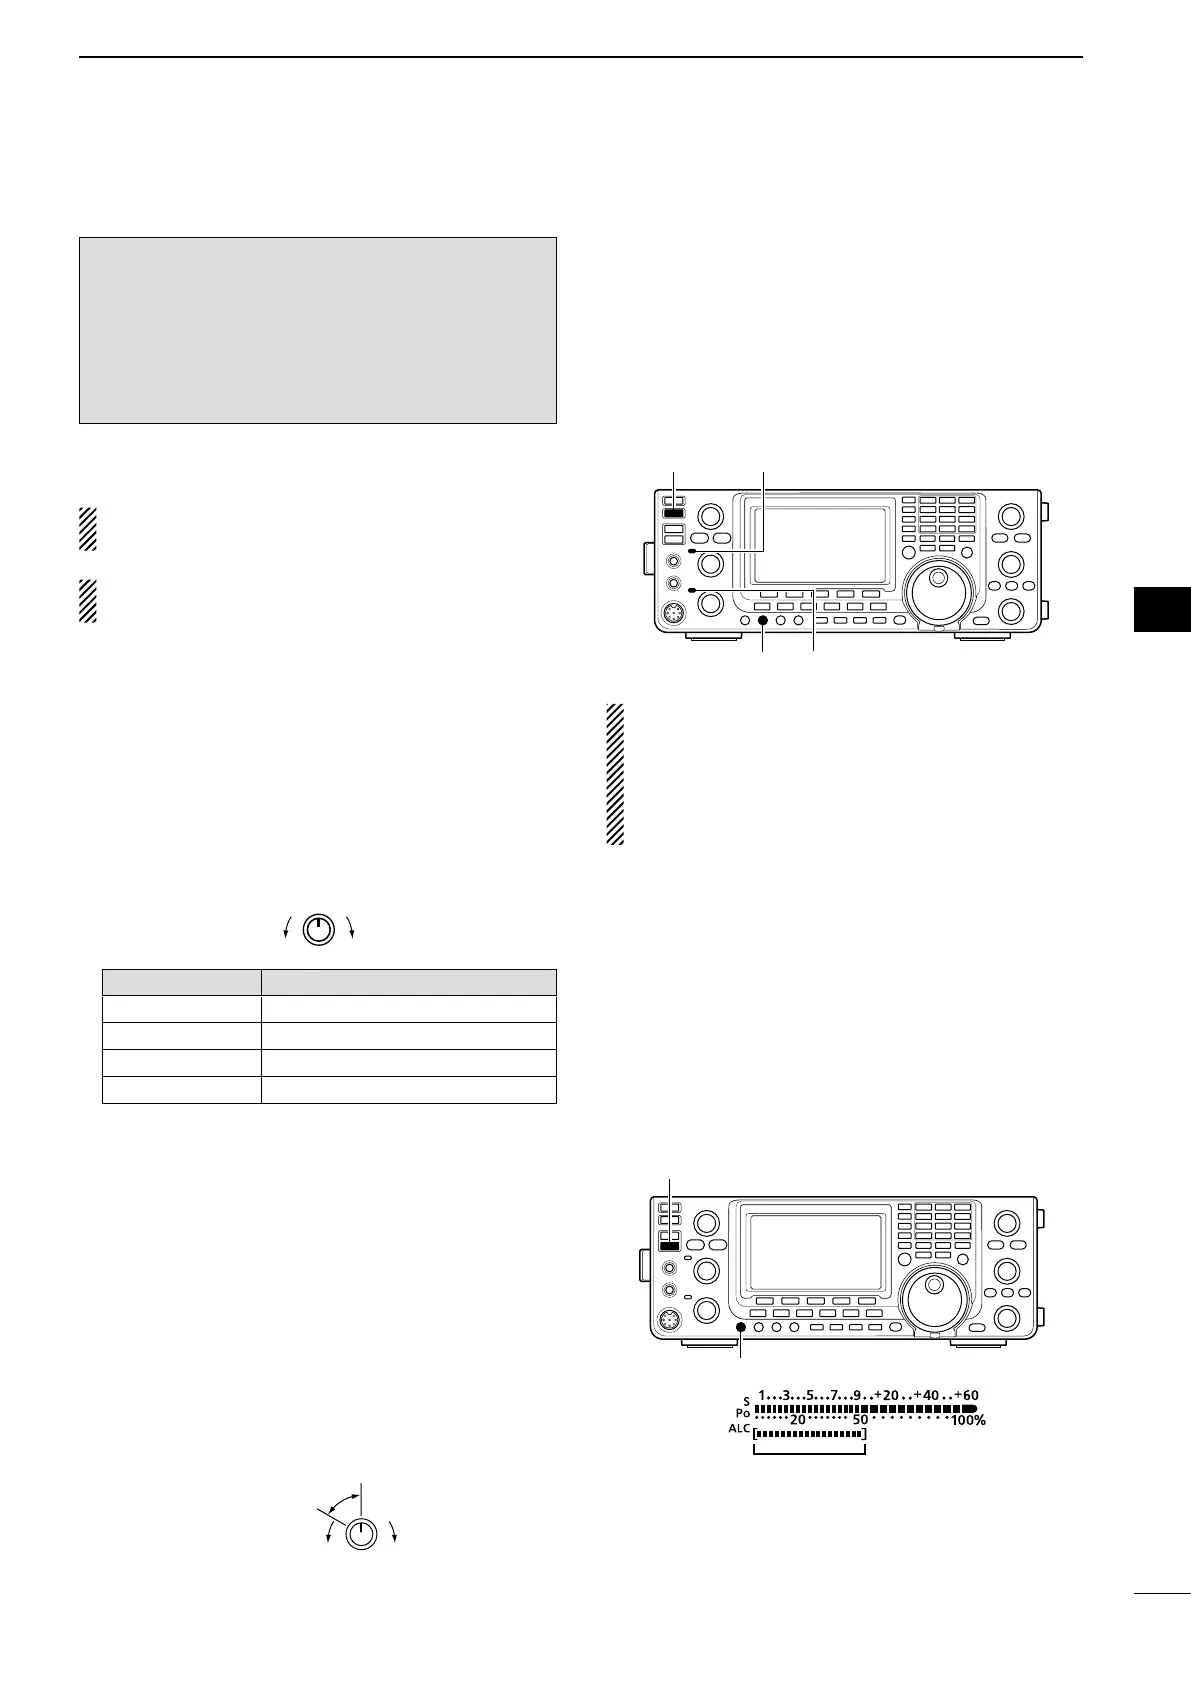
✔ Adjusting the transmit output power
➥ Rotate [RF POWER].
IncreasesDecreases
Frequency band RF output power range
HF/50 MHz 2 to 100 W (AM: 2 to 30 W)
144 MHz 2 to 100 W
430 MHz 2 to 75 W
1200 MHz 1 to 10 W
D Microphone gain adjustment
(Mode: SSB/AM/FM/DV)
q Push [PTT] to transmit.
•Speakintothemicrophoneatyournormalvoicelevel.
w In the SSB mode:
Holddown[ANT•METER]for1secondtoselectthe
ALC meter. And then, while speaking into the mi-
crophone, rotate [MIC GAIN] so that the ALC meter
reading stays within the ALC zone.
In the AM, FM and DV modes:
While speaking into the microphone, rotate
[MIC GAIN] with another station listening to your
voice for clarity.
Recommended level for
Icom microphones
IncreasesDecreases
e Release [PTT] to receive.
46
3
BASIC OPERATION
1
2
3
4
5
6
7
8
9
10
11
12
13
14
15
16
17
18
19
20
21
[TRANSMIT]
[RF POWER]
MAIN Band TX/RX indicator
SUB Band TX/RX indicator
ALC zone
NOTE: When you transmit on the HF/50 MHz fre-
quency bands, while monitoring an out of the ama-
teur band frequency on VHF or UHF on the SUB
band, the squelch on the SUB Band closes. There-
fore, you cannot receive on the VHF or UHF fre-
quency.
 Loading...