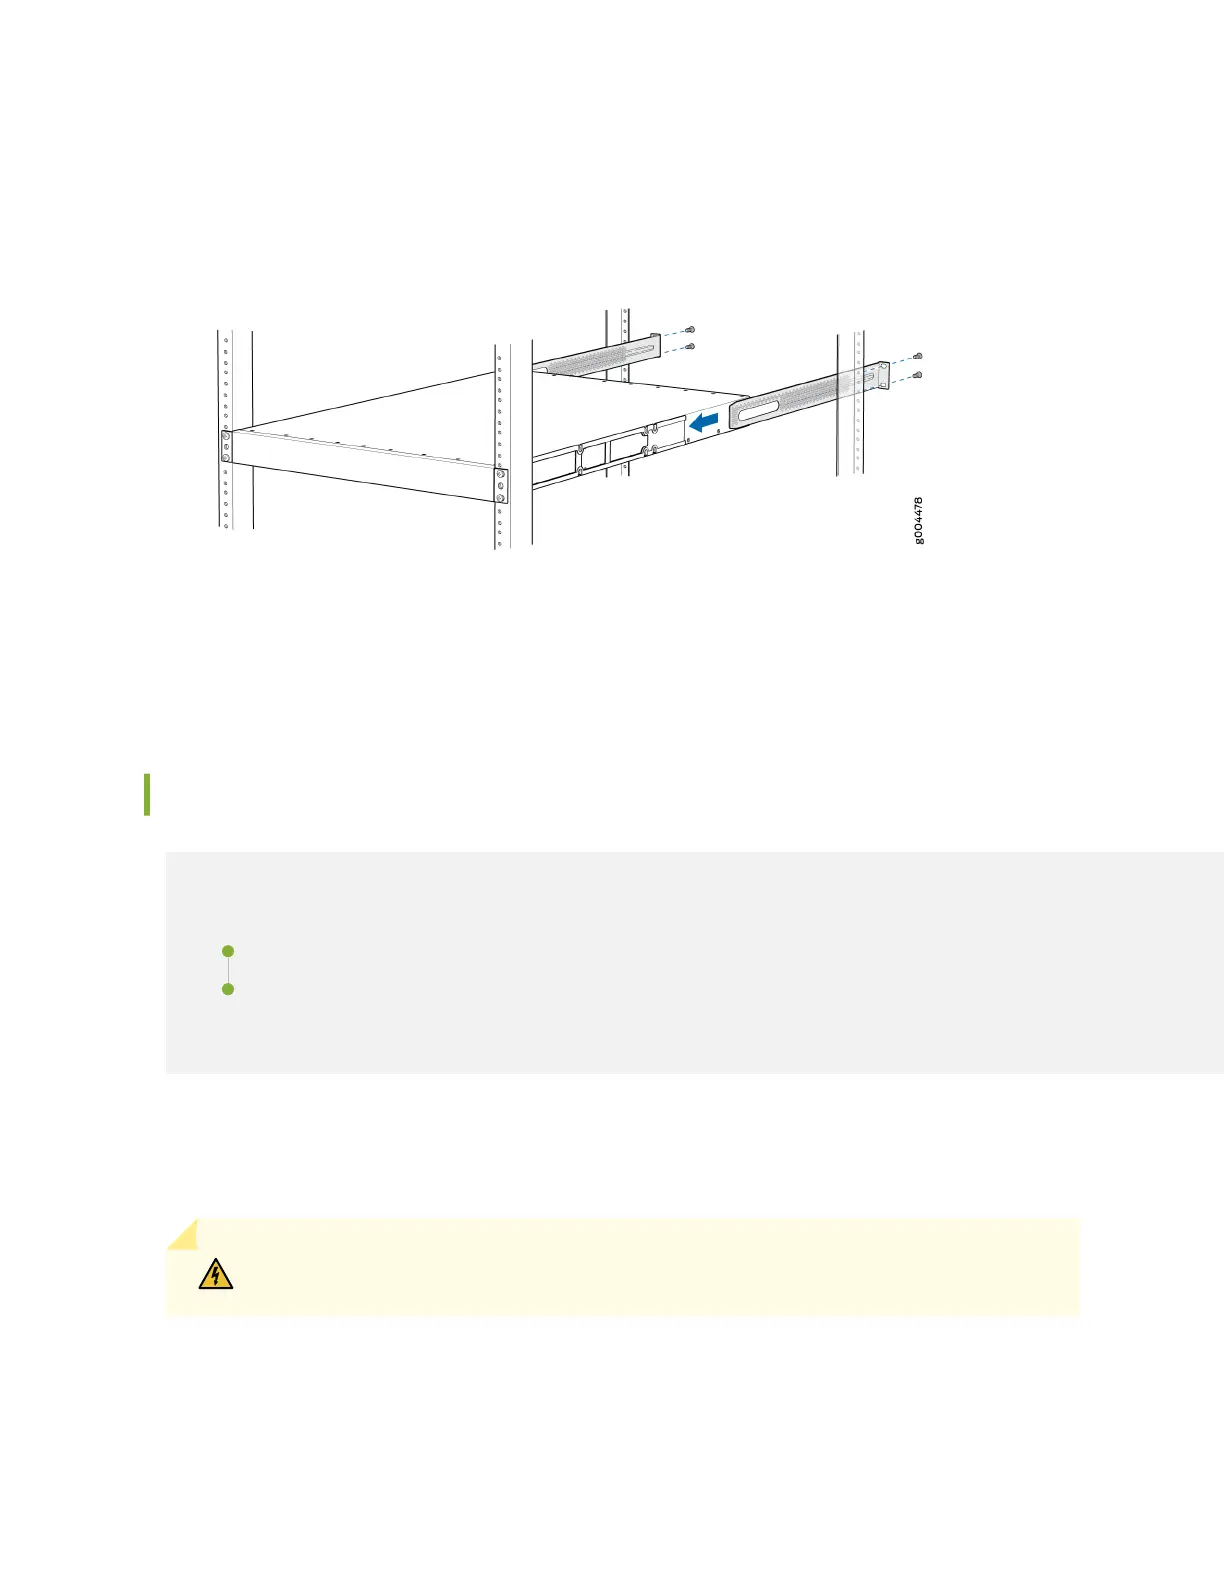
9. Slide the rear mounng-blades into the side mounng-rails. See Figure 61 on page 119.
Figure 61: Sliding the Rear Mounng-Blades into the Side Mounng-Rail
10. Aach the rear mounng-blades to the rear post by using the appropriate screws for your rack.
Tighten the screws.
11. Ensure that the switch chassis is level by verifying that all the screws on the front of the rack are
aligned with the screws at the back of the rack.
Mounng an EX2300 Switch on a Wall
IN THIS SECTION
Mounng an EX2300-C Switch on a Wall | 119
Mounng an EX2300 Switch Except the EX2300-C Switch and the EX2300-24MP and EX2300-48MP
Models on a Wall | 124
This topic describes the process of mounng an EX2300 switch on a wall. You can mount EX2300
switches except the EX2300-24MP and EX2300-48MP models on a wall.
WARNING: When mounng an EX2300 switch chassis on a wall, orient the front panel
of the chassis to the right side.
Mounng an EX2300-C Switch on a Wall
Before mounng the switch on a wall:
119
 Loading...


