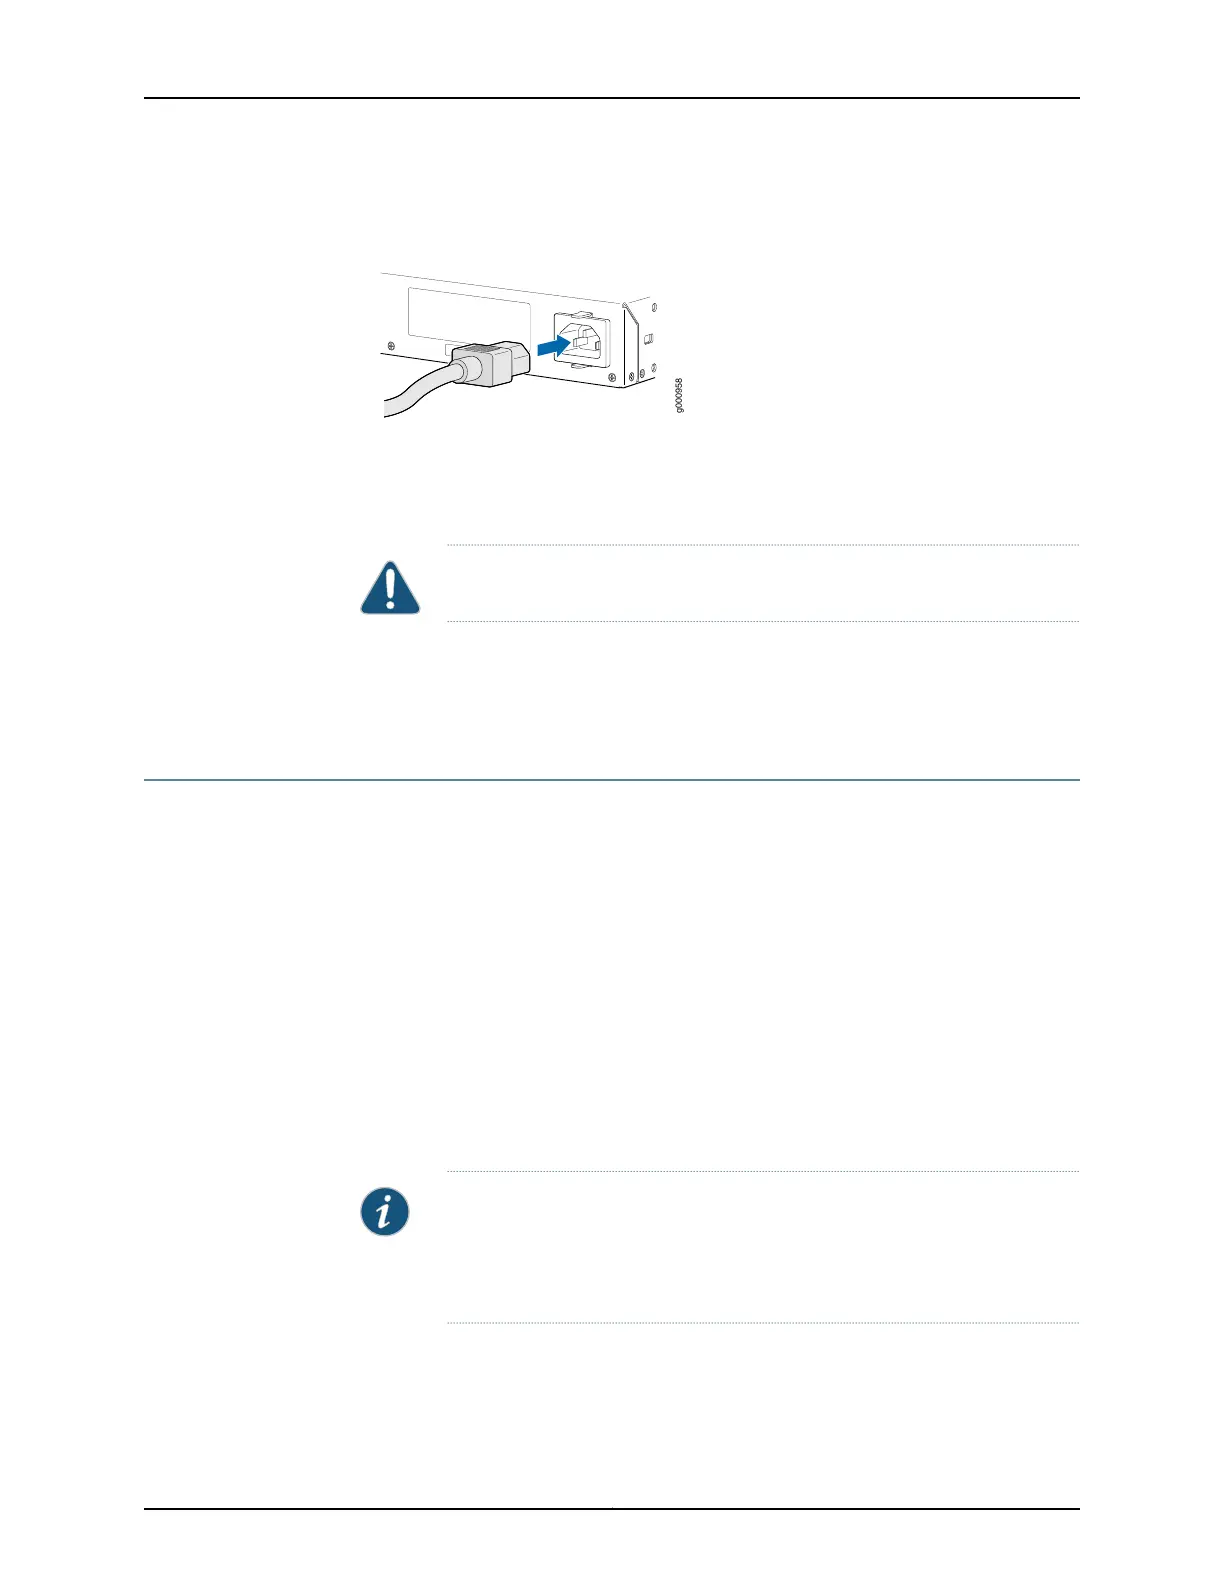
Figure 13: Connecting the SRX345 Services Gateway to an AC Power
Supply
4. If you are using a SRX345 Services Gateway with dual AC power supplies, then repeat
steps 1 through 3 for the second power supply.
CAUTION: We recommend using a surge protector for the power connection.
Related
Documentation
Powering On the SRX345 Services Gateway on page 64•
• Powering Off the SRX345 Services Gateway on page 65
Powering On the SRX345 Services Gateway
To power on the services gateway:
1. Insert the power cord plug into the AC power source receptacle.
2. Turn on the power to the AC power receptacle. Observe the power supply faceplate
LED. If the power supply is installed correctly and functioning normally, the LED glows
steady green.
3. If you are using a SRX345 Services Gateway with dual AC power supplies, then repeat
steps 1 and 2 for the second power supply.
The device starts automatically as the power supply completes its startup sequence.
ThePWR LED lights during startup and remains on when the device is operatingnormally.
NOTE: After the power supply is turned on, it can take up to 60 seconds for
status indicators—such as the STAT and PWR LEDs—to show that the power
supply is functioning normally. Ignore error indicators that appear during the
first 60 seconds.
Copyright © 2017, Juniper Networks, Inc.64
SRX345 Services Gateway Hardware Guide
 Loading...


