Action Yes No
Step 7
Replace the fuser. See
“Fuser removal” on page 333.
Does the problem remain?
Contact the next
level of support.
The problem is
solved.
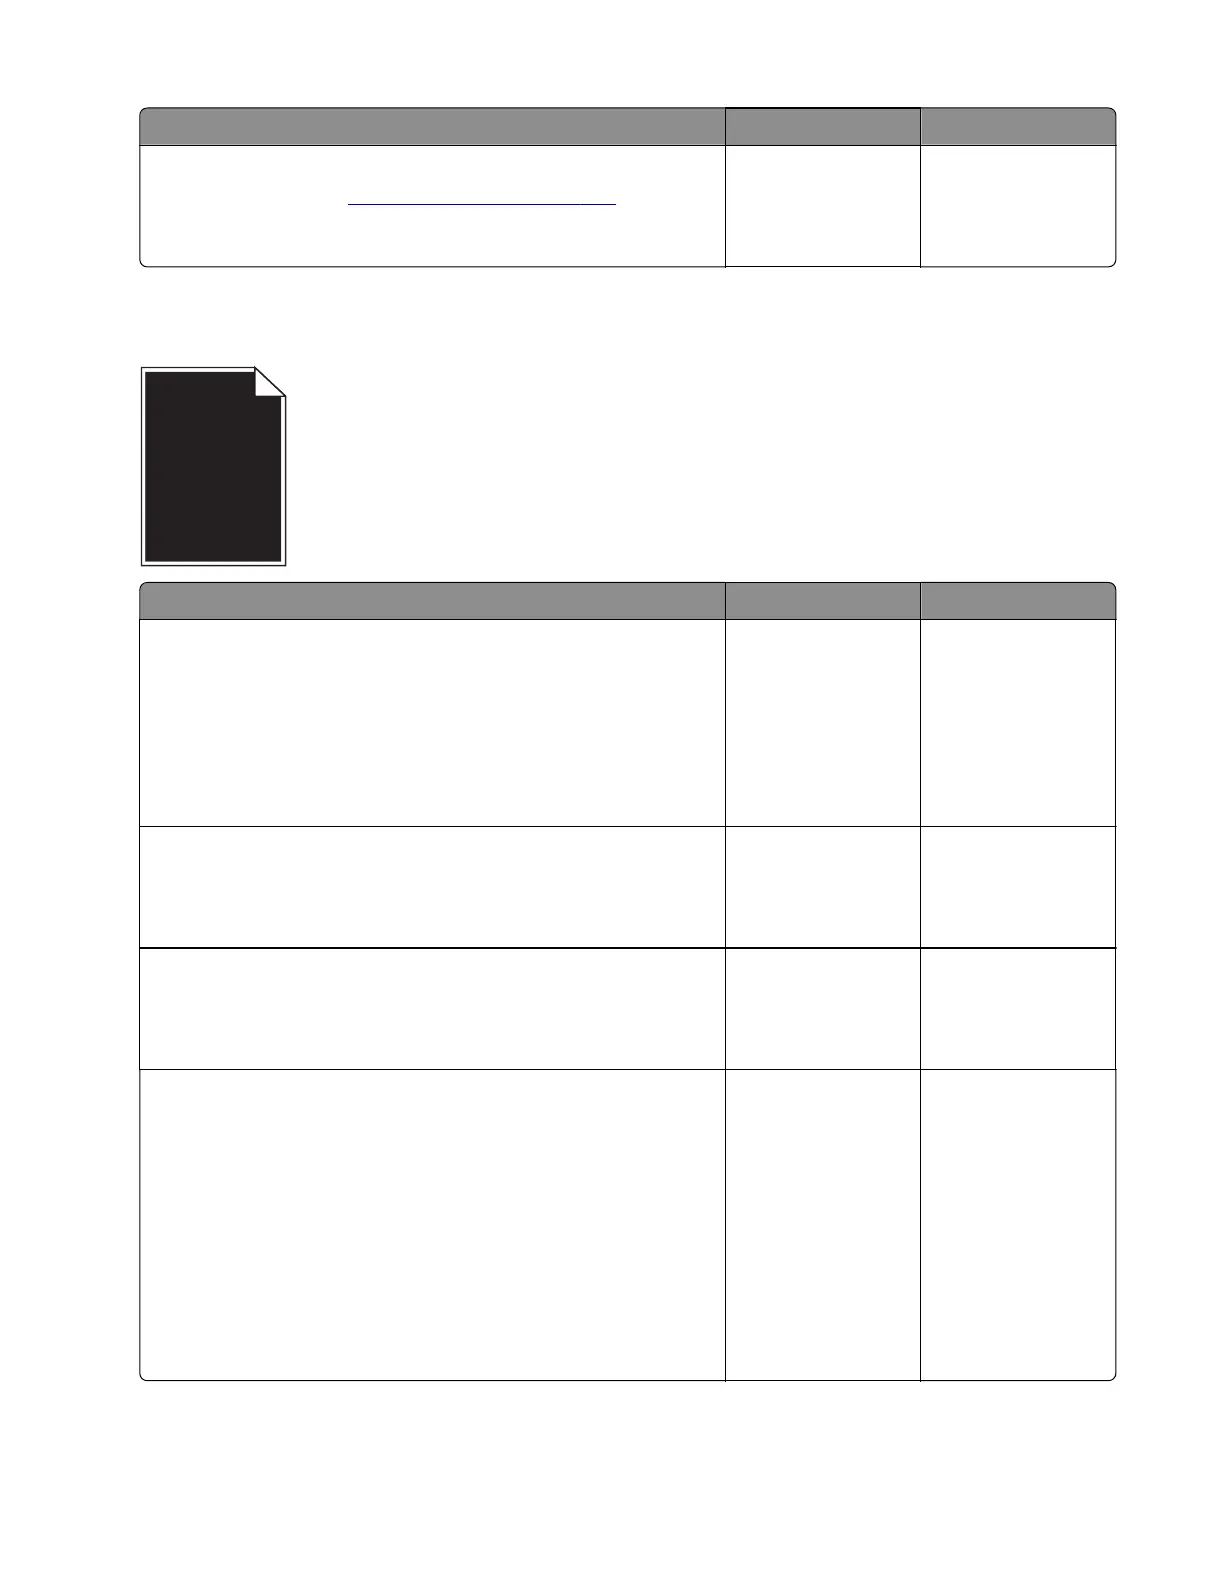
Solid color or black image check
Action Yes No
Step 1
a Enter the Diagnostics menu, and then navigate to:
Advanced Print Quality Samples > Advanced Print Quality
Samples
b Check the test page.
Is the solid color page black only?
Go to step 2. Go to step 3.
Step 2
Replace the imaging unit.
Does the problem remain?
Go to step 4. The problem is
solved.
Step 3
Replace the photocunductor unit.
Does the problem remain?
Go to step 4. The problem is
solved.
Step 4
a Place a narrow strip of paper over the gap between the
developers.
Note: Make sure that the paper stays in place when
reinstalling the imaging unit to prevent the laser from
discharging the photoconductors.
b From the home screen, touch Settings > Reports > Print
Quality Pages.
c Check the test page.
Is there vertical banding?
Go to step 5. Go to step 6.
5028
Diagnostic information
47
 Loading...


