Precautions for Correct Use
Refer to the NJ/NX-series CPU Unit Built-in EtherCAT Port User
’s Manual (Cat. No. W505) for
details on the Ethernet cable to be used.
2-2-4
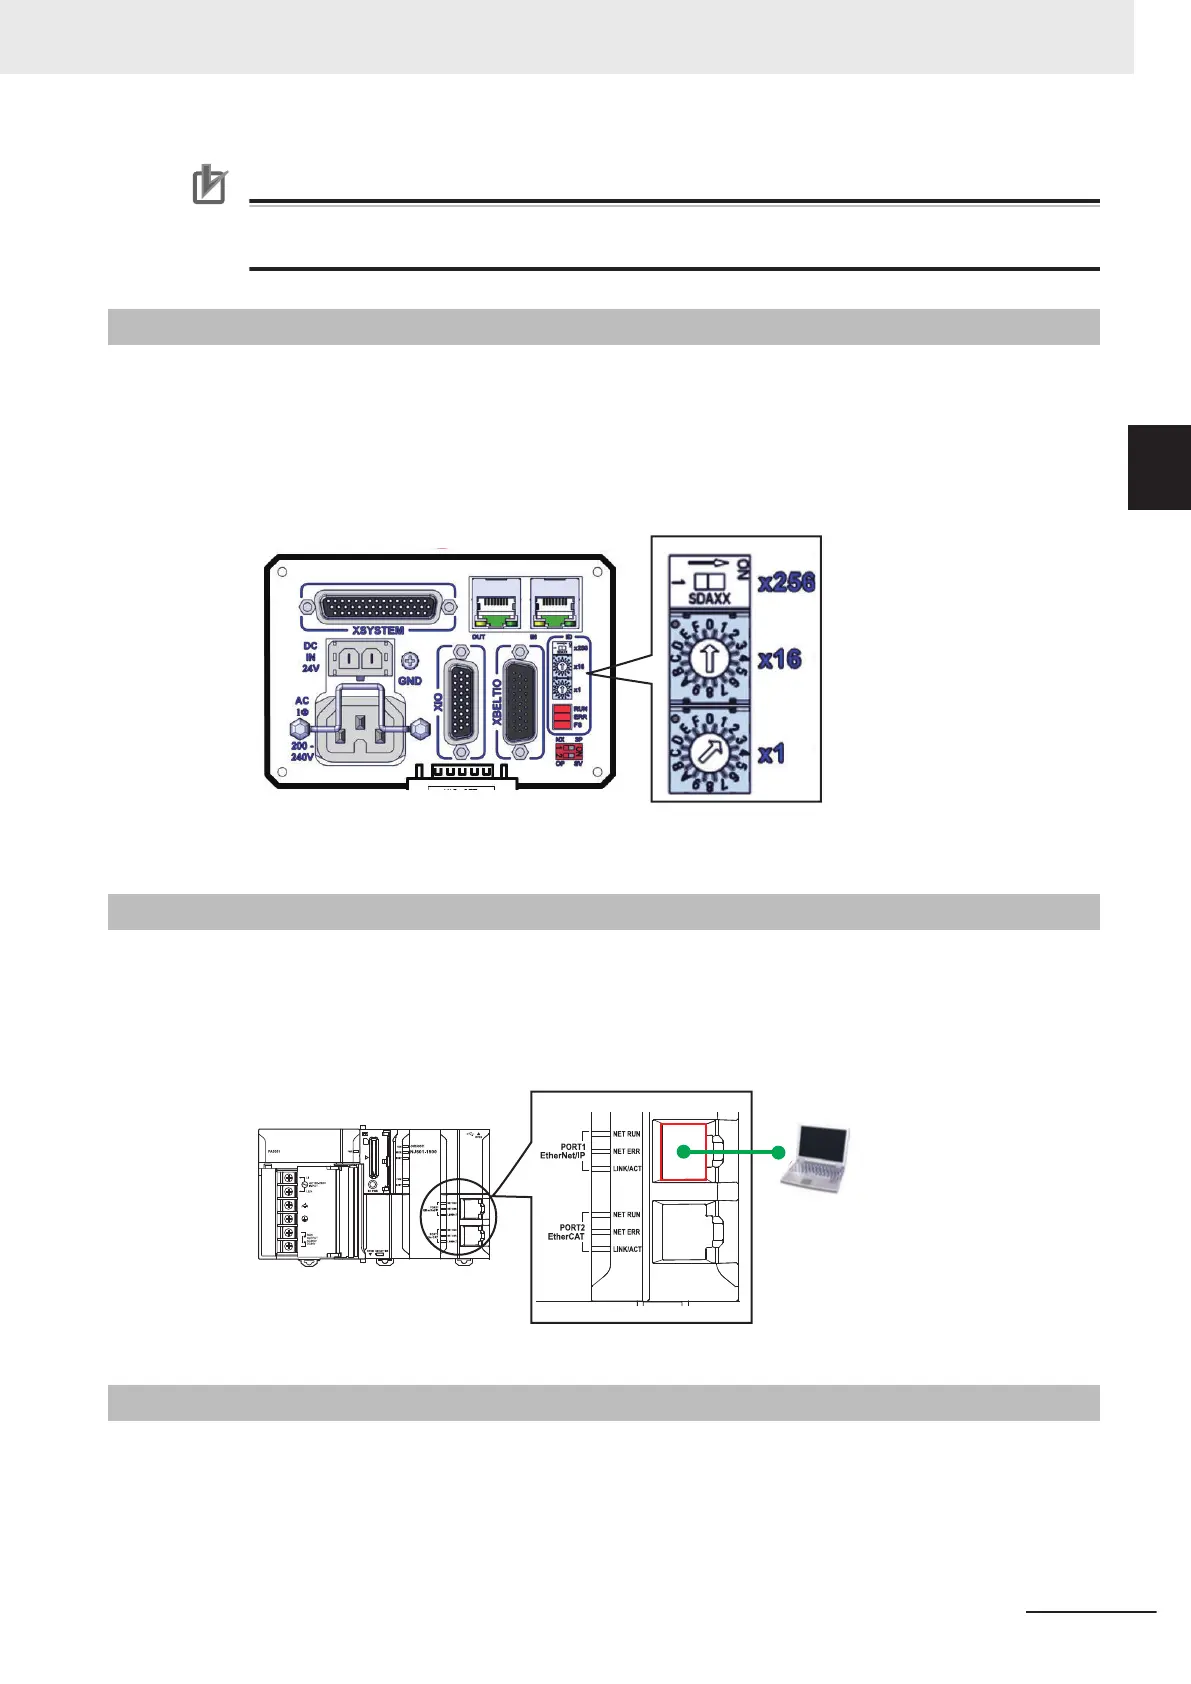
Setting the EtherCAT Node Address of the Robot
You must set the EtherCAT node address of the robot.
1 Use the switches on the interface panel of the robot to set the EtherCAT node address.
T
o set the node address to 2, set the x256 switch to OFF
, the x16 switch to 0, and the x1 switch
to 2.
Refer to the manual for your robot on how to set the node address.
2-2-5
Wiring the Robot Integrated CPU Unit and the Computer
You must wire the Robot Integrated CPU Unit and the computer.
1 Connect the built-in EtherNet/IP port of the Robot Integrated CPU Unit and the computer with
an Ethernet cable.
2-2-6
Wiring the Robot, T20 Pendant and the Front Panel
You must wire the robot and the T20 pendant, as well as the robot and the front panel. Use an XSYS-
TEM cable assembly, a T20 adapter cable, and a front panel cable for wiring.
1 Connect the robot and the XSYSTEM cable assembly
.
2 Before You Begin
2-5
NJ-series Robot Integrated System Startup Guide (O049)
2-2 Installing and Wiring the System
2
2-2-4 Setting the EtherCAT Node Address of the Robot
 Loading...