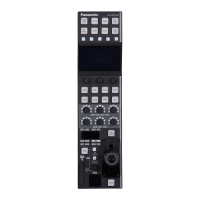
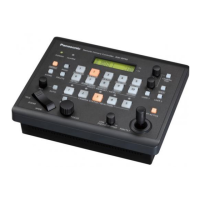
Front panel 2
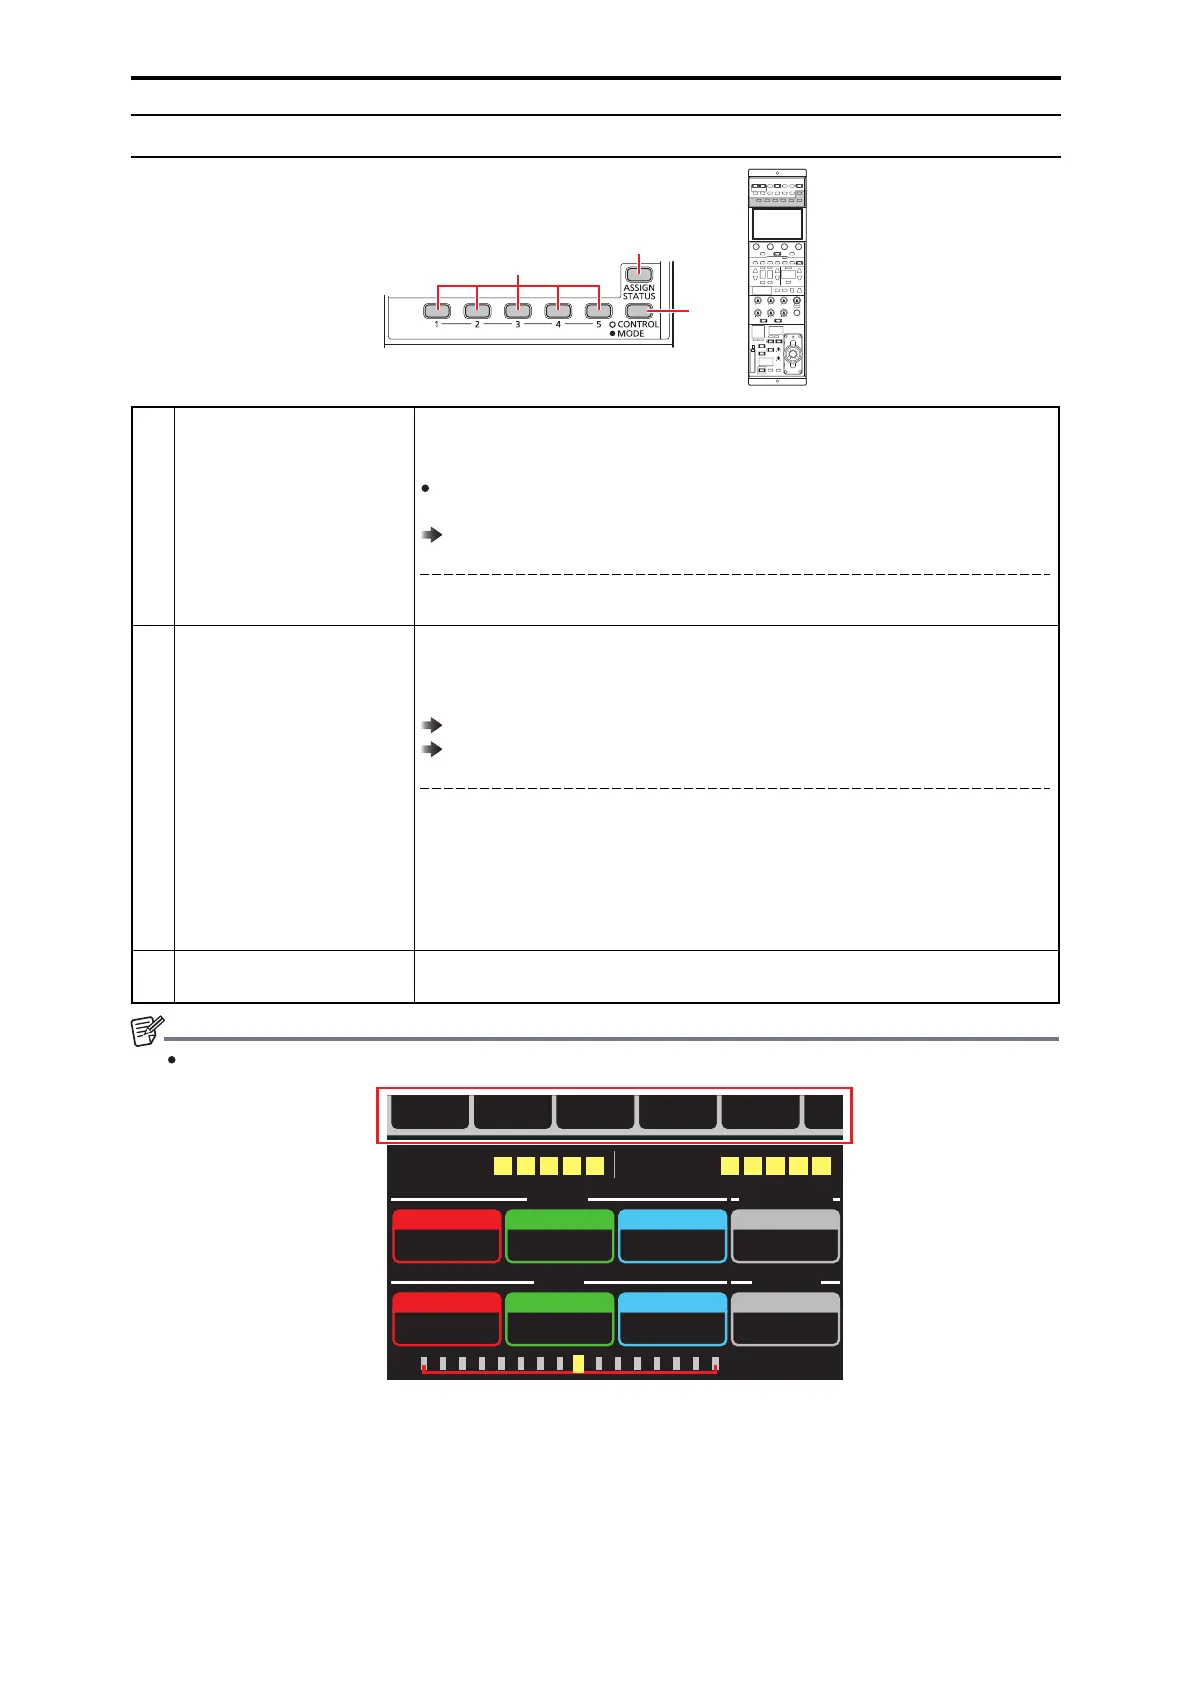
1 [ASSIGN STATUS] button Use this button to display the ASSIGN status screen.
The functions assigned to the [1] to [5] (CONTROL/MODE) buttons and [ASSIGN] button are
displayed on the LCD panel.
When you press this button while the menu screen is displayed, the ASSIGN status screen
will not appear. Press the button after turning off the menu screen display.
“ASSIGN status screen” (see page 52)
Status displays
On: ASSIGN status screen is displayed
Off: ASSIGN status screen is hidden
2 Buttons [1] to [5]
(CONTROL/MODE)
Use these buttons to select users 1 to 5 when the [CONTROL/MODE] button is set to
CONTROL.
When the [CONTROL/MODE] button is set to MODE, pressing these buttons enables/dis-
ables the functions assigned to each button.
“CONTROL(MENU)1”to“CONTROL(MENU)5” (see page 110)
“MODE(ON/OFF)1”to“MODE(ON/OFF)5” (see page 111)
Status displays
When “FLARE”, “GAMMA”, “KNEE”, “W.CLIP”, “HD.D”, “UHD.D”, or “SD.D” are assigned to
the buttons
On: OFF
Off: ON
When functions other than the above are assigned
On: ON
Off: OFF
3 [CONTROL/MODE] button Use this button to switch between the control items and mode items that appear under but-
tons [1] to [5].
The button settings configured with the above operations will appear at the top of the status screen.
ン ヨ
ン ヨ
ャ
ャ
ヤ パ
ヨ モ リ ワ ヶラュチチュヵロ
ヌヒパパ パ ノピヒ
フベパパ
ヌプ
ヌビブパノヒペ
ョブチハチプ
ヱ ユ ュ ヵ ユ ヮ ヱ
ヤモヮチンヤヷチホチ ヤヤヶチンヤヷチホチ
ヮモヵンリヹヨモリワ
ラュチハチュレワユユヨモヮヮモ
ヒバビ
- 22 -
Parts and their functions
 Loading...