Managing ERAs9.5
The ERAs are pictures you can include on the left hand side of the imprint printed on mail
pieces.
ERA management is identical to Slogan management (Managing Slogan on page 182).
As supervisor, you can:
• Load ERAs.
• Rename ERAs
• Delete ERAs.
To add (load) ERAs, contact your Customer Service. The available
ERAs are automatically downloaded into your franking machine by
connecting to the Online Services server. See Activating New
Options on page 181.
See also
• To set the default ERA printed on mail pieces, see How to Change the Default ERA
on page 165 in section Imprint Default Settings on page 164.
Displaying the ERA List
You can display the list of ERAs installed in the franking machine.
In the list, a mark indicates the ERA that is printed by default, if any. If None is
ticked, no ERA is printed by default.
Users can change the current ERA during their work session.
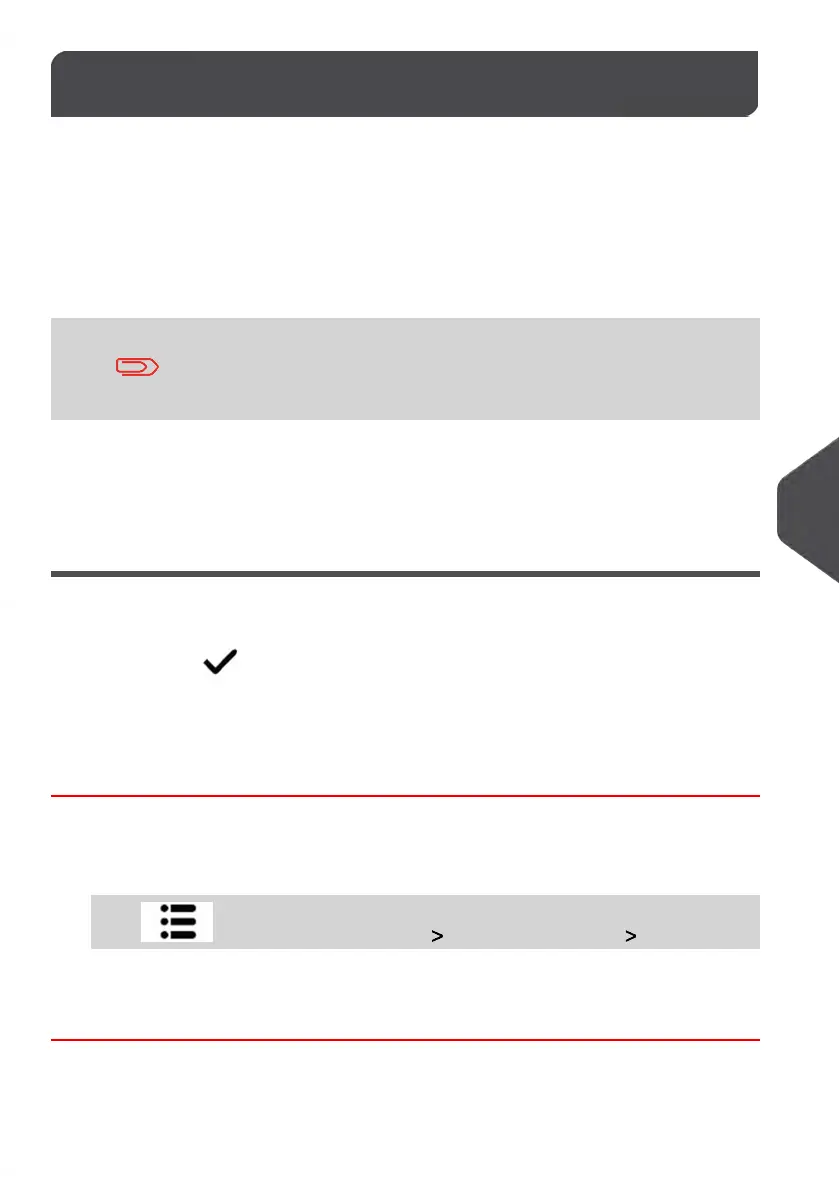
How to Display the List of ERAs
To display the list of ERAs:
1. As supervisor (see How to Log in as Supervisor on page 144):
Press and select the menu path: Option and Updates Update ERAs
The list of ERAs is displayed.
185
| Page 185 | | Jul-31-2018 12:32 |
9
Options and Updates
 Loading...