Fader Function
82
Recording
Making a transition from Shot B to Shot A
When “Rec Link” is set to “Off” or “Shot-A,” a
shot transition from Shot B to Shot A is possible.
1 Press the MODE button to display
“Check” in the shot-transition
operation area.
2 Press the B button.
The picture is adjusted according to the
camera settings registered for Shot B.
3 Press the MODE button to display
“Execute” in the shot-transition
operation area.
4 Press the REC START/STOP button.
Recording begins with the camera settings
registered for Shot B.
5 When “Rec Link” is “Off,” press the A
button when you wish to start the shot
transition.
When “Rec Link” is “Shot-A,” the
camcorder automatically performs the shot
transition to the camera settings registered
for Shot A. It is not necessary to press the A
button.
Ending recording
When recording is completed, press the REC
START/STOP button.
To cancel recording while a transition is in
progress
If you press the REC START/STOP button
during recording, the recording stops, even when
a shot transition is in progress.
The E-E picture of the settings where the
recording stops is displayed.
Releasing a Shot Transition
Press the MODE button so that the button
indicator goes dark.
The viewfinder screen resumes the normal
condition.
Using the Fader function, you can start a
recording by fading in a scene or end a recording
by fading out of a scene.
The fader function can be assigned to an
assignable button.
For function assignment, see “Changing Functions
of the Assignable Buttons” on page 72.
Notes
• The fader function cannot be used in
combination with the Slow & Quick Motion,
Interval Recording, Frame Recording, or EX
Slow Shutter function.
• When a clip is recorded using the fade-in
function, a white or black screen becomes the
index frame on the thumbnail screen (page 93).
Change the index frame for easier
identification.
• When you perform recording on an external
device connected via the i.LINK(HDV)
connector in synchronization with REC
START/STOP operations on this camcorder,
recording start/stop on the external device and
fade-in start/fade-out end may not be
synchronized, depending on the performance of
the external device.
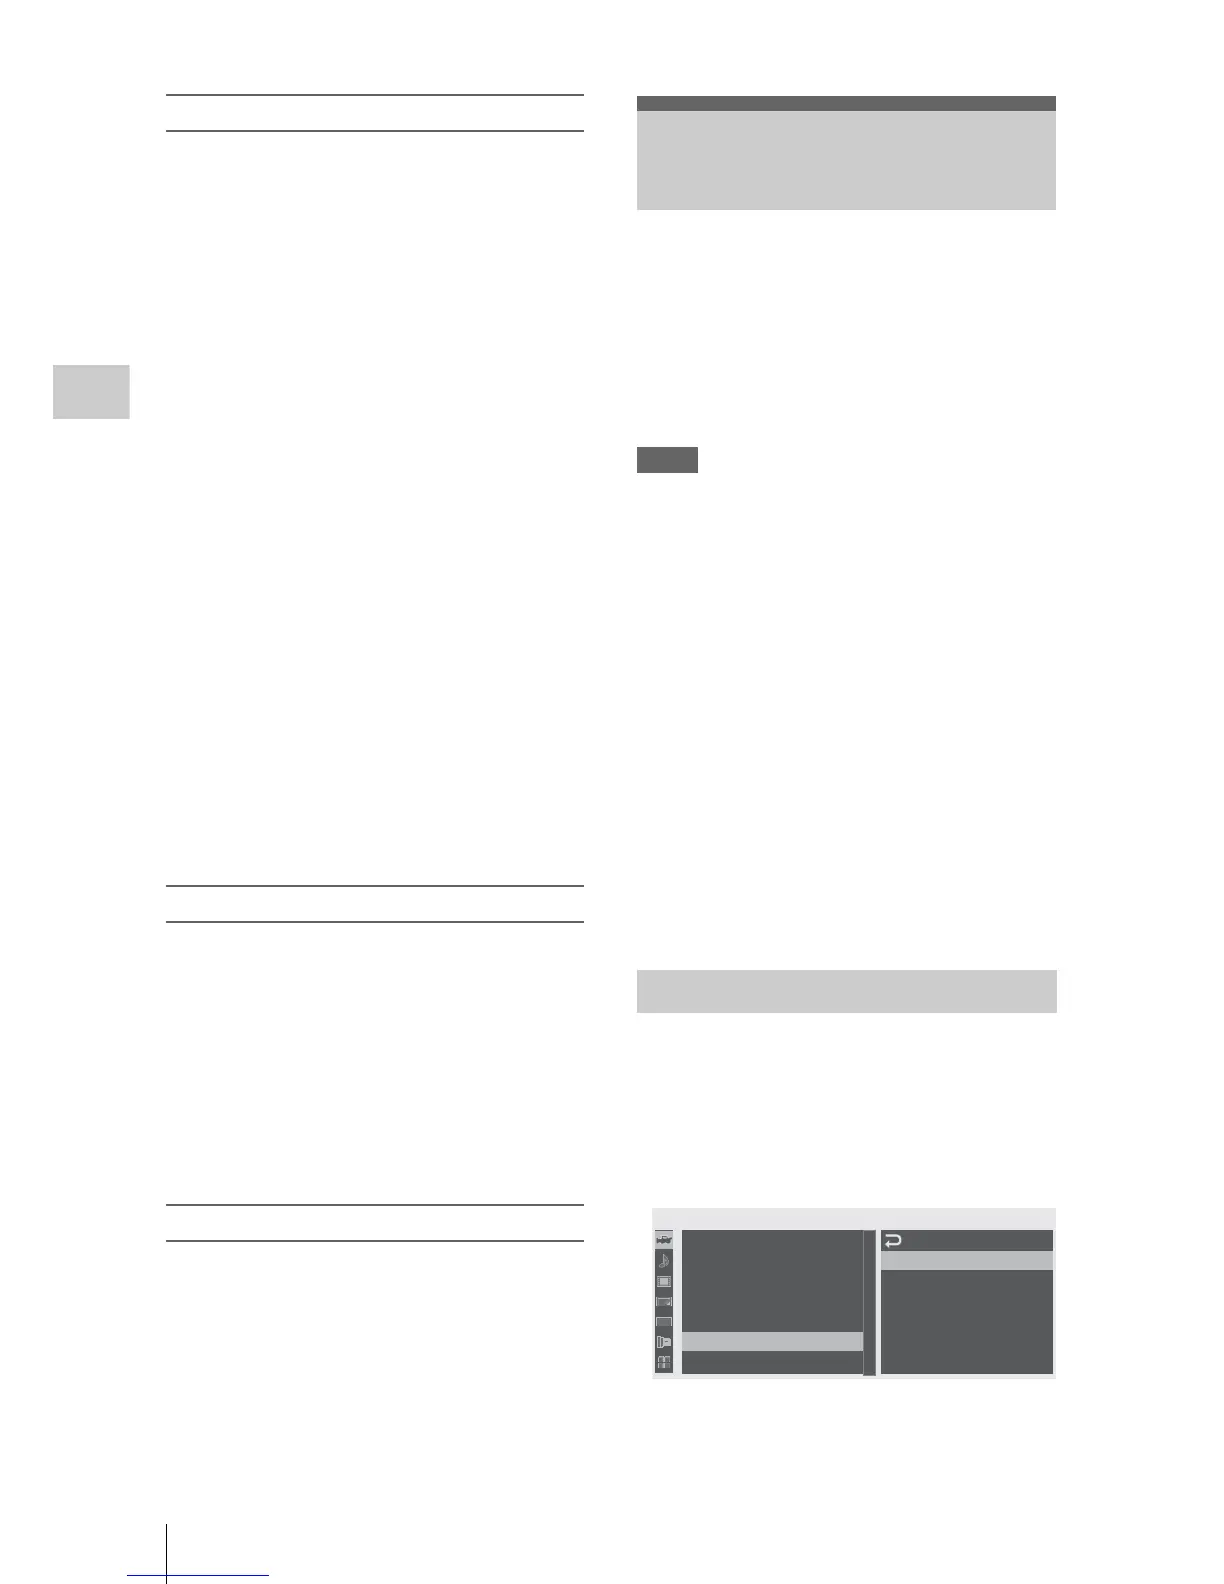
Specify the conditions to activate the Fader
function in advance with the following
procedure:
1 Select “Fader” of the CAMERA SET
me
nu.
2 Specify the fade-in conditions.
Fader Function
Preparatory Settings
00:00
Fade
In
Fade
In
Type
Fade
In
Ti
m
e
Fade
O
ut
Fade
O
ut
Type
Fade
O
ut
Ti
m
e
:
Off
:
Black
:
2sec
:
Off
:
Black
:
2sec
C
A
M
E
R
A
SET
Z
oo
m
Speed
Interval
Rec
Fra
m
e
Rec
S&Q
M
ot i on
Rec
Review
:
2sec
Fader
TLCS
B
B
B
B
B
B
B

 Loading...