DISASSEMBLY AND ASSEMBLY
ATTACHMENTS
6
4
ATTACHMENTS 4G0AX001
Removing the link
Completely retract the bucket cylinder, and lower the tip
of the arm to the ground.
1. Take out the pin (5), and remove the link arm (2).
a. Guide links R (3) and L (4)
.......................Exercise caution as they may drop
b. Cylinder (9).....Place on a skid
c. Link arm (2) ....Suspend temporarily
2. Take out the pins (6) and (7), and remove the guide
links R (3) and L (4).
Installing the link
To install, follow the same procedures as for removal but
in the reverse order.
Removing the arm
1. Disconnect the hydraulic hoses from the bucket cyl-
inder (9).
Next, disconnect the hydraulic hoses from the auxil-
iary line ports.
2. Suspend the bucket cylinder (9) temporarily and
then pull out the pin and remove the bucket cylinder.
Bucket cylinder: 9 kg (20 lb)
3. Place a skid under the arm cylinder (26), and remove
the pin.
4. Take out the cotter pin, and remove the castle nut.
5. Suspend the arm (1) temporarily and then pull out the
pin and remove the arm.
Arm: 31 kg (68 lb)
Installing the arm
To install, follow the same procedures as for removal but
in the reverse order.
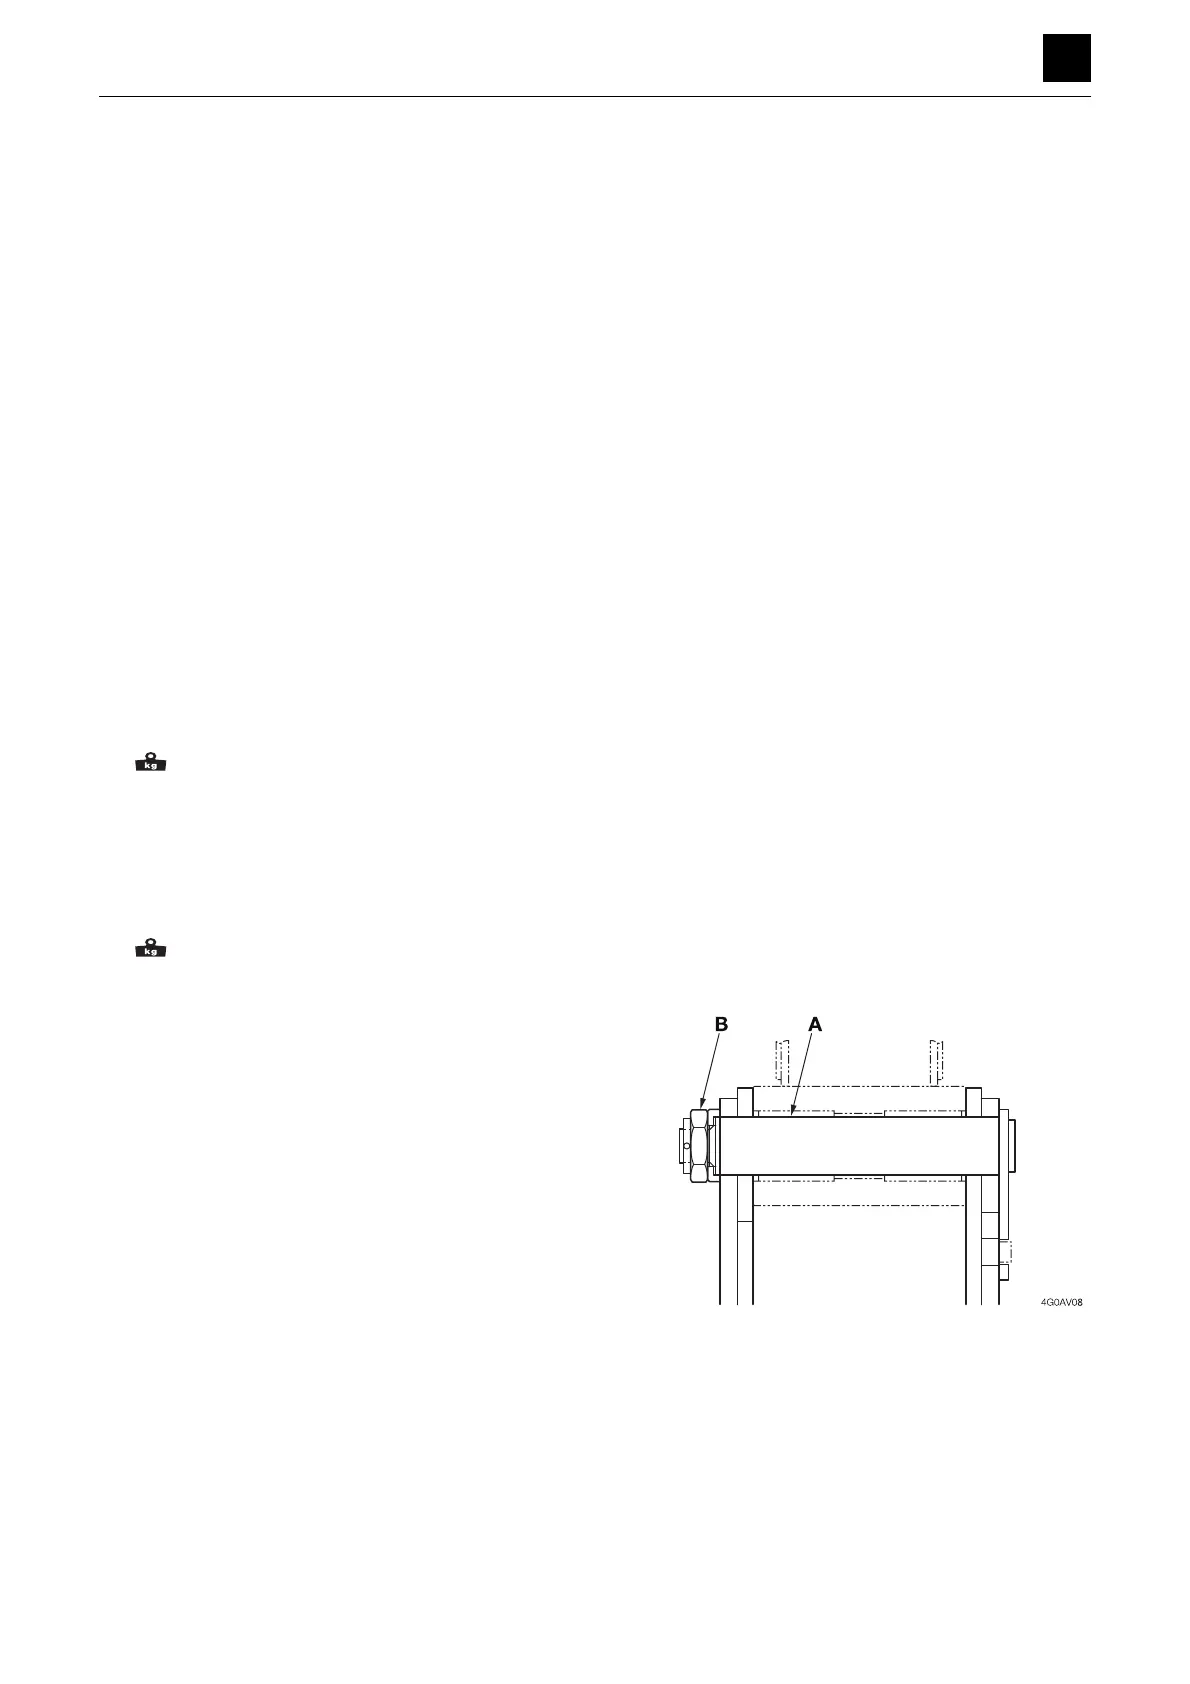
Important:
When securing the arm with the fixing pin A and castle nut
B, make sure not to tighten the castle nut B too much.
After tightening down the castle nut B by hand, firmly
tighten it down further until the tightening hole positions
for the fixing pin A and cotter pin for the castle nut B line
up properly.
 Loading...