DISASSEMBLY AND ASSEMBLY
HYDRAULIC PUMP
2
4
HYDRAULIC PUMP 4I0AY001
Disassembly and assembly
General precautions
The numbers in parentheses, ( ), listed after the names of
parts throughout this document are used to refer to the
same parts as the numbers listed in the construction di-
agram and parts lists.
• Perform disassembly and assembly work in a clean
place. Provide clean containers to hold parts during
disassembly.
• Before disassembly, clean around the ports and re-
move coating or thread-locking compound on the
joints with a wire brush.
• Clean disassembled parts with dedicated cleaning oil.
• Apply hydraulic oil on the sliding surfaces and thin lay-
er of grease on the seals before assembly.
• Replace seals with new ones after each disassembly.
• Check each part for abnormal wear or seizing. Re-
move any burrs with sandpaper.
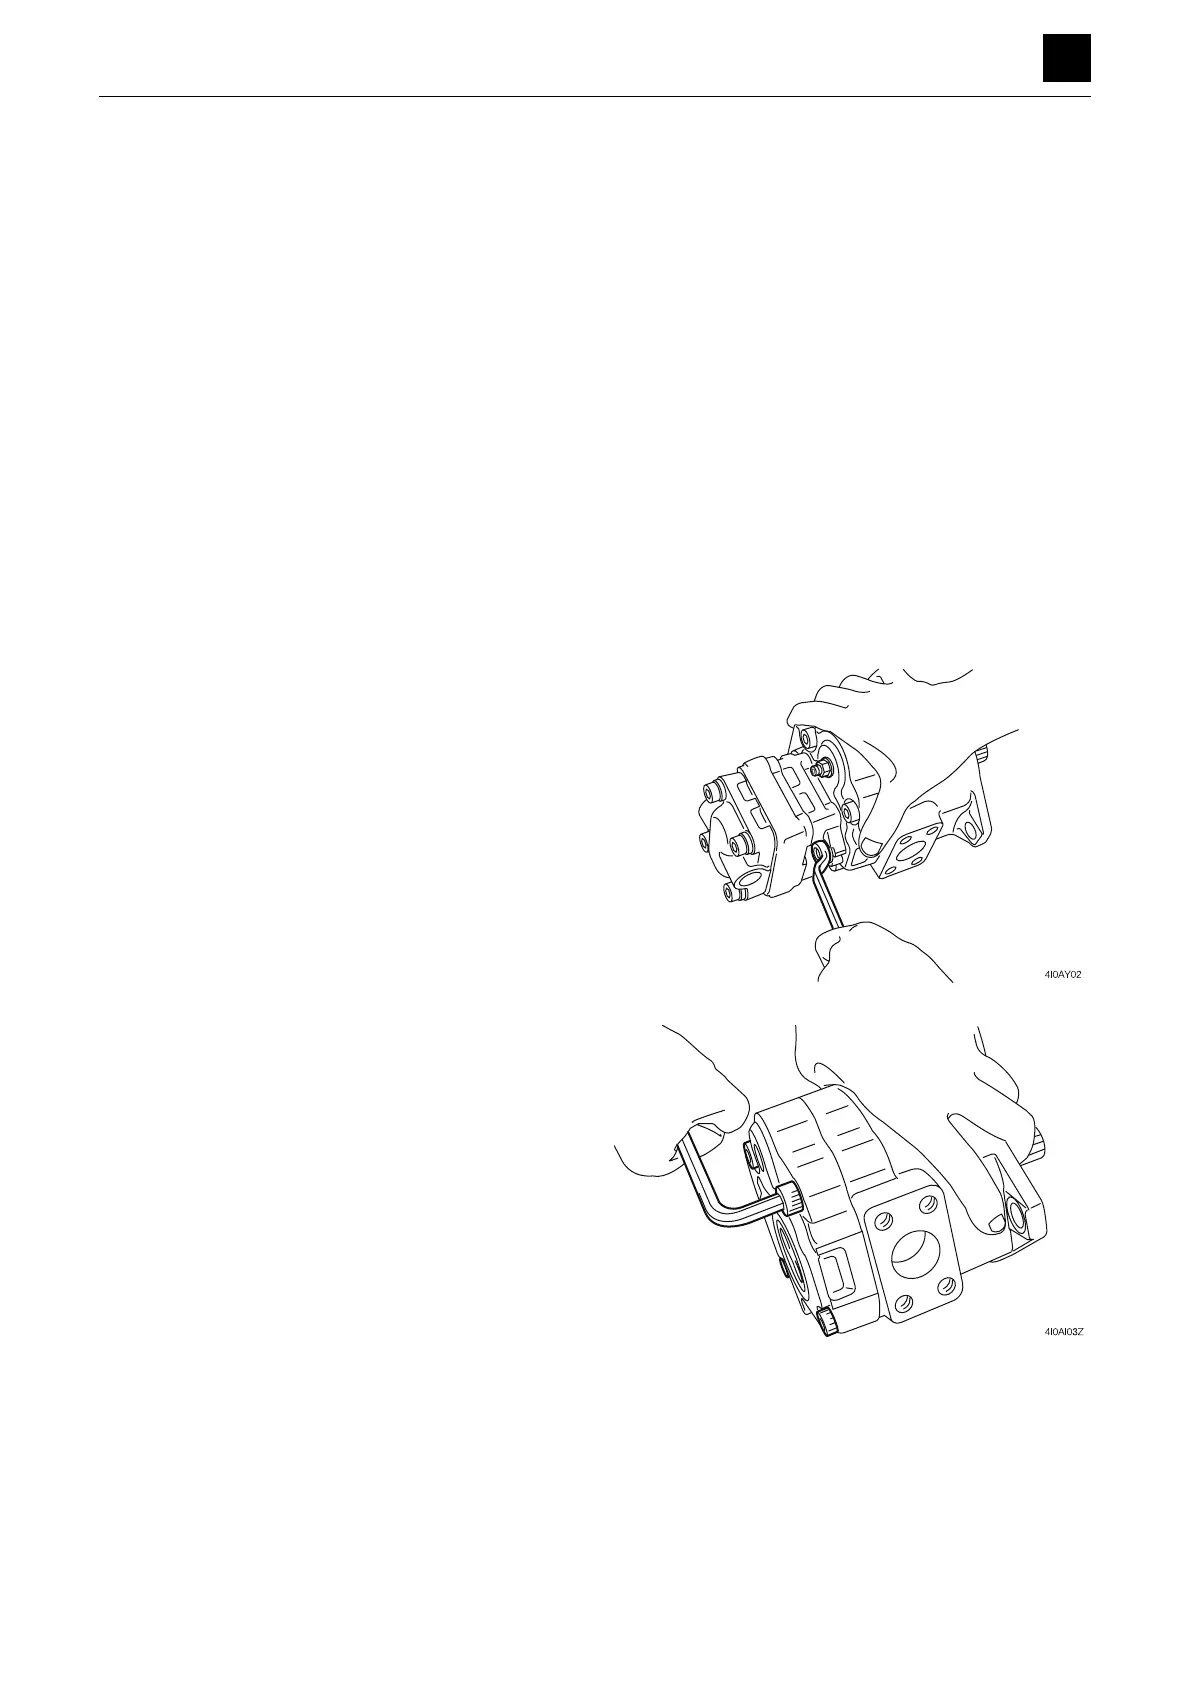
Disassembly
1. Take out the bolt, and remove the gear pump (38).
2. Remove the collar (40) and coupling (39).
3. Disassemble the body S (1) and the body H (2).
a. Take out the cap screws.
b. Separate the assembly into the body S and body
H.
• Lightly tap the slot where the spring of body H
is inserted with a plastic hammer.
 Loading...