The Looper
VL3X – Reference manual (updated 2015-07-16) 134
The Utility menu
We will now explore the UTIL(ity) menu, where
you will find many of the Looper options.
► Tap the footswitch linked to the Utility menu
(the µMod footswitch) to enter the Utility menu.
► If you see “SWAP” in the top left menu seg-
ment, press and hold the µMod footswitch to
enter the Utility menu. This press/hold action
is designed to allow the Swap button to do
double duty, depending on whether you have
a “B” and “C” loop recorded.
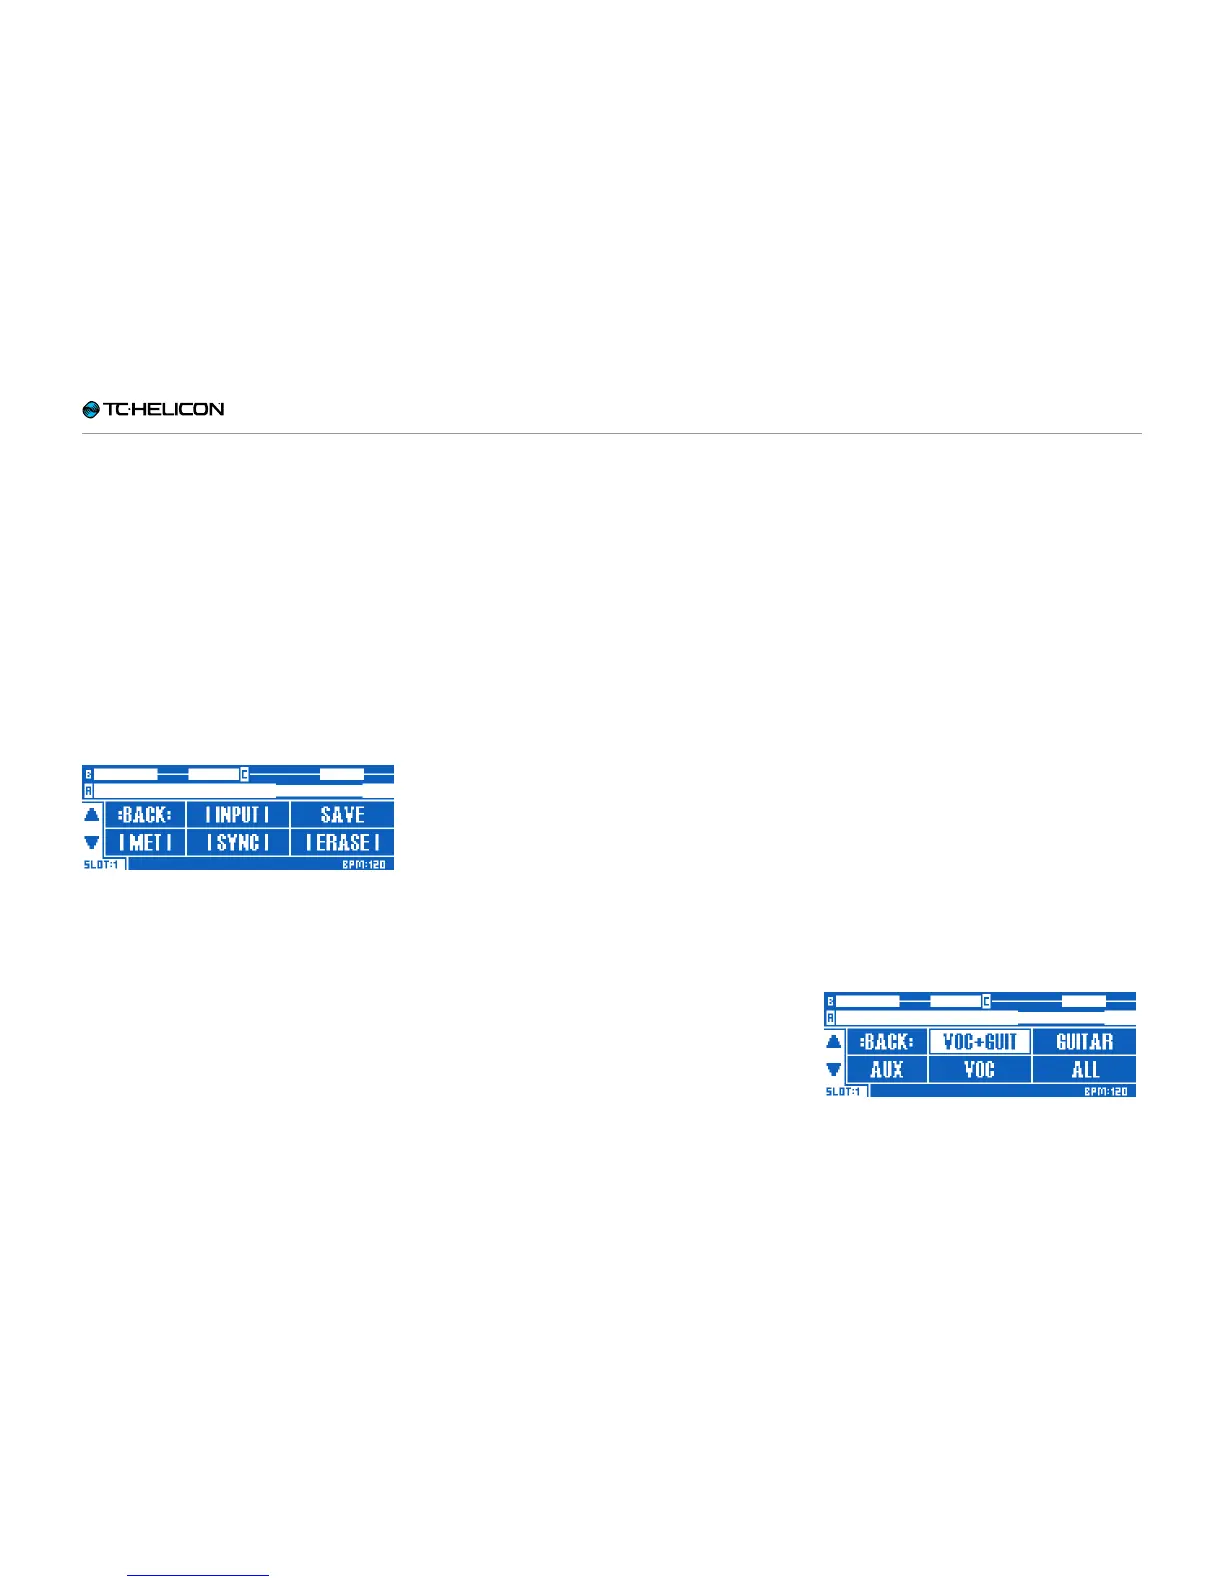
Once you have entered the UTIL menu, you
will see several new menu options.
Utility menu
Back
Tap BACK (µMod footswitch) to move “up” from
the Utility menu or one of its sub-menus until you
are back on the main loop screen.
Input sub-menu
Tap INPUT (Delay footswitch) to open the Input
sub-menu. In the Input sub-menu, you choose
which input(s) the Looper will record. This feature
allows you to use a specific input or inputs for
various loops (e.g. your microphone for a beat-
box section and your guitar for a chord progres-
sion), while preventing sound from other inputs
entering your loop.
With the above in mind, you could be playing
guitar and singing simultaneously, while only re-
cording your voice or your instrument into the
Looper. This gives you a lot of flexibility.
The available input options are:
► Voc+Guit: For recording your vocals (with ef-
fects) and your Guitar.
► Guitar
► Aux: For recording the signal at your VL3X’s
Aux jack.
► Voc: For recording your vocals (with effects).
► All: For recording vocals, guitar and the Aux
signal.
Loop input sub-menu
 Loading...