Getting to know VL3X
VL3X – Reference manual (updated 2015-07-16) 60
Using ALL HIT
What’s better than being able to have separate
HIT footswitches for the Guitar and Vocal Layer?
How about one footswitch to rule them all? This
feature is called ALL HIT, and you can easily as-
sign it to a footswitch as described in “Remap-
ping a footswitch”.
► Press the Vocal button.
► Press and HOLD the right Arrow (>) to “jump”
all the way to the end of the available effects
pages.
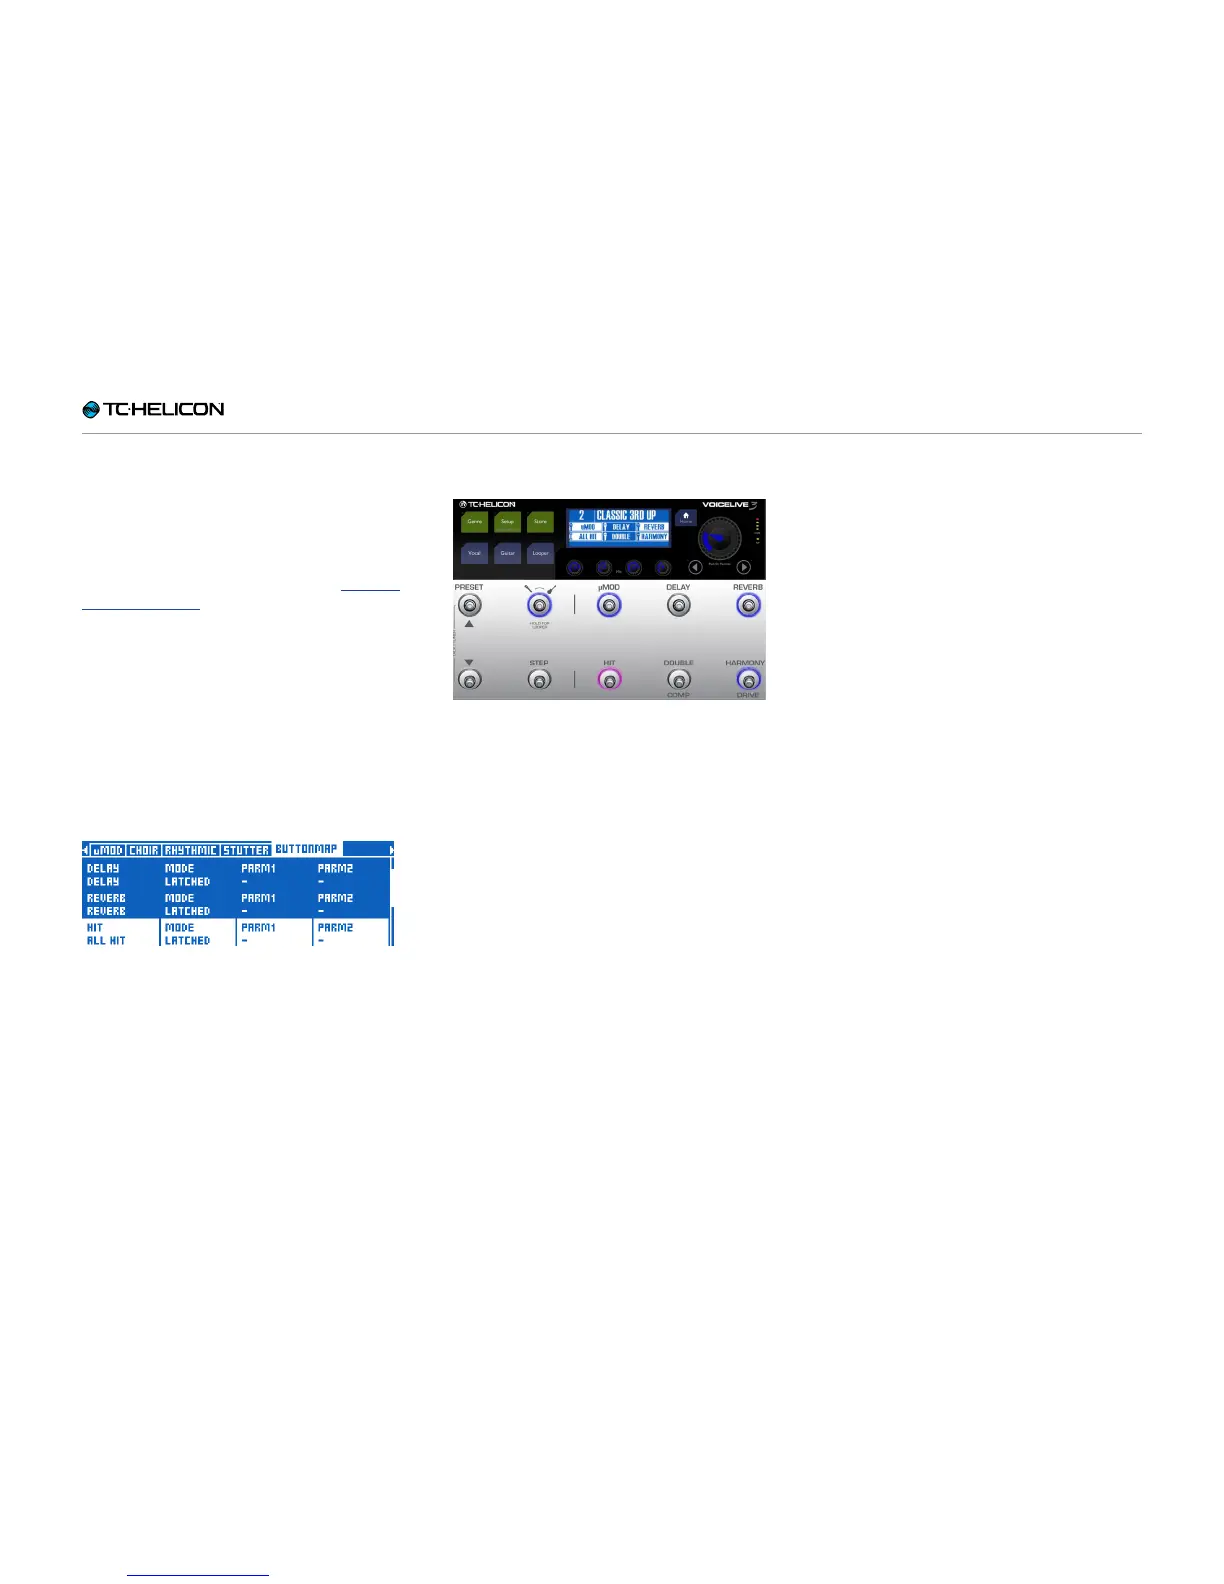
► Use the < or > button to locate the Buttonmap
page.
► Use the Control Knob to scroll down and high-
light the line starting with “HIT”.
► Use the Mix Knob to change the HIT assign-
ment from Voc HIT to ALL HIT.
HIT footswitch remapped to ALL HIT
► Press Home.
Now the HIT footswitch controls HIT for both
Guitar and Vocal effects in this Preset. When you
press HIT, you will see that it now lights up pur-
ple instead of blue, indicating that it’s controlling
both vocal and guitar hit. There’s also a “wrench”
icon instead of a microphone – showing you that
you are no longer just controlling Vocal effects.
HIT footswitch remapped to ALL HIT
 Loading...