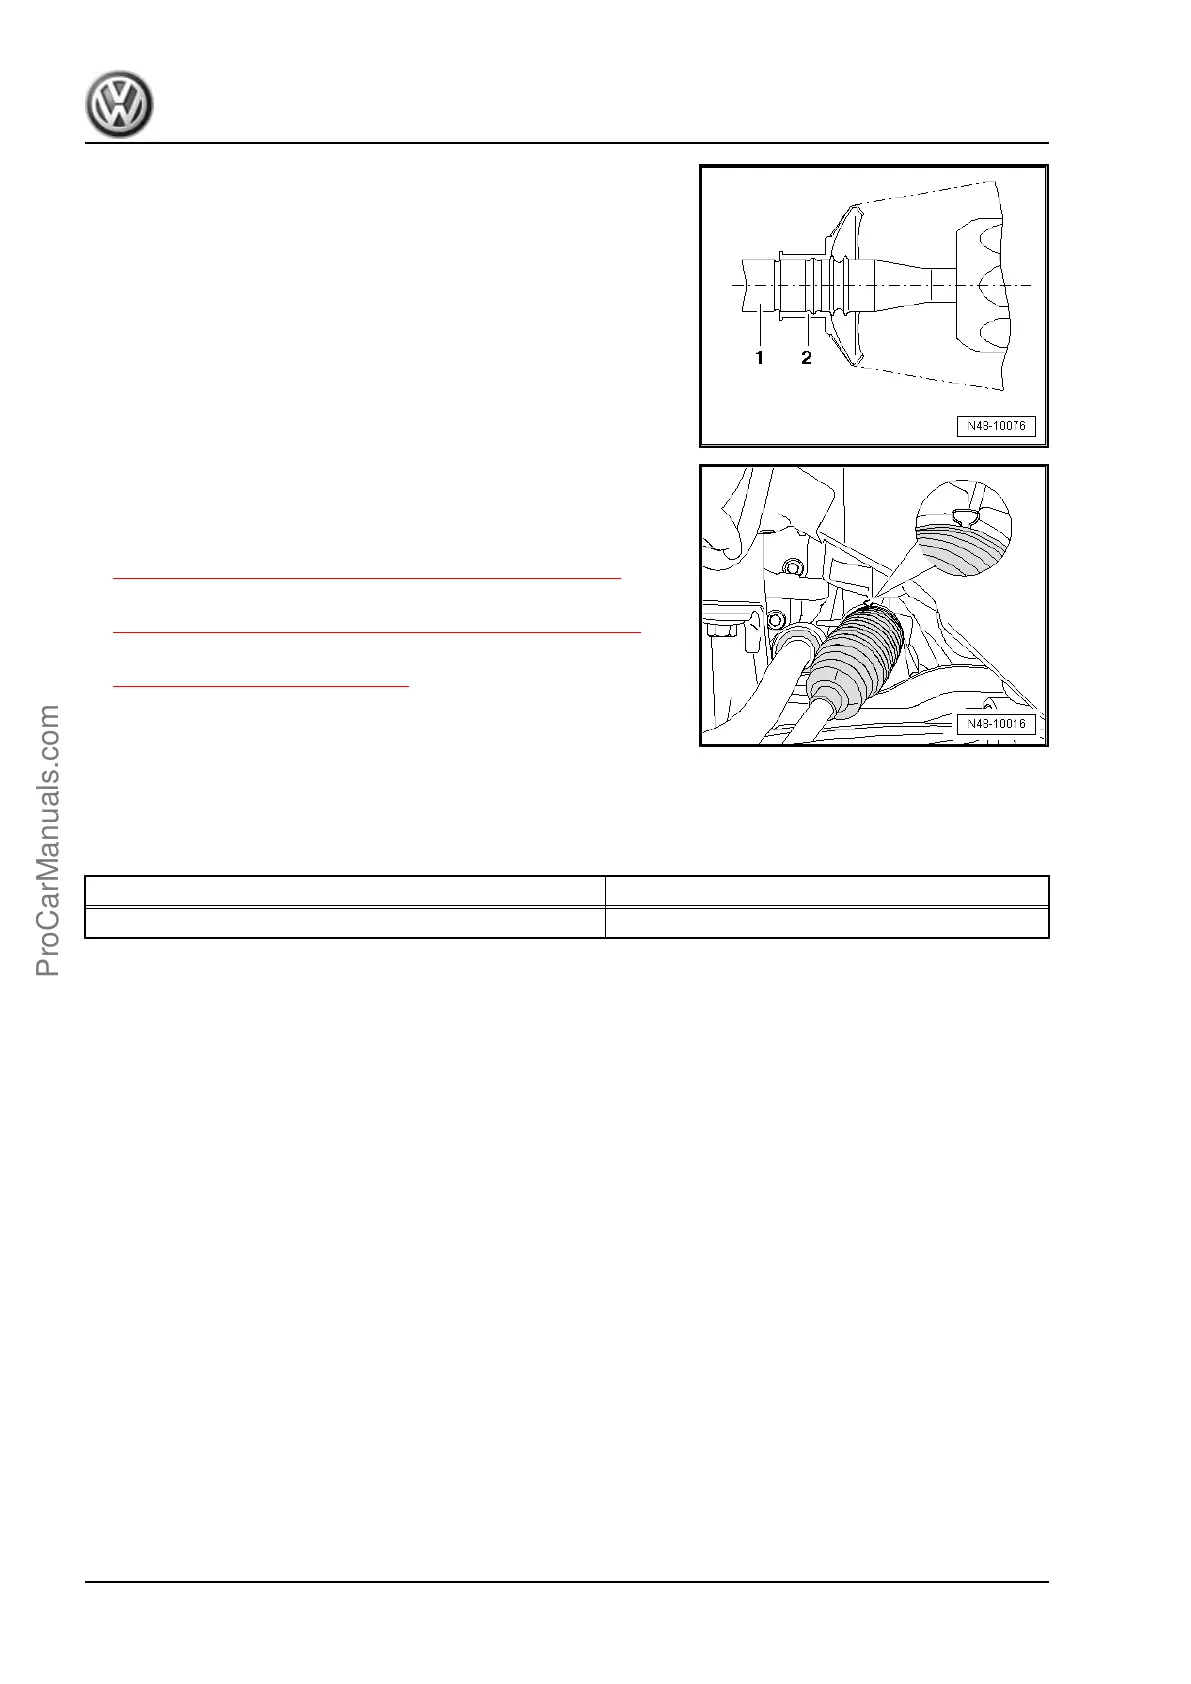
– Slide the boot -2- onto the tie rod -1- as illustrated.
– Secure spring clamp on boot using Hose Clip Pliers -
VAG1275A- .
– Slightly grease the sealing surface of the boot to the steering
gear housing with Grease - G 052 168 A1- (from the repair kit,
from Fuchs Renolit JP1619).
– Push the boot all the way onto the steering gear housing.
– Tighten new clamp using Locking Pliers - VAS6199- to the
extent depicted in the illustration.
– Install the tie rod end up to the marking made earlier during
the removal. Refer to
⇒ “10.3 Tie Rod End, Removing and Installing”, page 354 .
– Install the front wheel and tighten. Refer to
⇒ “2 Wheel Installation Tightening Specifications”, page 237 .
– Perform a vehicle alignment. Refer to
⇒ “8 Wheel Alignment”, page 256 .
– If both tie rods were replaced, then the basic setting for the
Steering Angle Sensor - G85- must be performed using the
Vehicle Diagnostic Tester .
– Then perform the basic setting on the steering using the Ve‐
hicle Diagnostic Tester .
Tightening Specifications
Component Tightening Specification
Tie rod end to tie rod 70 Nm
8.5 Checking Play, Fastening and Joint
Boots of Tie Rod Ends
– With vehicle raised (wheels hanging free), check play by mov‐
ing tie rods and wheels. Play: no play
– Check fastening.
– Check boots are not damaged and are seated correctly.
8.6 Tie Rod Length, Checking and Adjusting
Special tools and workshop equipment required
♦ Hose Clip Pliers - VAG1275A-
Jetta 2011 ➤ , Jetta 2013 ➤
Suspension, Wheels, Steering - Edition 08.2015
342 Rep. Gr.48 - Steering
ProCarManuals.com

 Loading...