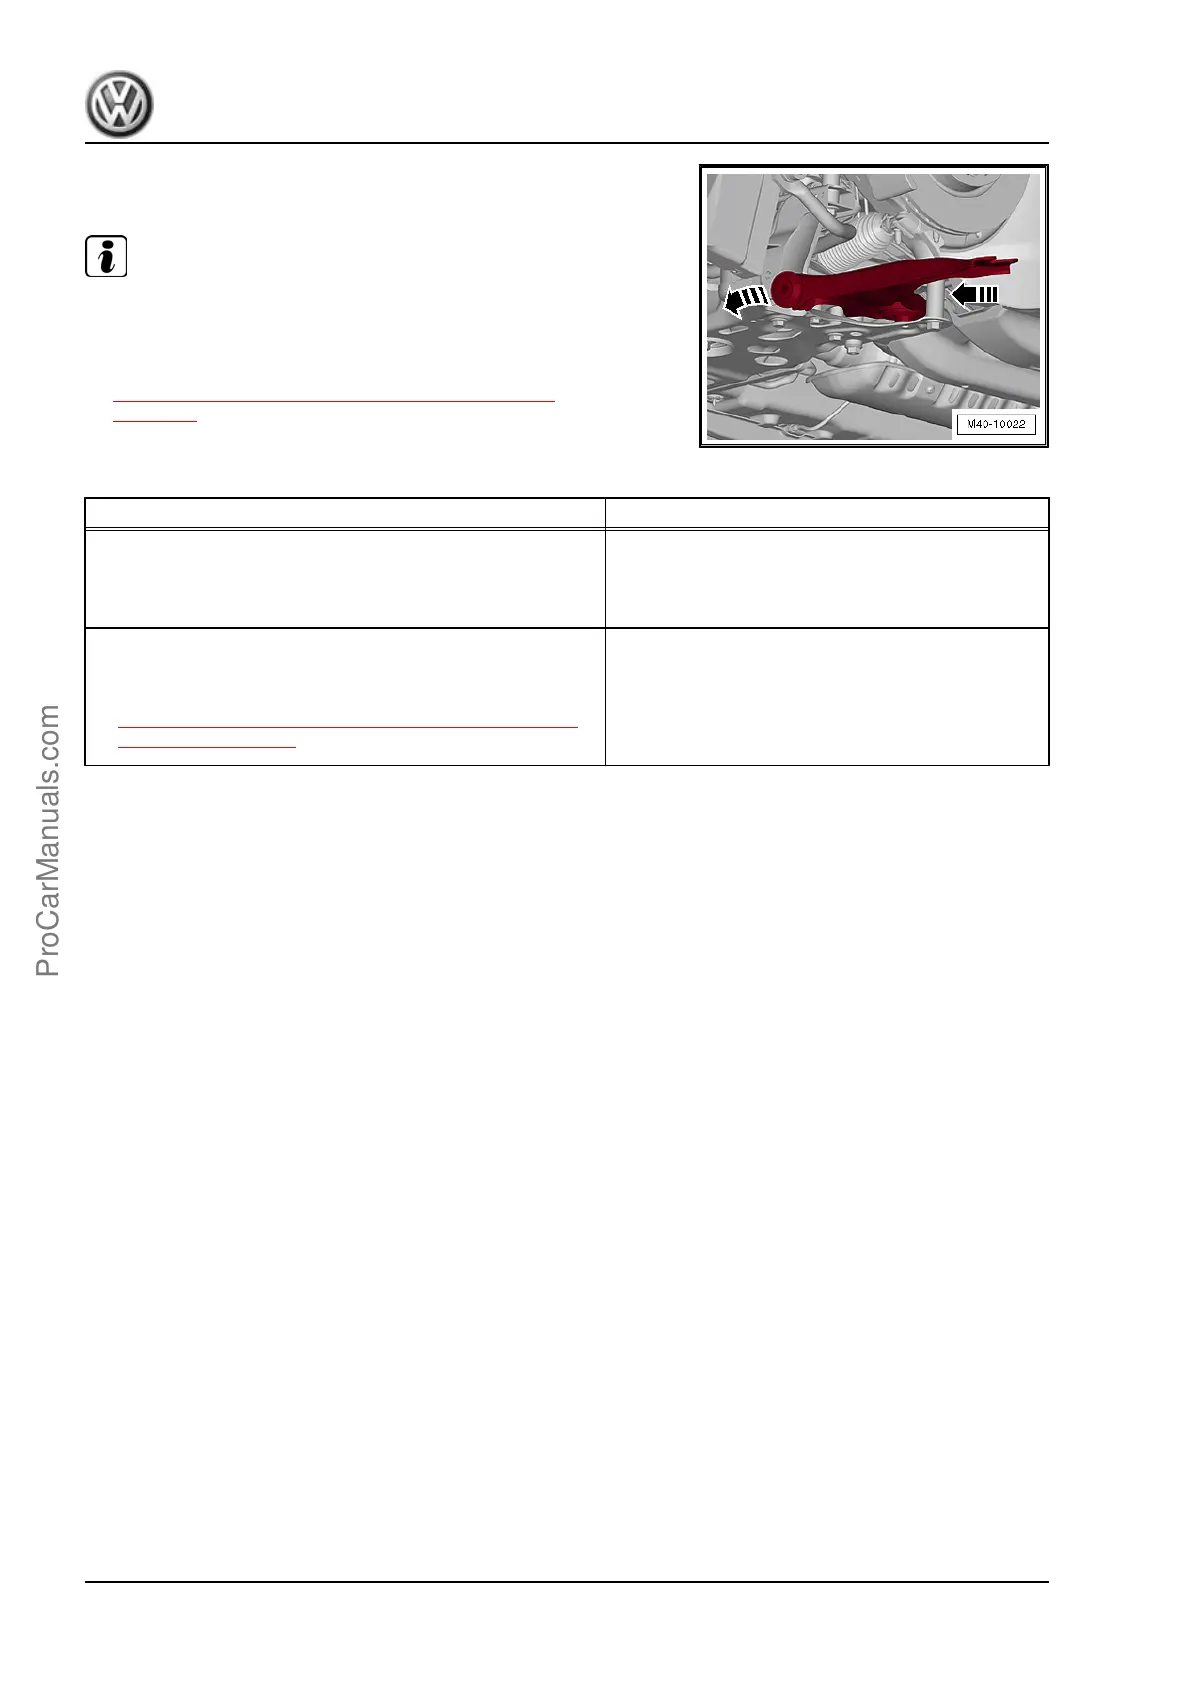
– Insert the rear control arm into the subframe in the direction of
the -arrow- and swivel it forward.
Note
The rear bolt must be attached with a new nut. Counterhold the
nut when tightening.
– Install the front wheel and tighten. Refer to
⇒ “2 Wheel Installation Tightening Specifications”,
page 237 .
Tightening Specifications
Component Tightening Specification
Control arm to subframe
♦ Use new bolts.
♦ Tighten bolts in curb weight position.
70 Nm + 90° turn
Ball joint to control arm
♦ Use new bolts.
♦ Tighten only in curb weight position. Refer to
⇒ “2 Rear Axle Curb Weight (Twist Beam Rear Sus‐
pension)”, page 146 .
100 Nm
5.5 Control Arm, Removing and Installing,
Left Side of Vehicle with DSG
®
or Auto‐
matic Transmission
Special tools and workshop equipment required
♦ Engine and Gearbox Jack - VAS6931-
♦ Torque Wrench 1332 40-200Nm - VAG1332-
Perform the Following
Removing
– Turn the steering wheel in the straight position and remove the
ignition key so that the steering wheel lock engages.
Vehicles with “Keyless Access” Keyless Locking and Starting
System
– Switch the ignition off and open the driver door so the steering
wheel lock engages.
Jetta 2011 ➤ , Jetta 2013 ➤
Suspension, Wheels, Steering - Edition 08.2015
44 Rep. Gr.40 - Front Suspension
ProCarManuals.com

 Loading...