June 2014
4-23
Xerox® WorkCentre® 3215/3225 Multifunction Printer Service Manual
REP 1.12, REP 1.13
Repairs
Replacement
1. Install the components in the reverse of removal.
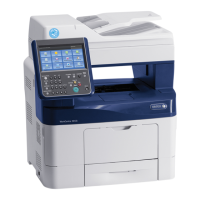
NOTE: Make sure the Springs (2) on the Retard Roll Holder are correctly positioned in the
holes (Figure 4).
Figure 4 Springs in Holes
REP 1.13 Feed and Registration Clutches / Joint PWB
Parts List on PL 4.1
Removal
1. Switch Off the Printer and disconnect the Power Cord.
2. Remove the Left Side Cover (REP 1.2).
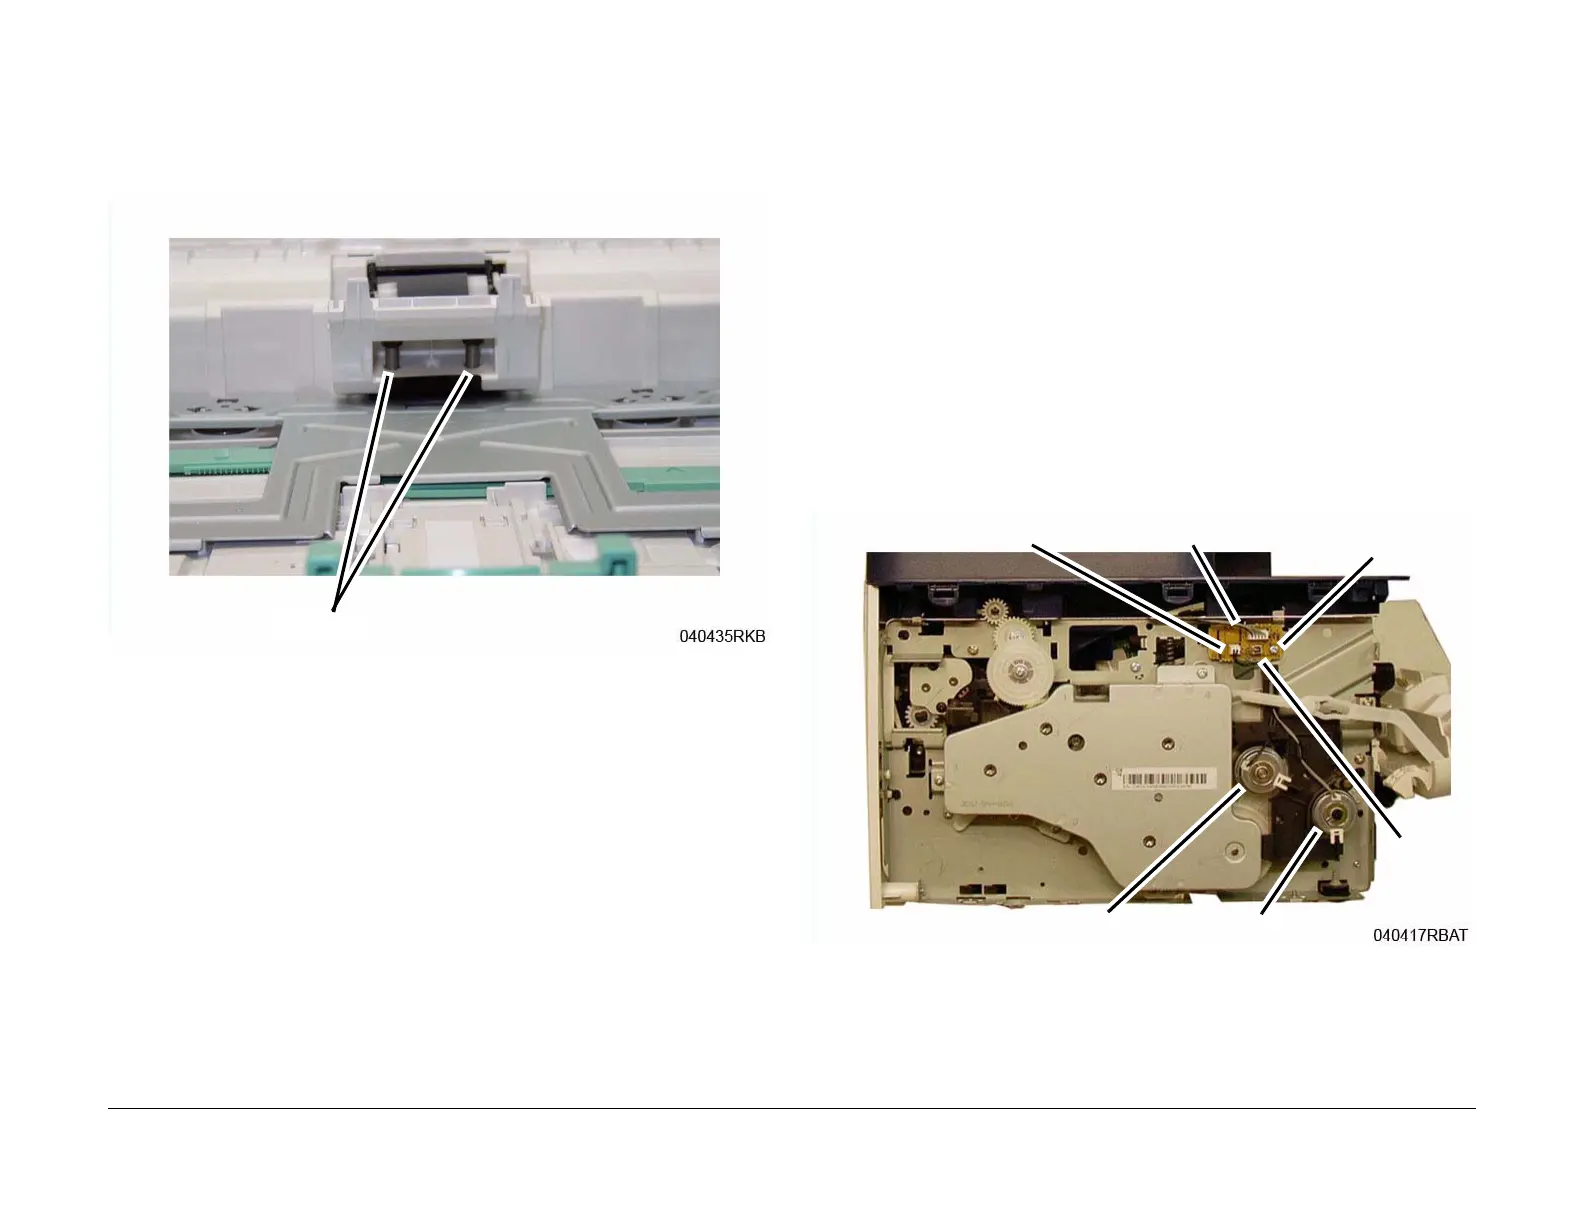
3. Removing the Joint PWB (Figure 1):
a. Disconnect the Connectors (3) on the Joint PWB.
b. Remove the Screw (1) and the PWB.
4. Removing the Feed Clutch (Figure 1):
a. Disconnect the Feeder Clutch Connector (CN2) on the Joint PWB and release the
wires from the wire clamps.
b. Remove the E-ring and Washer from the Feeder Clutch.
c. Remove the Feeder Clutch.
5. Removing the Registration Clutch (Figure 1):
a. Disconnect the Registration Clutch Connector (CN1) on the Joint PWB and release
the wires from the wire clamps.
b. Remove the E-ring and Washer from the Registration Clutch.
c. Remove the Registration Clutch.
Figure 1 Feed and Registration Clutches / Joint PWB
Replacement
Install the components in the reverse of removal.
Springs
Joint PWB
CN2
CN1
Screw
Registration Clutch
Feed Clutch
 Loading...