Other functions
Reference Manual
237
Other functions
This chapter explains various functions of QL series consoles that are not covered in other
chapters.
Initializing the unit to factory default settings
If an error occurs in the QL console internal memory, or if you forget the password and cannot
operate the unit, you can use the following procedure to initialize the internal memory.
There are two types of initialization of the internal memory as shown below.
INITIALIZE ALL MEMORIES
The entire memory, including scene memories and libraries, will be returned to factory default
settings.
INITIALIZE CURRENT MEMORIES
The contents of memory - except for scene memories and libraries - will be returned to its
factory default settings.
NOTICE
The entire memory will be deleted if you initialize the internal memory! Proceed with the operation
only if you are very sure you want to delete the entire memory. However, the settings in DANTE
SETUP will not be initialized. To initialize these settings, refer to “Initializing the Dante audio
network settings” (page 241).
NOTE
• Do not press any buttons until initialization is complete.
• Once initialization is complete, you can continue operation by selecting a different menu instead
of pressing the EXIT button.
Adjusting the detection point of the touch screen
(Calibration function)
Follow the steps below to correctly align the positions of the LCD display and the touch
screen.
NOTE
• If you are unable to start calibration by pressing the TOUCH SCREEN CALIBRATION button, you
can use the [B1]/[B2] keys in the Fader Bank section to select TOUCH SCREEN CALIBRATION,
and then press the [B4] key to start.
• To set the detection points accurately, press the cross-shaped cursor from the position and
posture in which you normally operate the unit.
• Once initialization is complete, you can continue operation by selecting a different menu instead
of pressing the EXIT button.
STEP
1. While holding down the [SEL] key for Fader B in the MASTER section on the panel,
turn on the power to the QL unit.
2. On the startup menu screen, select the initialization method.
3. Press the INITIALIZE button in the dialog box to confirm initialization.
4. Press the OK button in the confirmation dialog box to start initialization.
5. A message indicates that the initialization process is complete. Press the EXIT button
on the startup menu screen.
STEP
1. While holding down the [SEL] key for Fader B in the MASTER section on the panel,
turn on the power to the QL unit.
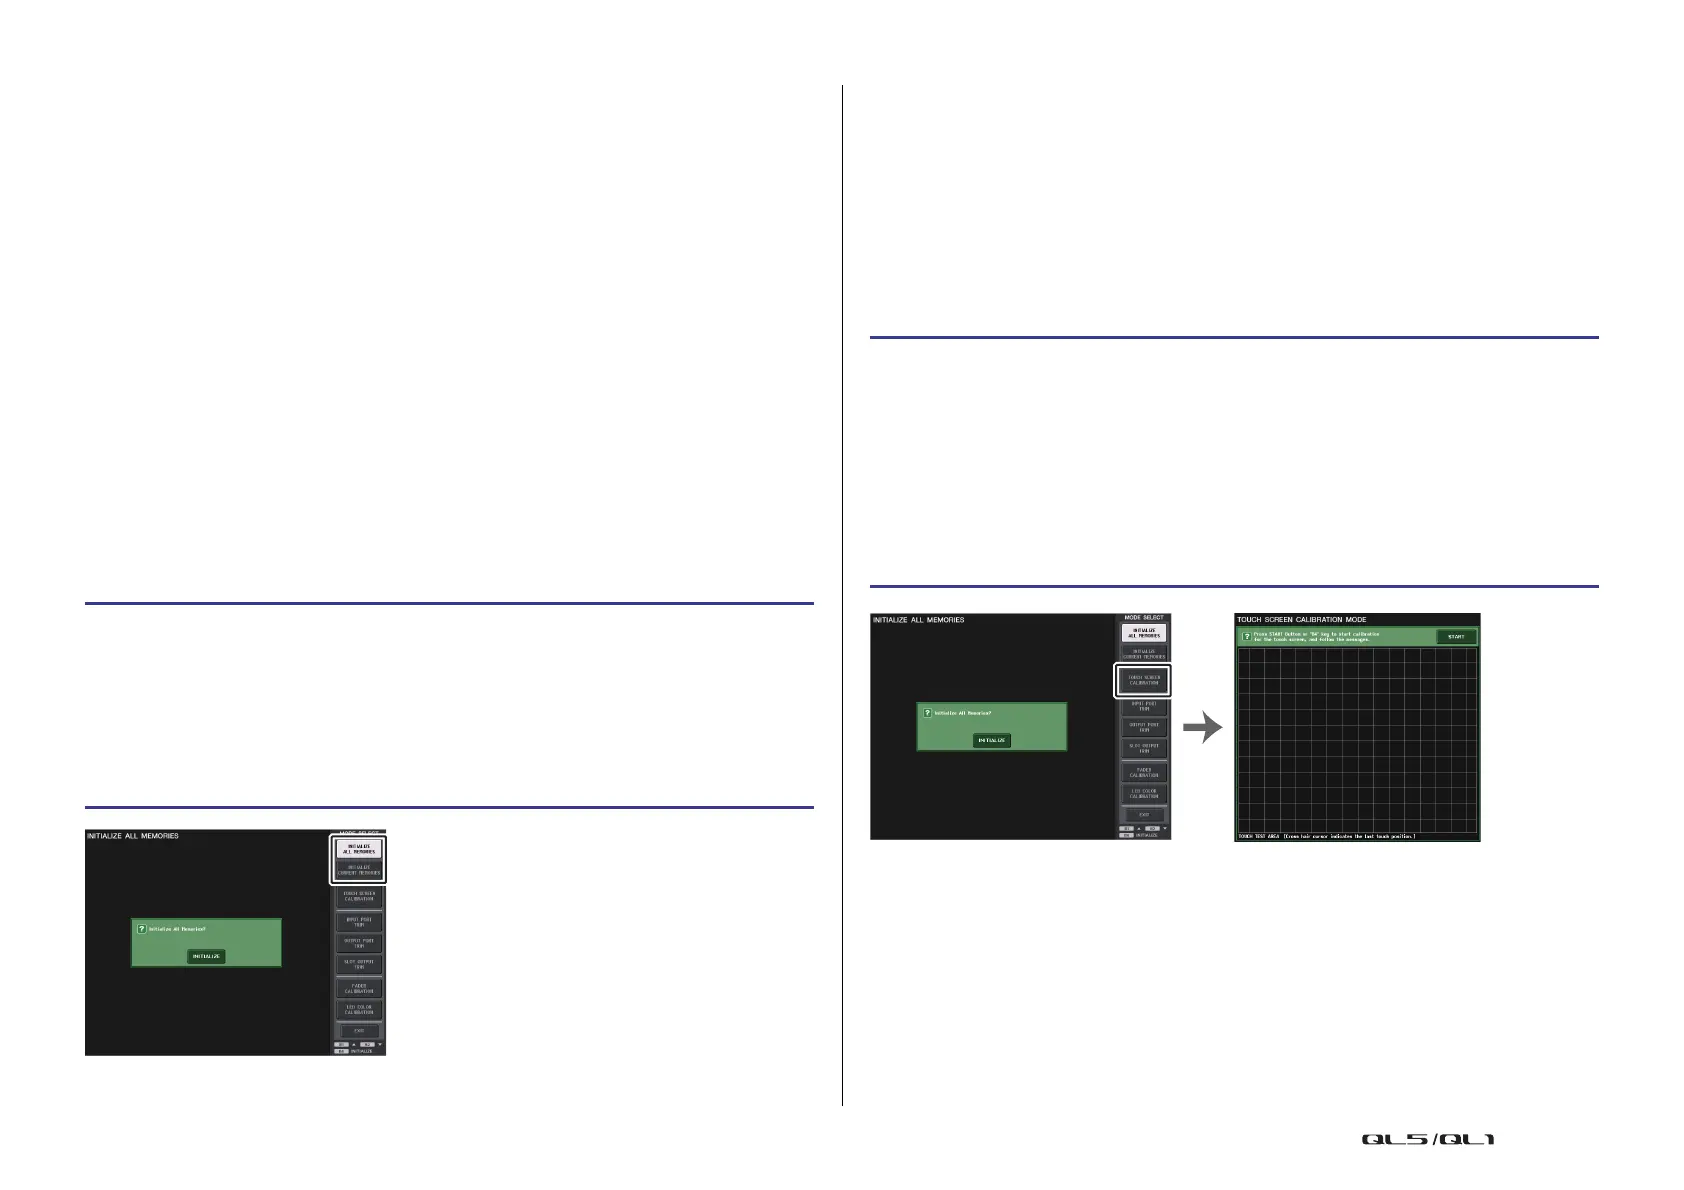
2. On the startup menu screen, press the TOUCH SCREEN CALIBRATION button.
3. Press the START button in the TOUCH SCREEN CALIBRATION MODE screen.
4. Press the OK button in the confirmation dialog box to start calibration.
5. A cross-shaped cursor will appear in the screen (a total of three times). Press each
location at which it appears.
6. Press the EXIT button on the startup menu screen to start up the QL unit in normal
operating mode.
Startup menu screen TOUCH SCREEN CALIBRATION
MODE screen
 Loading...


