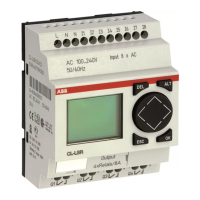
Terminals
31
1SVC 440 795 M0100
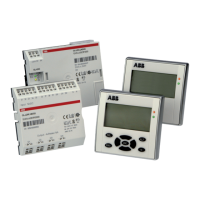
X Open the CL-LINK connections on the side of both CL
devices.
X Fit the CL-LINK data plug CL-LAS.TK011 in the opening
provided on the expansion device.
X Plug the devices together.
X Proceed in the reverse order to dismantle the device.
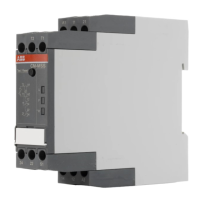
Terminals Tools
Slot-head screwdriver, width 3.5 mm, tightening torque
0.6 Nm.
Cable cross-sections
• Solid: 0.2 to 4 mm
2
• Flexible with ferrule: 0.2 to 2.5 mm2
Connecting the power
supply
Cable protection
The logic relay requires cable protection (F1) rated for at
least 1 A (slow).
h
The required connection data for device types CL-AC1
with the voltage 24 V AC, CL-AC2 with the standard
voltage of 100 V to 240 V AC, CL-DC1 with the voltage
12 V DC and CL-DC2 with 24 V DC is provided in section
“Technical data”, Page 254.
The CL-LSR/CL-LST and CL-LMR/CL-LMT logic relays
perform a two-second system test after the power supply
voltage is applied. Either RUN or STOP mode will be
activated after these two seconds, depending on the
default setting.
 Loading...