122
Preparation
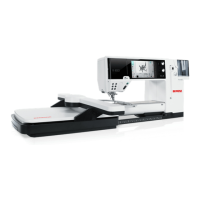
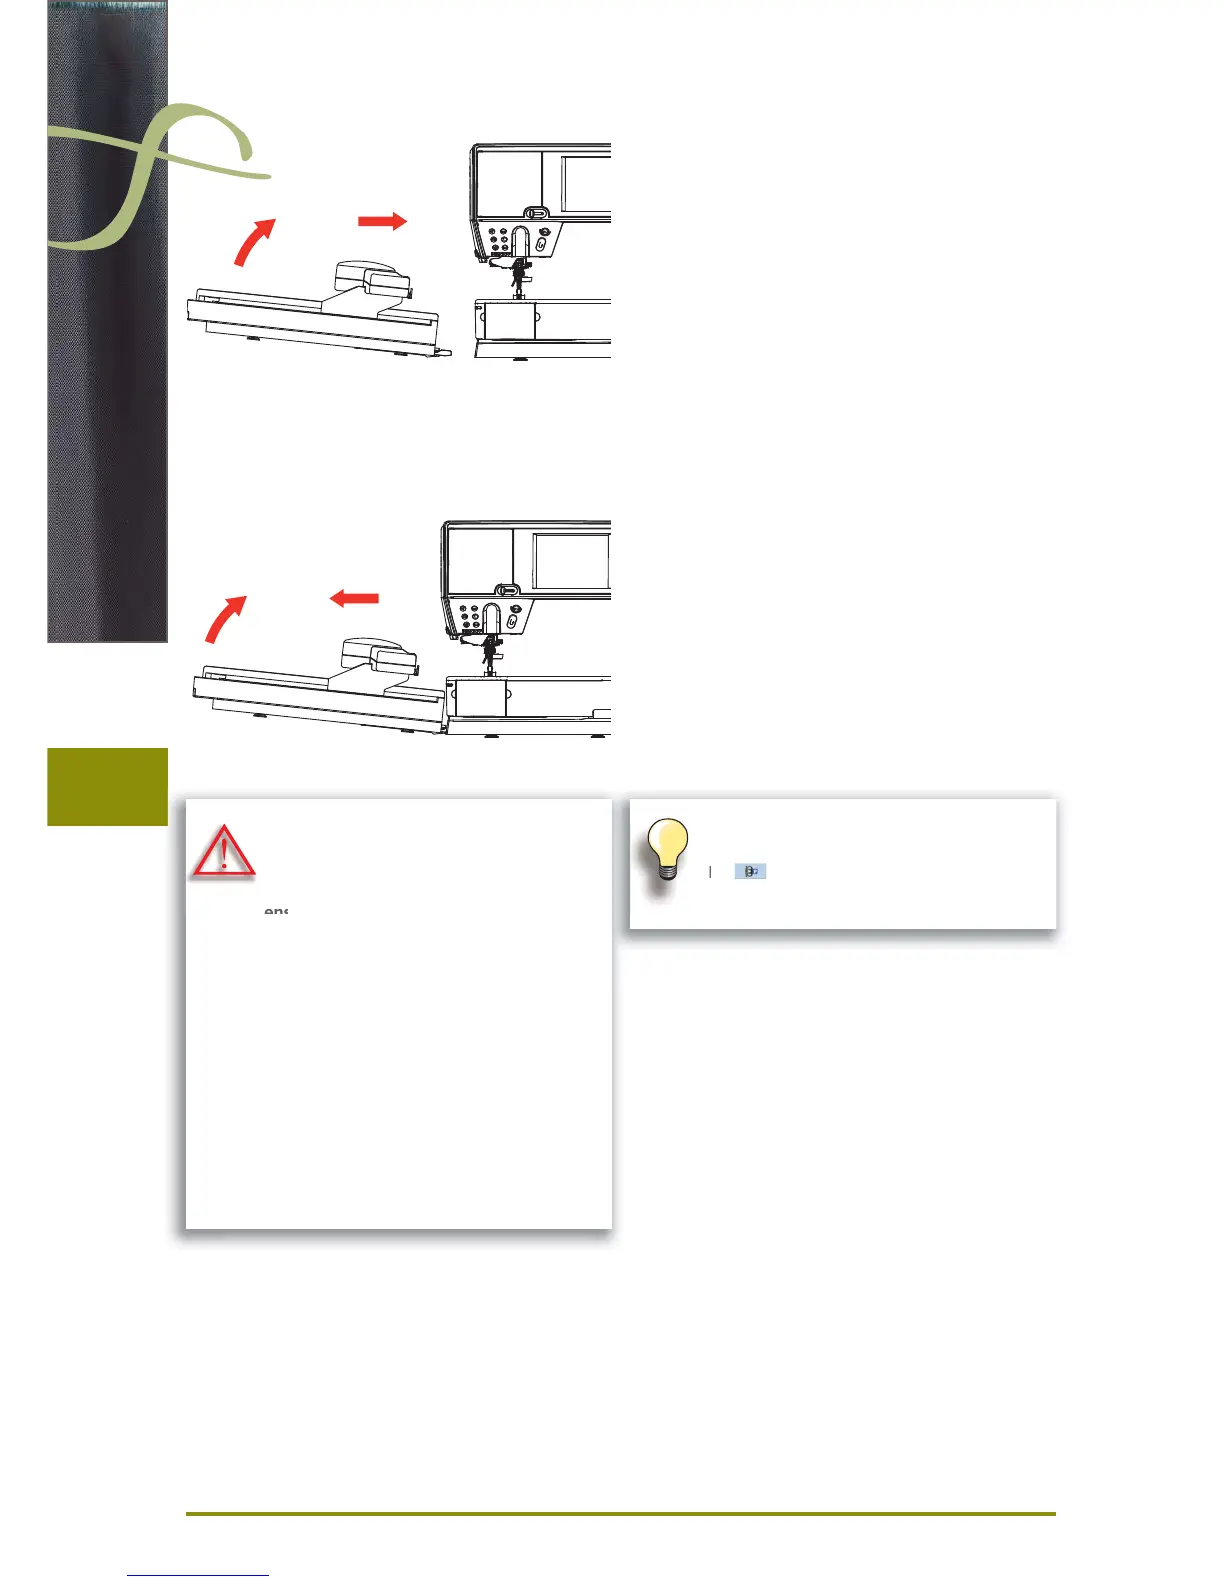
Attaching the Module
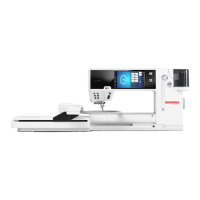
Removing the Module
to the Sewing computer
lift the embroidery module on the left and carefully slide ►
it from left to right into the sewing computer connection
1 2
from the Sewing computer
lift the embroidery module on the left and carefully pull ►
out and off to the left
1 2
The slide-on table must not be attached
while the embroidery module is being
attached or removed.
When attaching the embroidery module
ensure that all the units are on the same
even surface.
The embroidery computer may run at high
speeds when embroidering. Therefore the
two units must be placed on a stable
surface or the motor speed reduced when
embroidering.
Make sure that there is enough space
around the sewing computer and embroi-
dery module to allow the unimpeded
movement of the embroidery arm!
Always separate the sewing computer and
the embroidery module from one another
before transporting – do not transport as a
single unit.
 Loading...