33
Functions
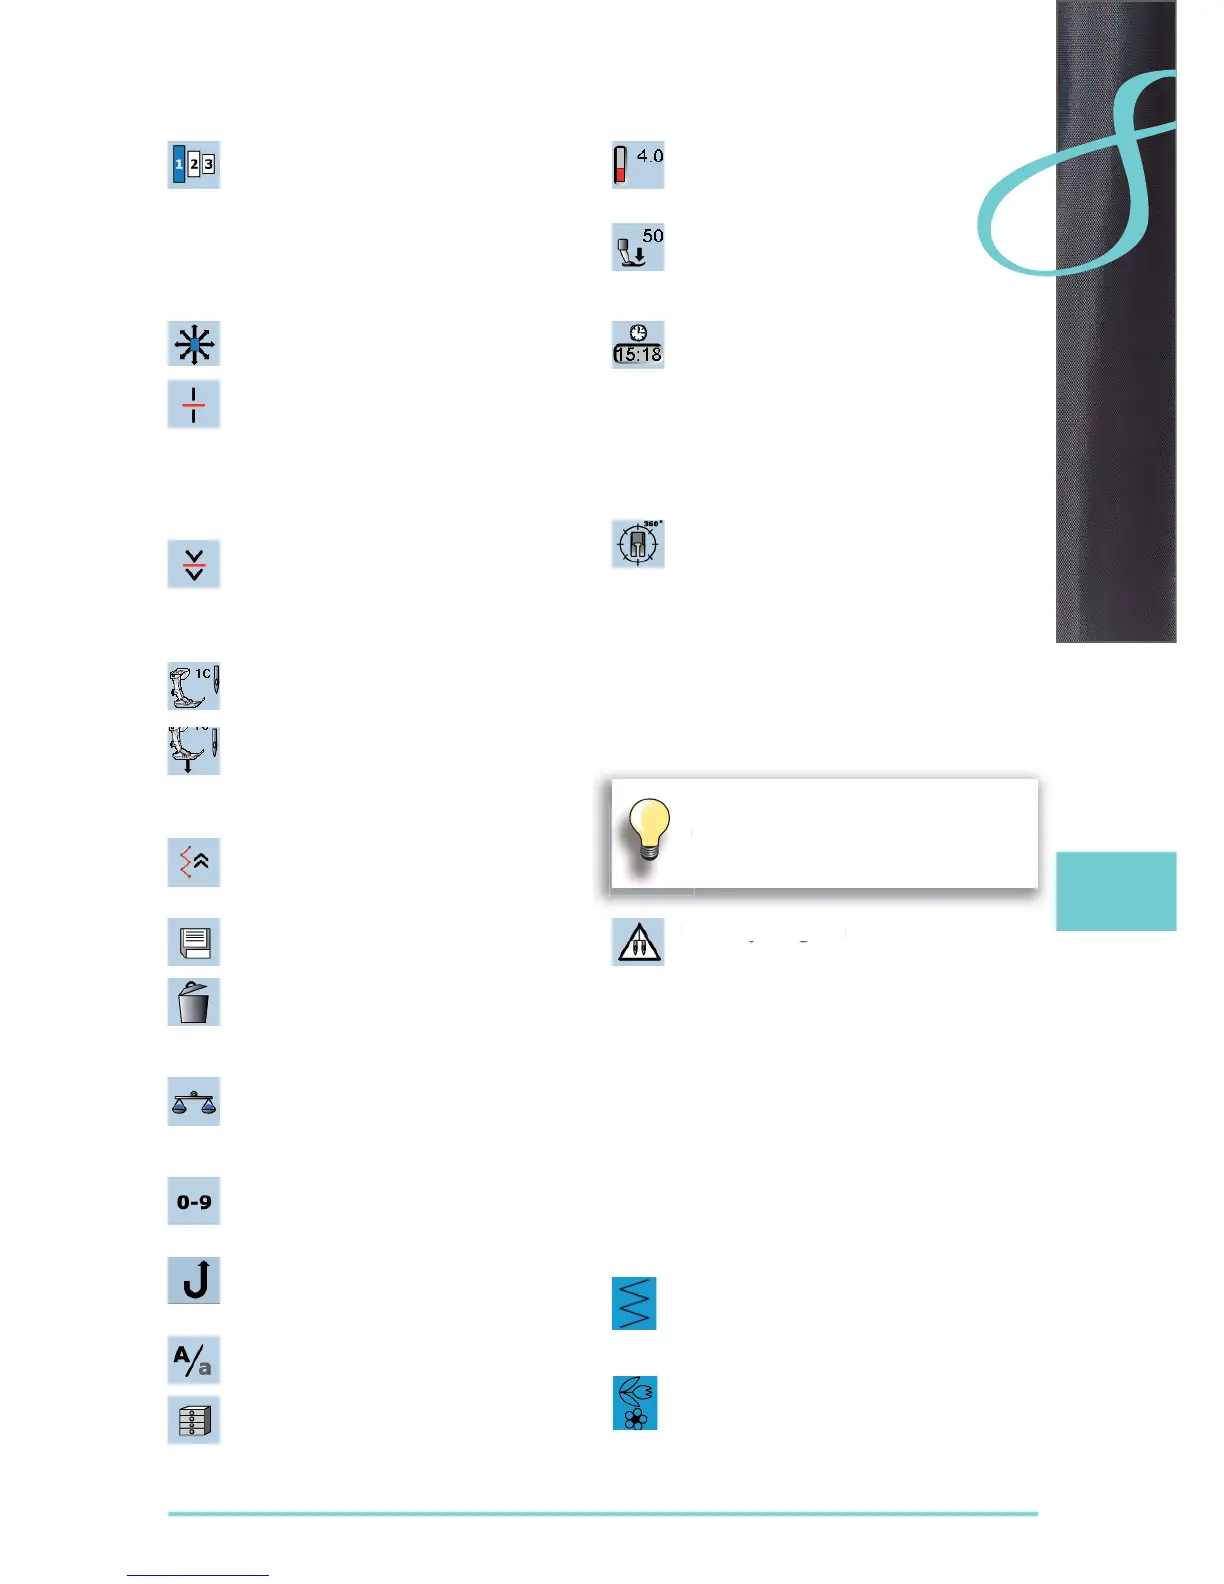
Lettering size in monograms
when monogram is selected, the lettering size ►
is 30mm
touch the icon several times ►
the blue area shows the lettering size: ►
1 = 30mm (standard)
2 = 20mm
3 = 15mm
Connecting Stitches
opens the screen to add connecting stitches ►
Combination subdivider (1)
each combination or memory folder can be ►
subdivided into several parts
only those parts where the cursor is located ►
will be sewn
to sew another part, the cursor must be
►
placed in this part
Combination subdivider (2)
each combination can be subdivided as ►
desired
after stopping, the needle moves to the next
►
part to be sewn
Presser foot indicator
number of presser foot recommended is ►
shown for the stitch pattern selected
if the presser foot is raised it is indicated with
►
an animation
touch the icon ►
screen is opened with further presser foot ►
options
Back Stepping
the stitch pattern is accurately sewn in reverse ►
stitch-by-stitch
Save
save stitch pattern combinations and lettering ►
Delete
e.g. single stitch pattern, pattern combina- ►
tions, memory bank contents, stitch pattern in
personal program etc.
Balance
balance forward and reverse stitches ►
balance sideways motion stitches ►
balance dual feed ►
Stitch selection by numbers
select individual stitch pattern by inputting the ►
stitch pattern number
Permanent reverse sewing
the sewing computer sews backwards ►
permanently
Upper/Lower Case
switch from upper case to lower case lettering ►
File Drawers
saved stitches are visible ►
Thread tension
change upper thread tension ►
the respective value is visible in the icon ►
Presser foot pressure
increase or decrease the presser foot pressure ►
using the multifunction knobs
the respective value is visible in the icon
►
Time/Alarm
set the current time (hh:mm) in the upper part ►
of the screen using the «+» and «-» icons
touch the alarm button in the lower part of the
►
display
set the alarm time using the «+» and «-» or
►
the multifunction knobs. A personal message
can be input using the keyboard
the current time now appears in red numbers ►
Multi-Directional Sewing
use the stitch width knob to rotate the stitch ►
pattern or combination in 0.5° steps, the stitch
length knob for 1° steps or the direct-selection
buttons for rotating in 45° steps into the
desired direction
the sewing direction is shown in the left part of ►
the display
the start is marked with a green dot and the ►
end with a red cross
the function only appears if the selected stitch ►
can be sewn in multiple directions
Security Program
when selecting the respective needle icon the ►
stitch width will be limited automatically
this prevents the inserted special needle ►
(double needle etc.) from hitting the presser
foot or stitch plate = avoiding needle breakage
the numbers on the needles represent the
►
distance in mm between the needles
by selecting the needle icon framed in green
►
the standard needle is active again and the
stitch width limitation is switched off
by selecting the corresponding stitch plate the
►
stitch width is automatically limited, so the
inserted standard needle cannot hit the stitch
plate
the function remains active even when the ►
sewing computer is turned off and on
Single Mode
the Single Mode is always active (blue) when ►
turning on the sewing computer and only the
selected stitch can be sewn
Combi Mode
touch the button ►
the Combi Mode is active (blue) and stitch ►
combinations can be programmed

 Loading...